Jump to Directions
Learn how to make the best DIY lavender bath bombs with natural ingredients like essential oils in this easy tutorial.

Taking a nice, long bath is an indulgence for me since time is so precious these days. So when I do take the time to enjoy a bath, I like to make it extra special.
One way to do that is to use bath salts or bath bombs. I like to control what goes into my bath though, so rather than buying pre-made bath bombs, I will often make bath bombs myself.
These DIY Lavender bath bombs are very easy to make, and if you cook and bake a lot, you may just have all of the ingredients in your pantry already! You can customize the scent by using your favorite essential oil.

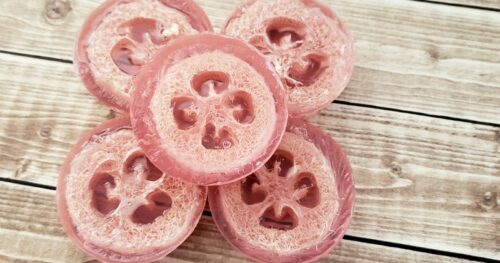
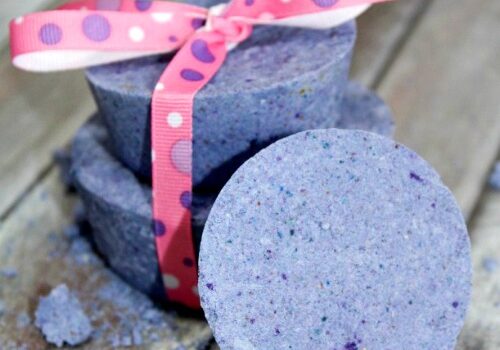
DIY Lavender Bath Bombs
Learn how to make bath bombs with natural ingredients at home. It's a fun and easy DIY beauty project.
Print (no photos)
Makes: 5 Bath Bombs
Supplies
- 8 ounces baking soda
- 4 ounces cream of tartar
- 4 ounces cornstarch
- 4 ounces epsom salts
- ¾ teaspoon distilled water
- 20-30 drops lavender essential oil - or your favorite essential oil
- 2 teaspoons coconut oil
- Soap colorant - or food coloring, optional
- Dried lavender - or biodegradable glitter or other decorative items
Tools
- Mixing bowl
- Mini muffin pan
Instructions
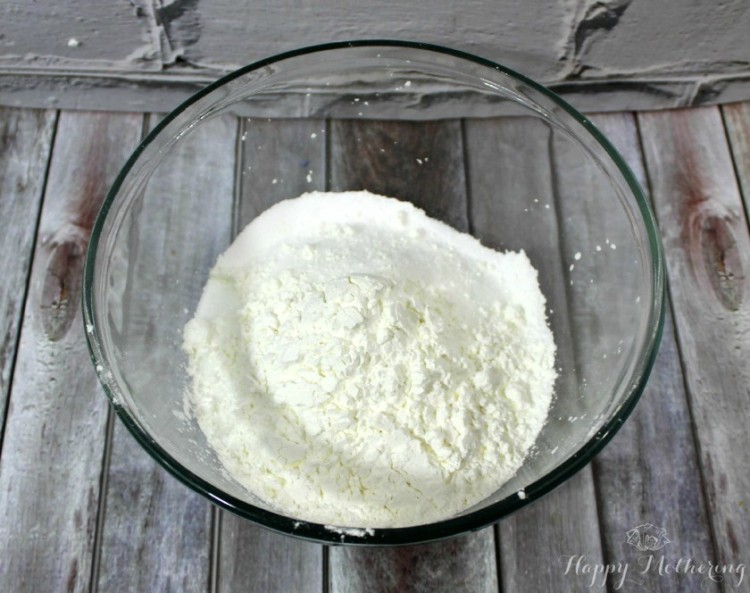
- In a large mixing bowl, combine all dry ingredients (epsom salts, baking soda, corn starch and cream of tartar).

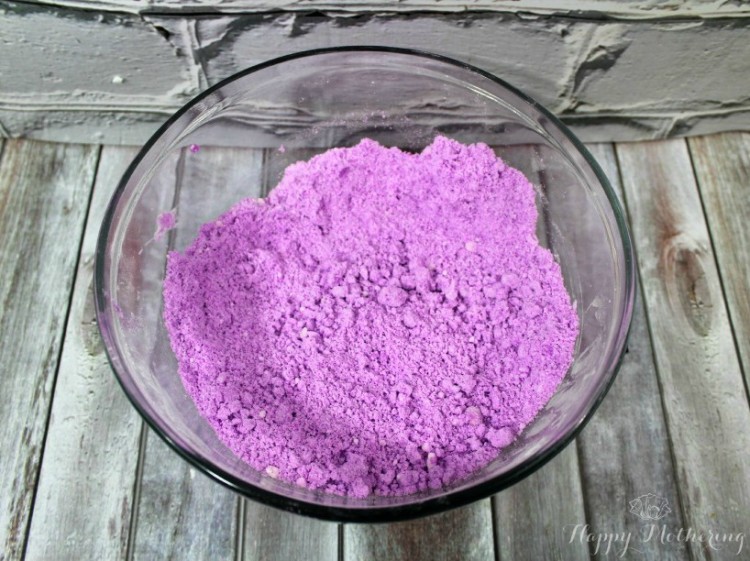
- In a another small mixing bowl, combine the water, oil and food coloring, then combine the wet and dry ingredients. Your mixture should resemble wet sand at this stage in the process. If you're using a natural food coloring, you should be able to tell when it's well mixed once the coloring is even. Also, it should hold together when you squeeze some in your fist. If it doesn't hold together, add a few drops of water at a time until you reach the desired consistency.

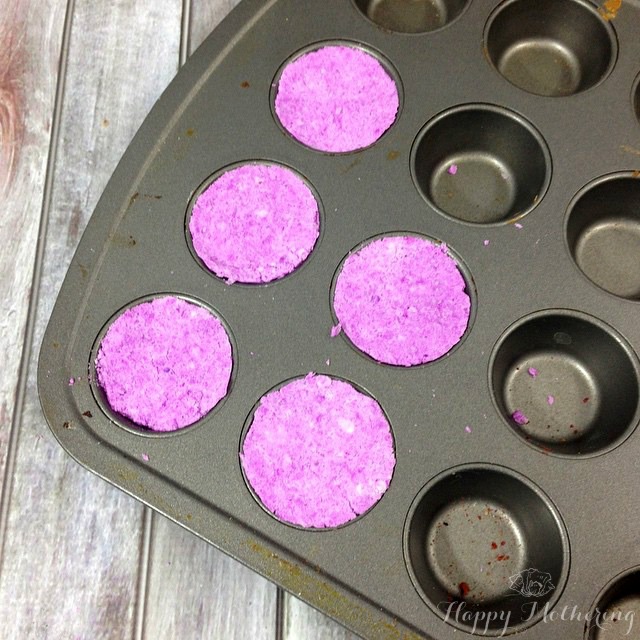
- Once it's the right consistency, tightly pack it down into your mold (the mini muffin pan). Allow the bath bombs to dry for 24 hours. I recommend not removing from the mold until the mixture is completely dry. However, depending on your mold shape, you may have success with early removal so you can reuse the molds more quickly. Cupcake and Flat shapes work great removing them from the mold early. More intricate designs do not.

- Once you're ready, remove your DIY bath bombs from the mold and be sure they're completely dry before storing in an airtight container.

Notes
To use bath bombs, drop one in the bath tub and enjoy the soothing aromatherapy experience.
Popular DIY Beauty Recipes
DIY Honey Face Wash
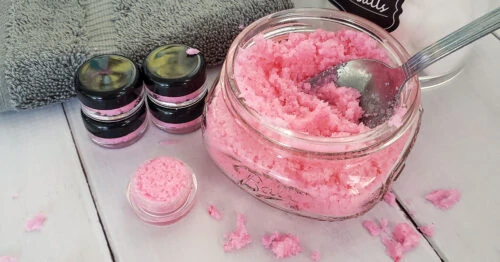
DIY Lip Scrub with Whipped Sugar
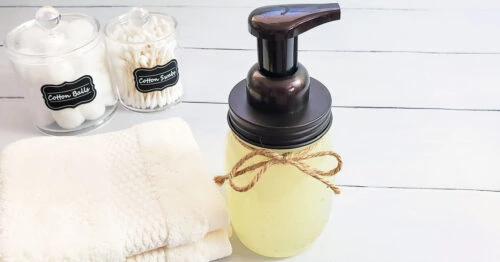
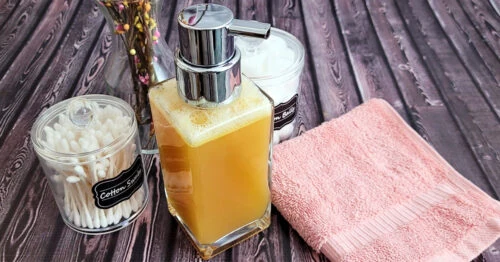
How to Make Foaming Hand Soap
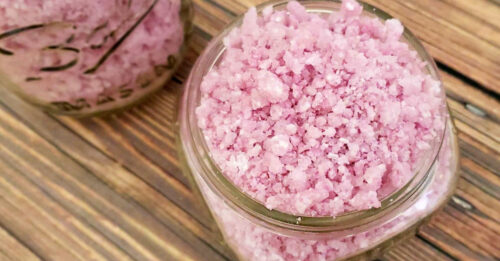
DIY Pop Rocks Fizzing Bath Salts
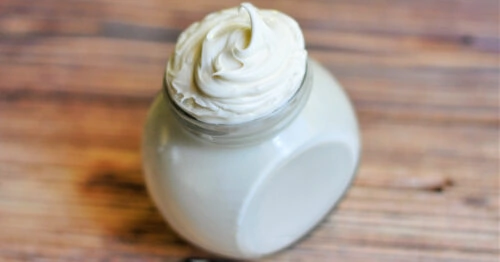
DIY Whipped Face Cream