Jump to Directions
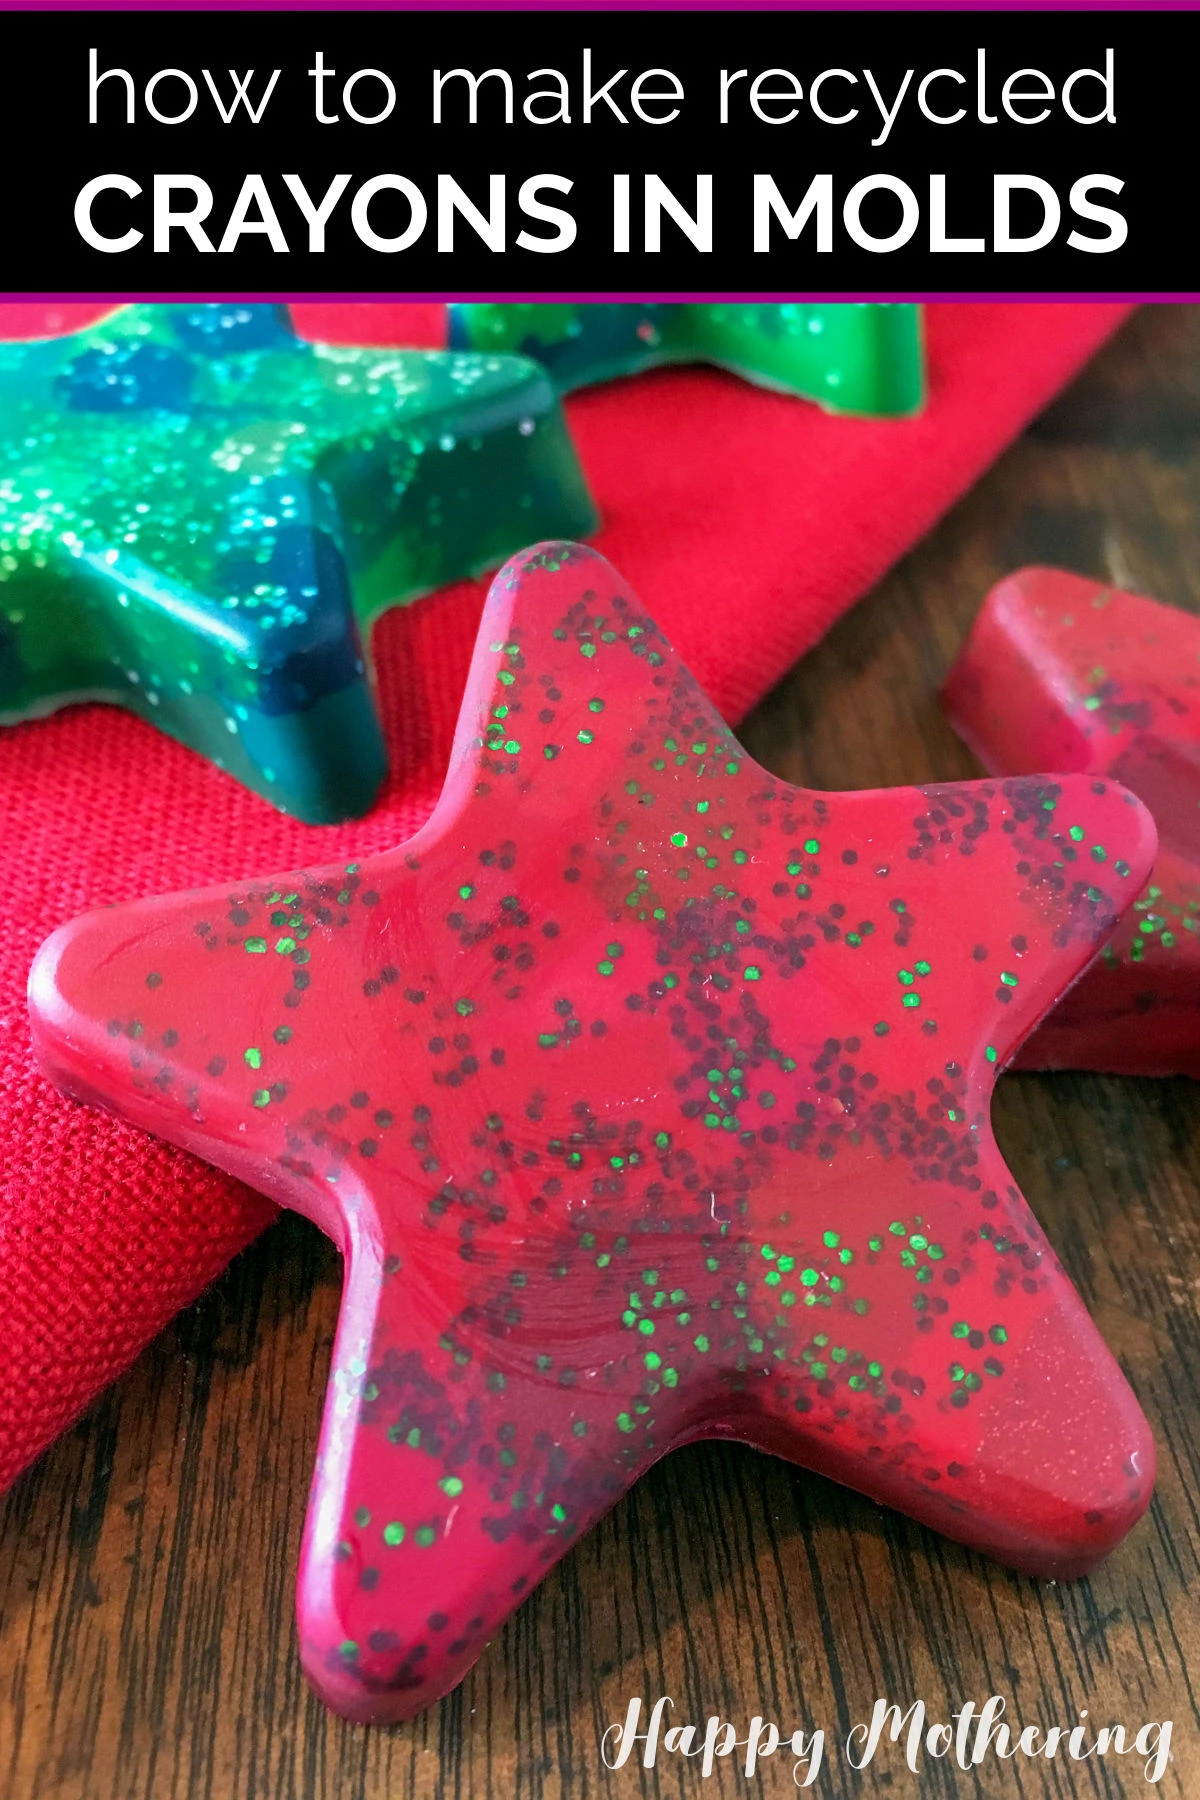
Do you have a bunch of old crayons laying around? Melting crayons in molds in a great way to make fun crayons in different shapes.
I don’t know how it happened, but we accumulated several gallon-sized bags full of old broken crayons in lots of different colors. I’ve been working on different ways to use up these leftover crayons.
One fun idea we had is to make our own DIY crayons with them. So, I put together this easy tutorial to show you how to melt crayons in molds to give them new life.
You can make crayons in solid colors in various shapes, or you can make rainbow crayons that almost have a tie-dye effect. You can add glitter or not… there are lots of neat ways to customize this fun project.
While this tutorial shows you the easiest way to make small batches of homemade crayons, you can follow the same instructions to make a bunch of crayons without any additional cost since you’re using items you already have.
Supplies and Tools
- 7 green crayons
- 7 red crayons
- Knife
- Cutting board
- Silver, green, red or gold glitter
- Star silicone mold
- Oven and oven mitt
By the Numbers: How to Make Crayons in Molds
Follow these simple step by step instructions to learn how to make recycled crayons in silicone molds. Since this fun craft uses hot wax, adult supervision should be required for kids.
Step 1: Remove Crayon Wrappers
Preheat your oven to 275˚ F. While it’s pre-heating, remove the paper crayon wrappers from each of your red and green crayons (or whichever crayon colors you’re using).

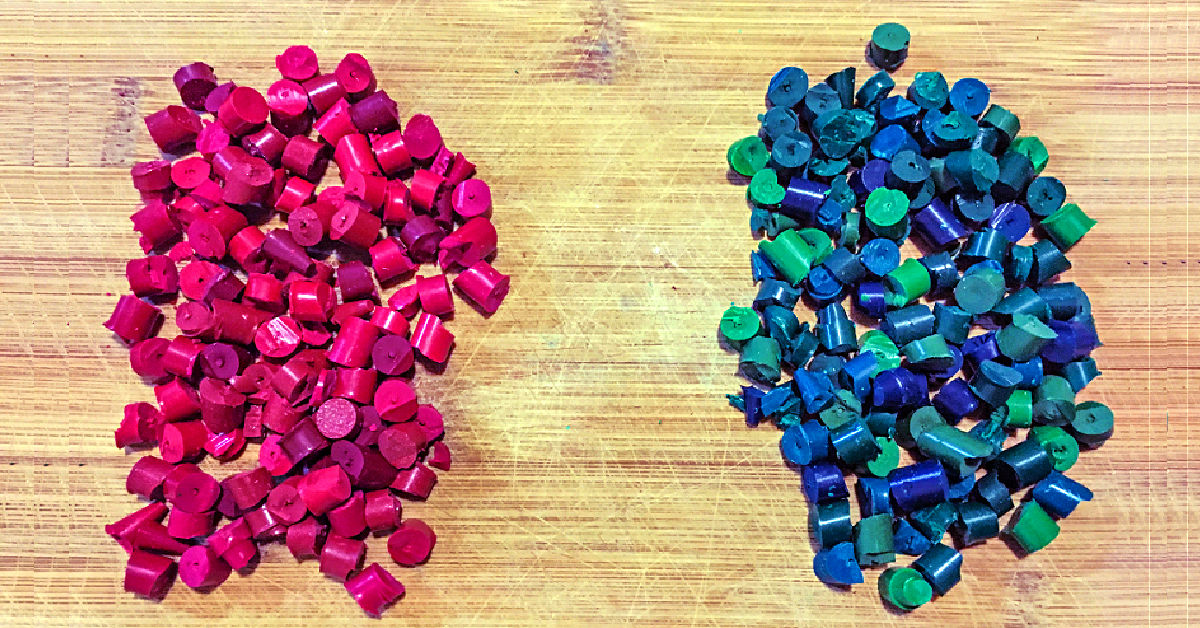
Step 2: Cut Crayons Into Pieces
Use a knife to carefully cut each crayon into tiny pieces. Smaller pieces will melt faster and more evenly than bigger pieces, so you can even grate them into crayon shavings to make the melt time faster.
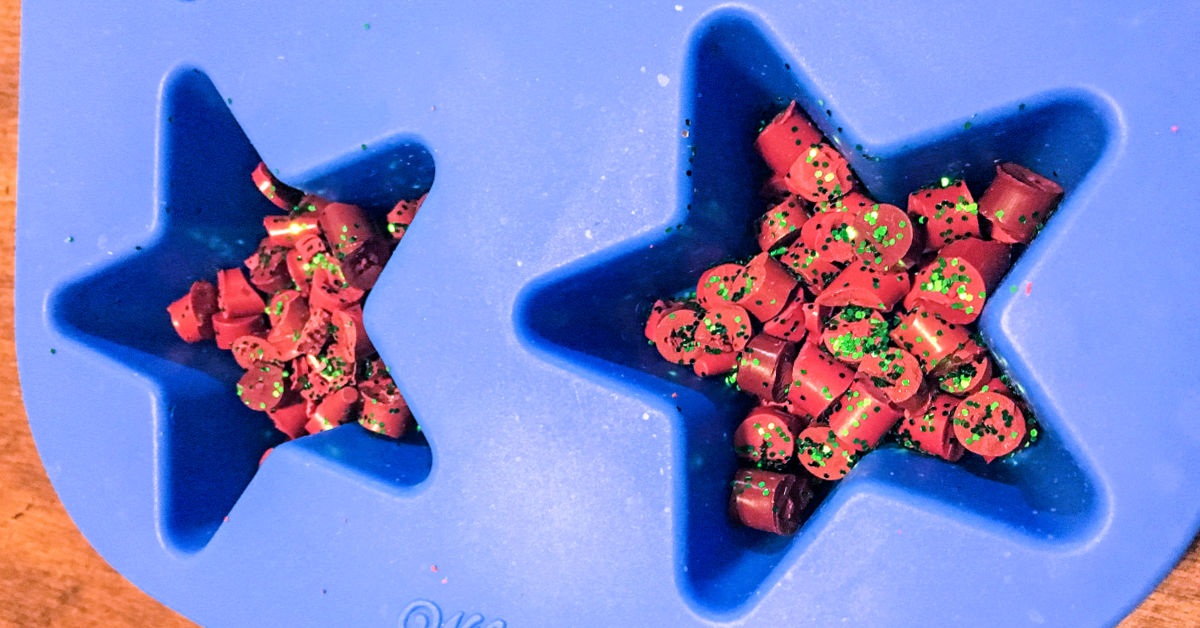
Step 3: Put Crayon Bits and Glitter Into Molds
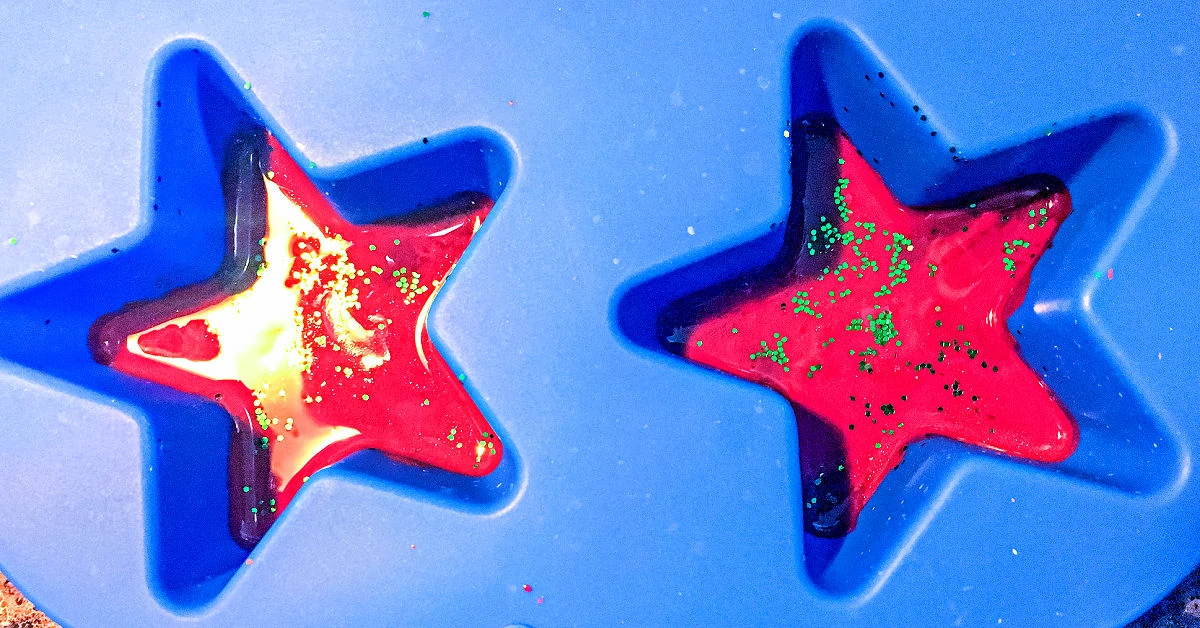
Shake glitter into a star-shaped silicone tray. Add green crayon pieces into 2 of the cavities and red crayon pieces into 2 more. Cover the pieces of crayon with additional glitter.
Step 4: Melt Crayon Wax
Place the silicone mold with the crayon bits onto a baking sheet or other pan with a flat, hard surface, then into your pre-heated oven for 15 minutes or until the crayons have completely liquefied. Remove the silicone mold from the oven after the crayons melt.
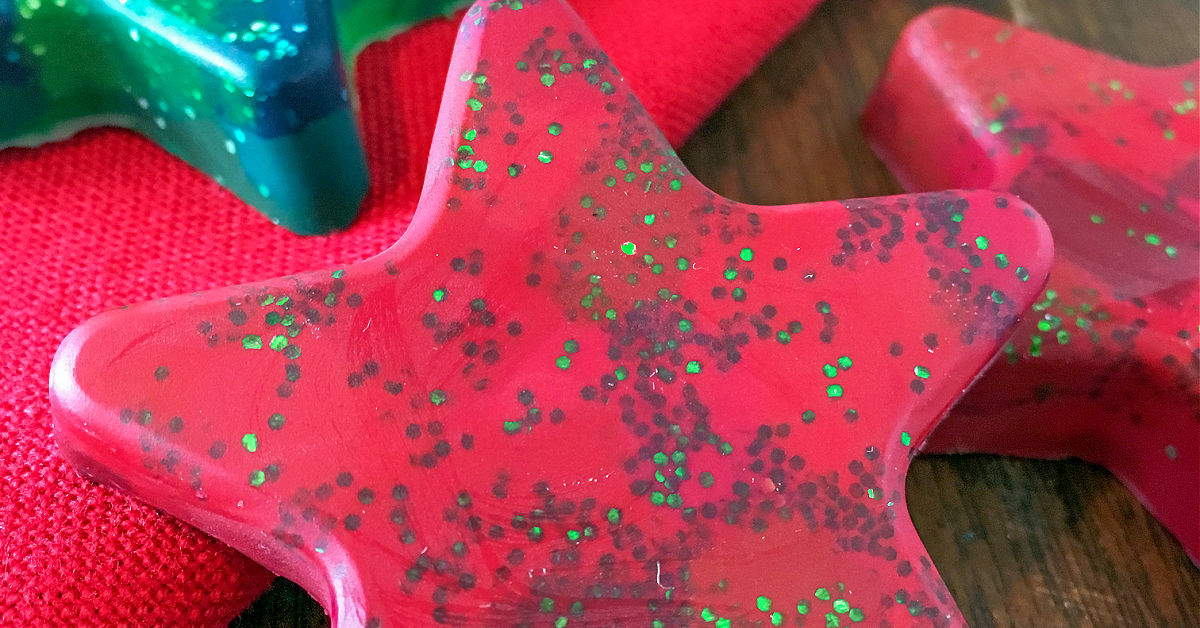
Step 5: Cool New Crayons
Allow the melted crayon wax to cool at room temperature overnight (or you can place them in the freezer for about 2 hours to cool them quicker). Once they’re cooled and hardened, you can use your new crayons.
Tips for Making Recycled Crayons
Answers to all of your questions about making melted crayons in silicone molds, including tips and variations.
Uses for new crayons
If you need ideas for using your new crayons, here are some ways to consider:
- Party favors for kids’ birthday parties
- Gift in a mason jar with a fun snow globe topper
- Hand out at end of year party in the classroom
Other mold ideas
You can make so many fun shapes with silicone molds and other oven-safe containers:
- Use a heart mold or candy molds for Valentine’s Day
- Use a mini muffin tin or mini paper cups for larger crayons for little hands
- Make crayon pumpkins for fall or Halloween
- Even an ice cube tray will work in a pinch!
Best brand of crayons
I’ve found that different brands of crayons sometimes have different melting temperatures and some work better than others. Crayola crayons work great, but you can also buy bulk crayons if you don’t want to deal with removing the paper.
Alternative to oven
If you don’t want to use the oven as your heat source, you can use a hair dryer if it gets hot enough or a heat gun if you have one.
Make it a science experiment
My daughters have always thought that science experiments are so much fun, so they’re something we do as often as we can. If your kids have the same interest, one science experiment you can do with this craft is to test it different ways and observe the results.
- Try melting a full crayon and see how long it takes compared to pieces or shavings
- Melt different brands of crayons to see which ones melt fastest and most evenly
- Observe whether different colors of crayons melt at different rates
- Observe whether adding glitter to some crayons and not others affects melting rates
- Try melting them at a lower temperature and see how that affects melt time compared to higher temperatures
- See how many different colors you can melt in one mold without having them all blend together
- Challenge your kids to come up with their own scientific questions to answer
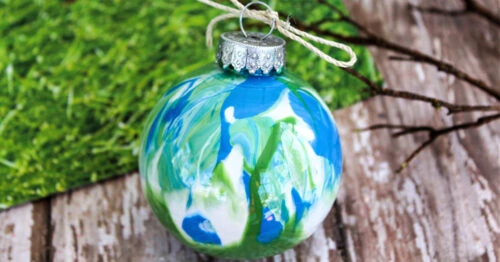
Make a melted crayon Christmas ornament
If you still have leftover crayons after making this craft, try making DIY Galaxy Melted Crayon Ornaments with some of them!

How to Melt Crayons in Molds
Supplies
- 7 Green crayons
- 7 Red crayons
- Glitter - silver green, gold or red
Tools
- Star Silicone Mold
Instructions
- Preheat your oven to 275˚ F. While it’s pre-heating, remove the paper wrappers from each of your red and green crayons.

- Use a knife to carefully break crayons into small pieces.
- Shake glitter into star-shaped molds. Add green crayon pieces into 2 of the crayon molds and red crayon pieces into 2 more. Cover the crayon pieces with extra glitter.
- Place the silicone mold with the crayon pieces on a cookie sheet or other pan with a flat surface, then into your preheated oven for 15 minutes or until the crayons have completely melted. Remove the silicone mold from the oven after the crayon melts.
- Let the hot wax to cool at room temperature overnight (or freeze for about 2 hours to cool faster).