Jump to Directions
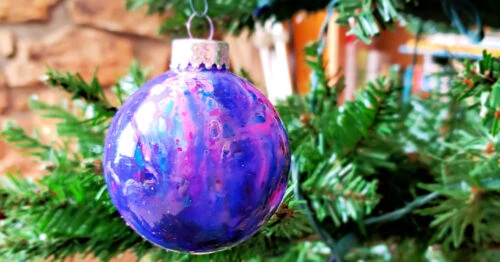
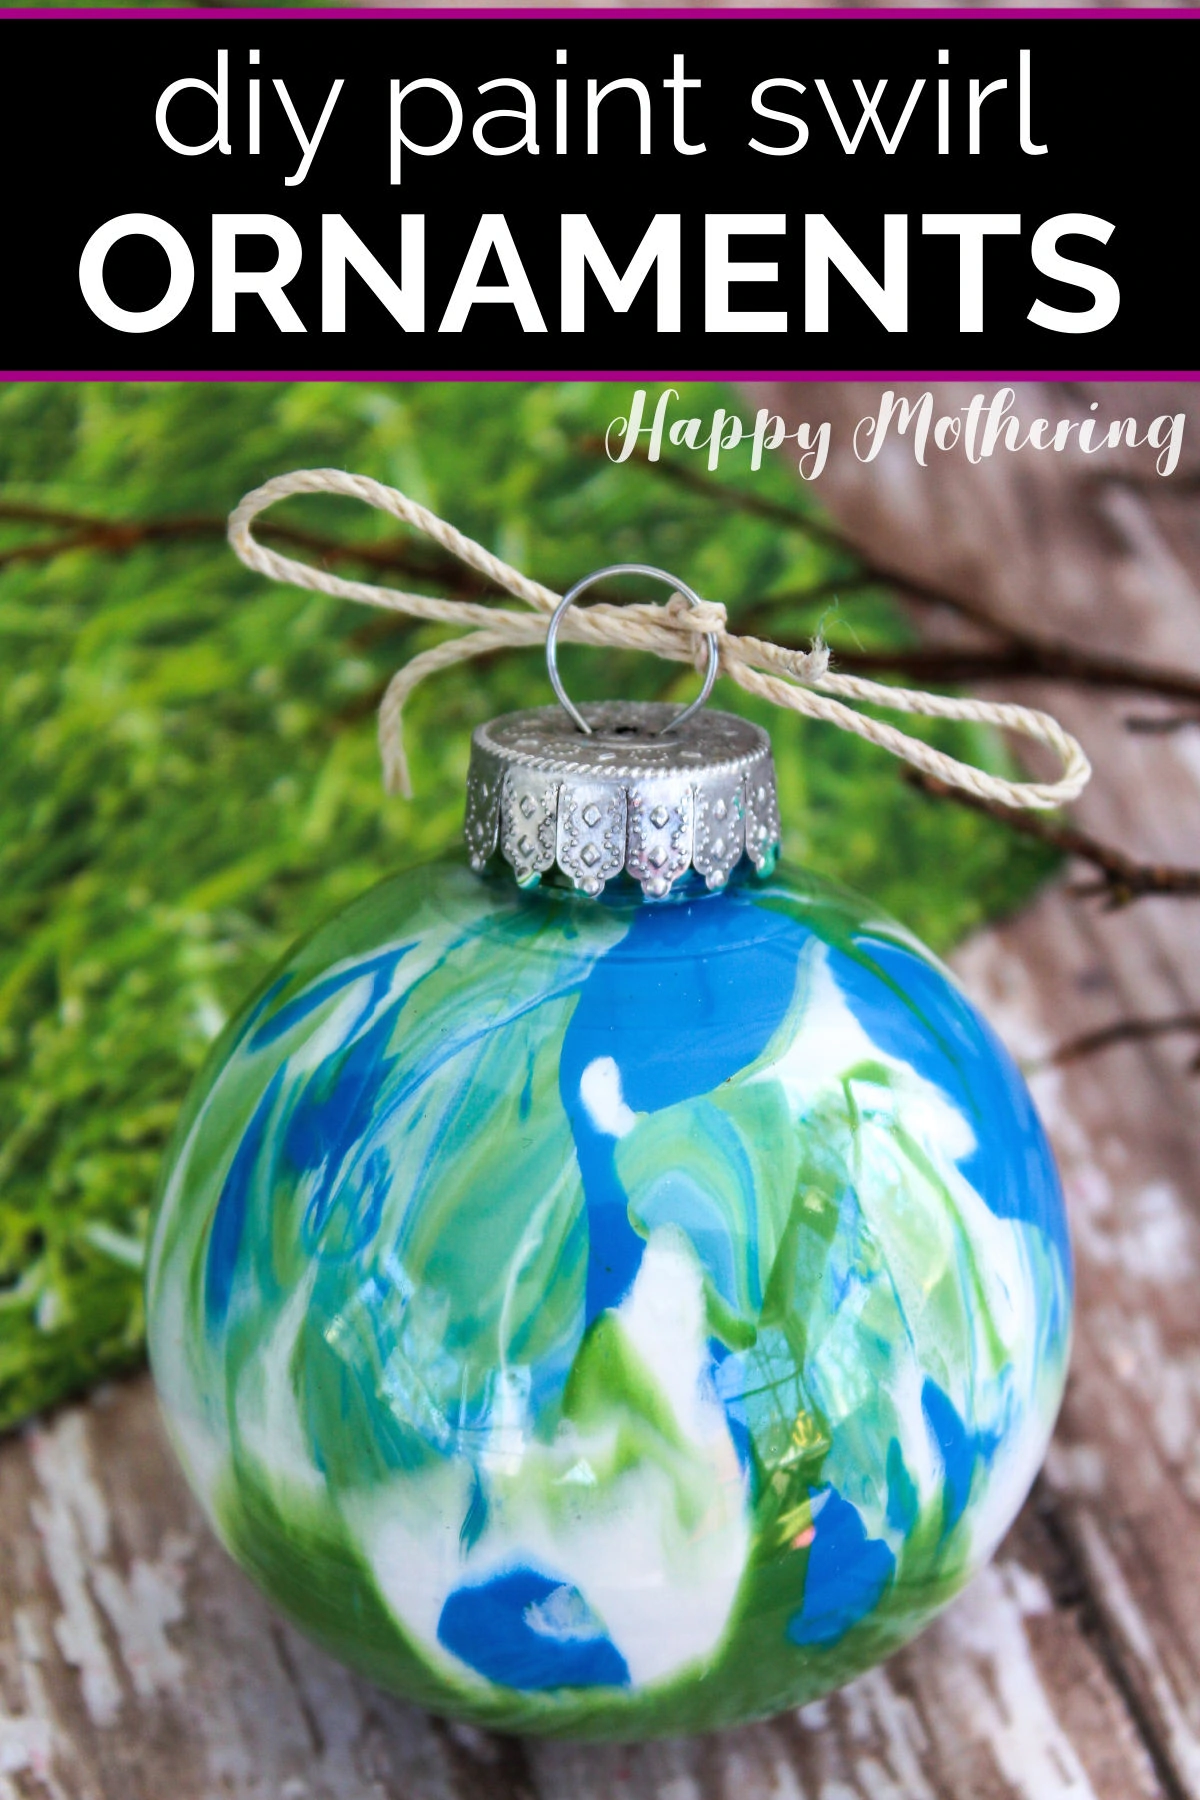
Are you looking for a simple project that’s a lot of fun for kids of all ages? These beautiful DIY Paint Swirl Ornaments are easy to make with simple supplies like clear ball ornaments and craft paint.
Making DIY ornaments is one of my favorite ways to celebrate the start of the holiday season. It’s an easy activity for the whole family, and you get to remember how much fun you had making them every time you decorate your Christmas tree.
If you want to make your own ornaments too, this tutorial for making Paint Swirl Ornaments is a great place to start. They are easy to make, you can customize the colors to match your current decorations and they look so beautiful hanging on the tree.
They also make great gifts! People love receiving handmade gifts for Christmas, and ornaments are a lot of fun to make and give.
Supplies and Tools
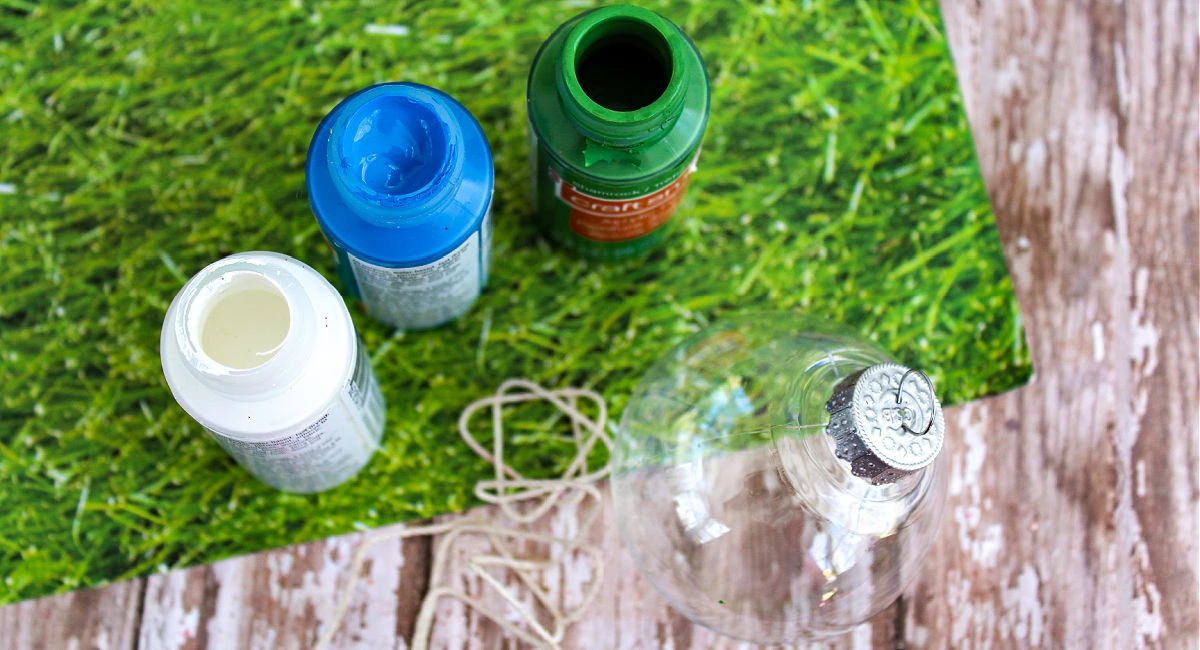
- Clear ornaments
- Blue, white and green acrylic craft paint
- Hemp twine or ribbon
- Paper or plastic cup
- Drop cloth or newspaper
- Paper towels
- Rubbing alcohol
By the Numbers: How to Make Paint Swirl Ornaments
Follow these simple step by step instructions to learn how to make pretty paint swirl ornaments for your Christmas tree.
Step 1: Setup and Add First Color to Ornament
Start by laying down a drop cloth or some newspaper as this craft can get messy. It’s important to protect your surface so that when you shake the ornament, it is protected from paint splatters.
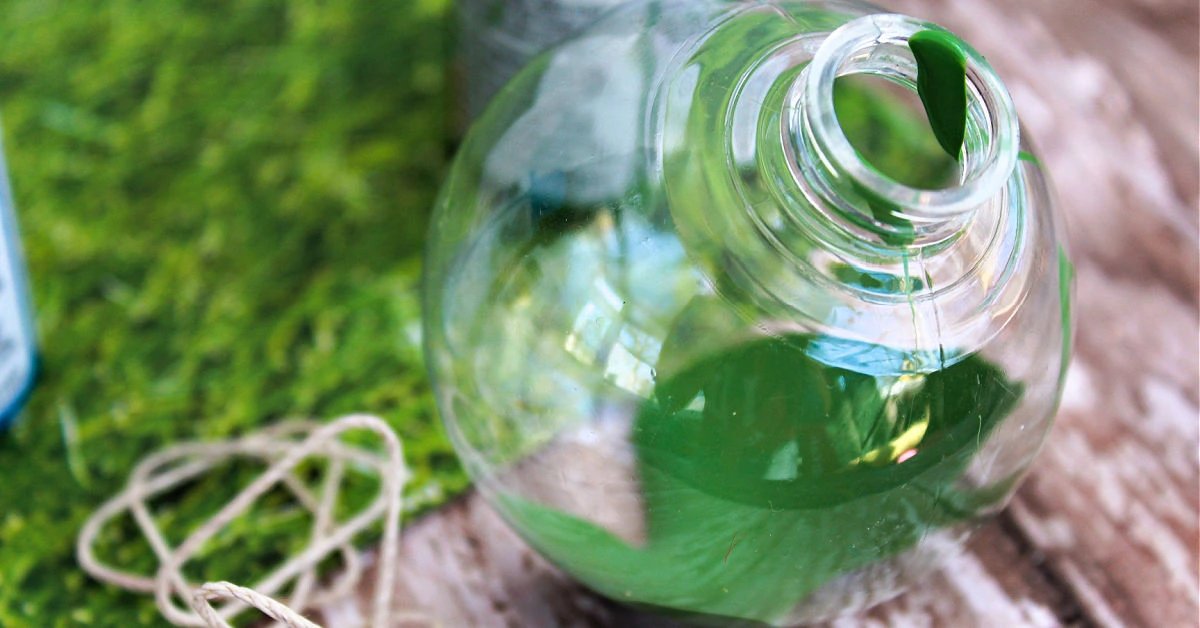
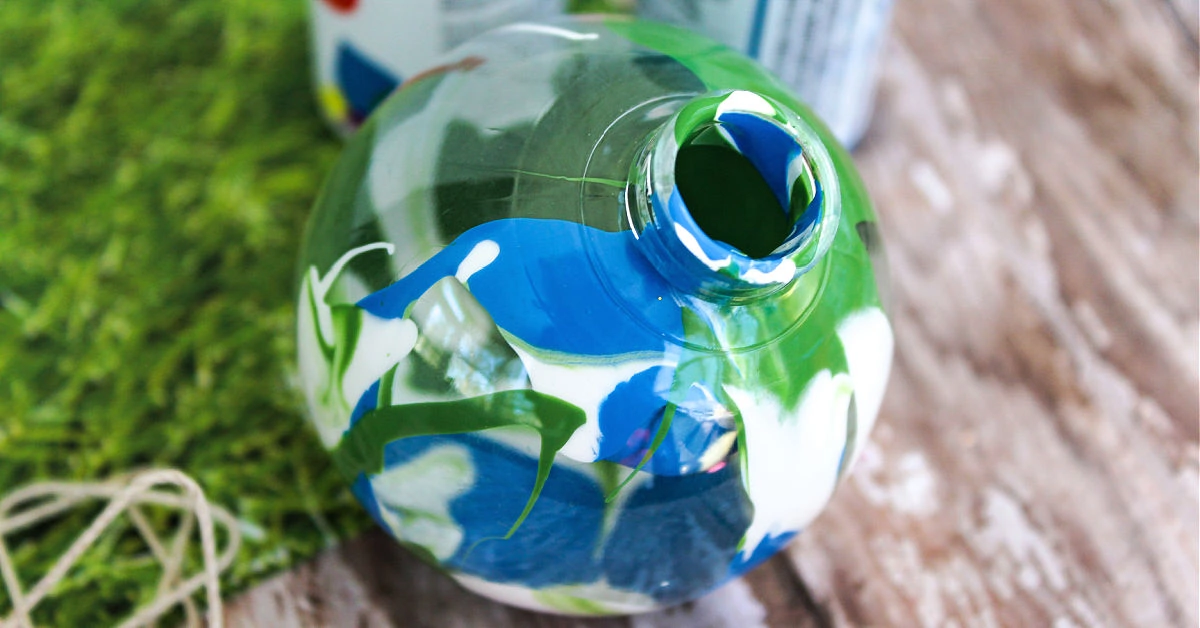
Next, take the lid off the top of the clear ball ornament and pour about 1 teaspoon of green paint inside of the ornament. Slowly twirl the ornament so the paint is allowed to move and swirl around.
Step 2: Add Second and Third Color to Ornament and Swirl
Add about a teaspoon of the second color, in my case white paint. You will do the same thing, slowly twisting and turning the ornament in a swirling motion so the paint can distribute.
Repeat with your final color, the blue paint, and this time swirl it for a moment before replacing the lid of the ornament.
Step 3: Shake then Let Paint Dry
Press your finger over the ornament top to hold it in place and give the entire piece a quick shake. Shake it for about 15-20 seconds to really get the paint mixed up. Be careful that you don’t overdo it or all of the colors will mix and the whole thing will turn brown.
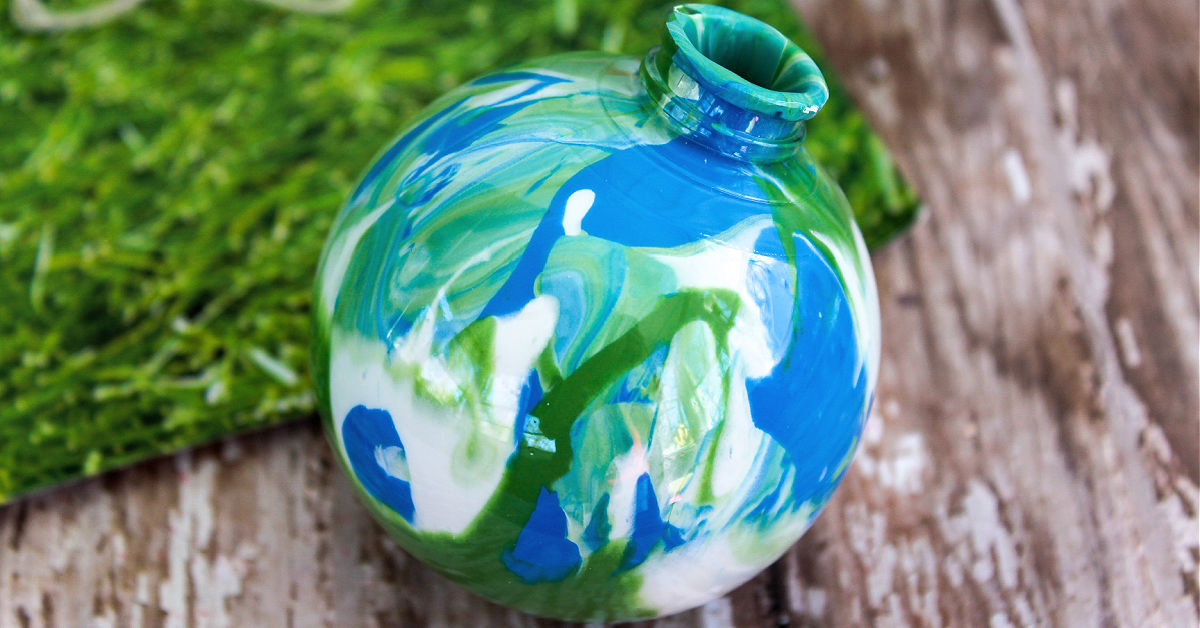
Once the inside of the whole ornament is completely covered in paint, remove the lid of the ornament, set the ornament upside down in a disposable cup to let the excess paint drip out and allow it to dry for 24-48 hours.
If you notice any paint drips on the outside of the ornament, be sure to wipe them up with a piece of paper towel and rubbing alcohol before it dries. If you’re making a lot of painted ornaments, you can also use an egg carton to catch drips.
Step 4: Display Your Ornament
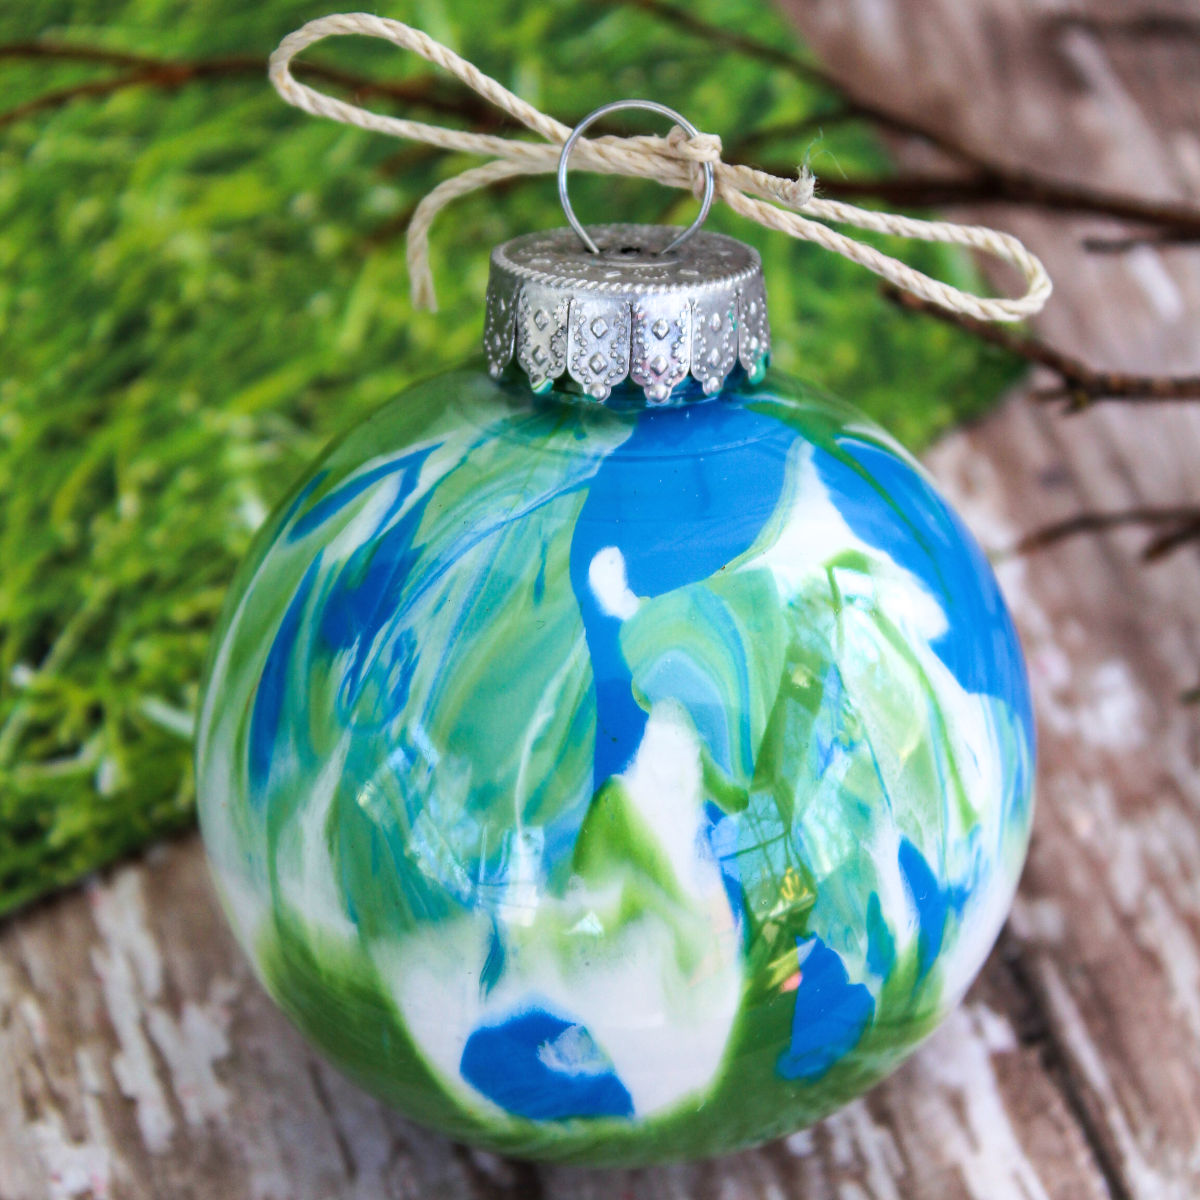
You want to make sure it’s totally dry before you put the top back on. Once dry, replace the ornament cap and add a piece of ribbon or twine for hanging if it doesn’t have a hook. Your Paint Swirl Christmas Ornament is now ready to be displayed.

Tips for Making Paint Swirl Ornaments
Answers to all of your questions about making these beautiful Paint Swirl Ornaments for the holidays, including tips and variations.
Other color combination ideas
One of my favorite things about this craft is that you can use your own choice of colors if you don’t want to use the same colors as me. When selecting different colors, make sure they contrast each other well so they don’t just blend together.
Some other paint color options include:
- Red, white and green paint
- White, pink and black paint
- Red, white and blue paint
- Red, blue and yellow paint
- Use just one color to make solid-colored globe ornaments
- Metallic paint in your choice of colors looks amazing under the light
- Or any color scheme you like
Plastic or glass ornaments?
Another wonderful thing about this craft is that it works with both clear glass ornaments and clear plastic ornaments (unlike my Melted Crayon Ornaments that only work with glass because plastic ball ornaments can melt under too much heat).
What kind of paint works best
I only make these ornaments with acrylic paint. Some other craft paints like tempera don’t have the same lasting power and will smear if they get wet.
Where to buy supplies
I buy my craft supplies at a variety of places. If you can’t find what you’re looking for at your local craft store or local dollar store, I really like shopping with Blick Art Supplies as well as Amazon.
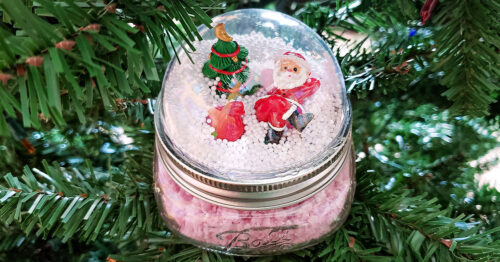
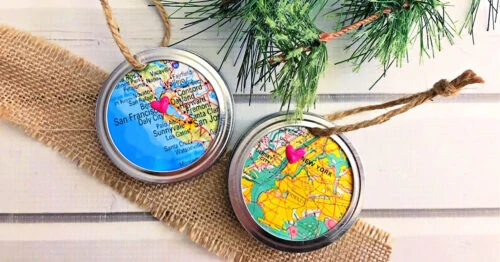
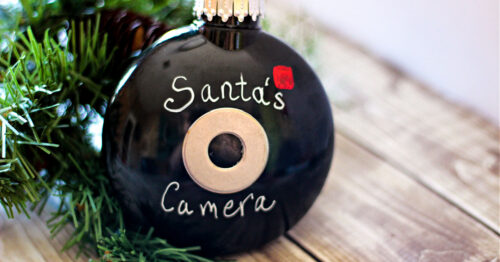
More DIY Christmas ornaments
If you want to decorate your tree with lots of homemade ornaments, check out these tutorials:
- Santa Cam Ornament
- Galaxy Melted Crayon Ornament
- Snowflake Wine Cork Ornament
- Mason Jar Ring Map Ornament
DIY Paint Swirl Ornaments
Supplies
- Clear fillable globe ornaments - clear glass balls and plastic balls work
- Acrylic paint - (blue, white and green or your favorite color trio)
- Hemp twine - or ribbon, for hanging
Tools
- Drop cloth, newspaper or old towel
- Plastic or paper cup
- Paper towels
- Rubbing alcohol
Instructions
- Lay down a drop cloth or some newspaper to protect your surfaces from paint splatters.Take ornament tops off and add about 1 teaspoon of green paint to the inside. Slowly swirl paint around the ornament by twisting it around so the paint can glide along the inside of the ornament.

- Add in a teaspoon of white paint, then slowly twist and turn the ornament around so the paint can coat the inside. Repeat with your final color, the blue paint, then swirl it a bit more before replacing the lid of the ornament.
- Press your finger over the ornament top to hold it in place and give the entire ball a shake for about 15-20 seconds to mix up the paint. Don’t overdo it or all of the colors will blend and turn brown. When the colors are swirled to your liking, remove the lid of the ornament, set the ornament upside down in a cup to let extra paint drip out and let it dry for 24-48 hours. Wipe any paint drips with a paper towel and some rubbing alcohol.
- Once it’s completely dry, replace the hanger top and add a piece of ribbon or twine for hanging. Your beautiful ornaments are now ready to be displayed.