Jump to Directions
DIY Reed Diffusers are an easy way to make your home smell amazing with essential oils. Learn how to make your own with simple supplies and natural ingredients.
Making your own reed diffuser is a great way to avoid artificial fragrances in your home, which is great for families with small children.
The good news is all you need is a glass container, some reed sticks, a carrier oil and your choice of essential oils to make this DIY diffuser.
They work great in small spaces and large rooms like the living room, guest room, bathrooms, bedrooms and more. DIY essential oil reed diffusers also make a great gift for friends and family.
- Supplies and Ingredients
- By the Numbers: How to Make a Reed Diffuser
- Tips for Making DIY Reed Diffusers
- 1. How to use a reed diffuser?
- 2. What type of bottle works best?
- 3. Which carrier oils work best?
- 4. Reed diffuser essential oil recipes.
- 5. Substitutes for diffuser reeds?
- 6. When to refill diffuser bottles?
- 7. How to make reed diffuser smell stronger?
- 8. More ways to scent your home with essential oils.
- DIY Reed Diffuser Tutorial
- Popular Crafts & DIY Projects
Supplies and Ingredients
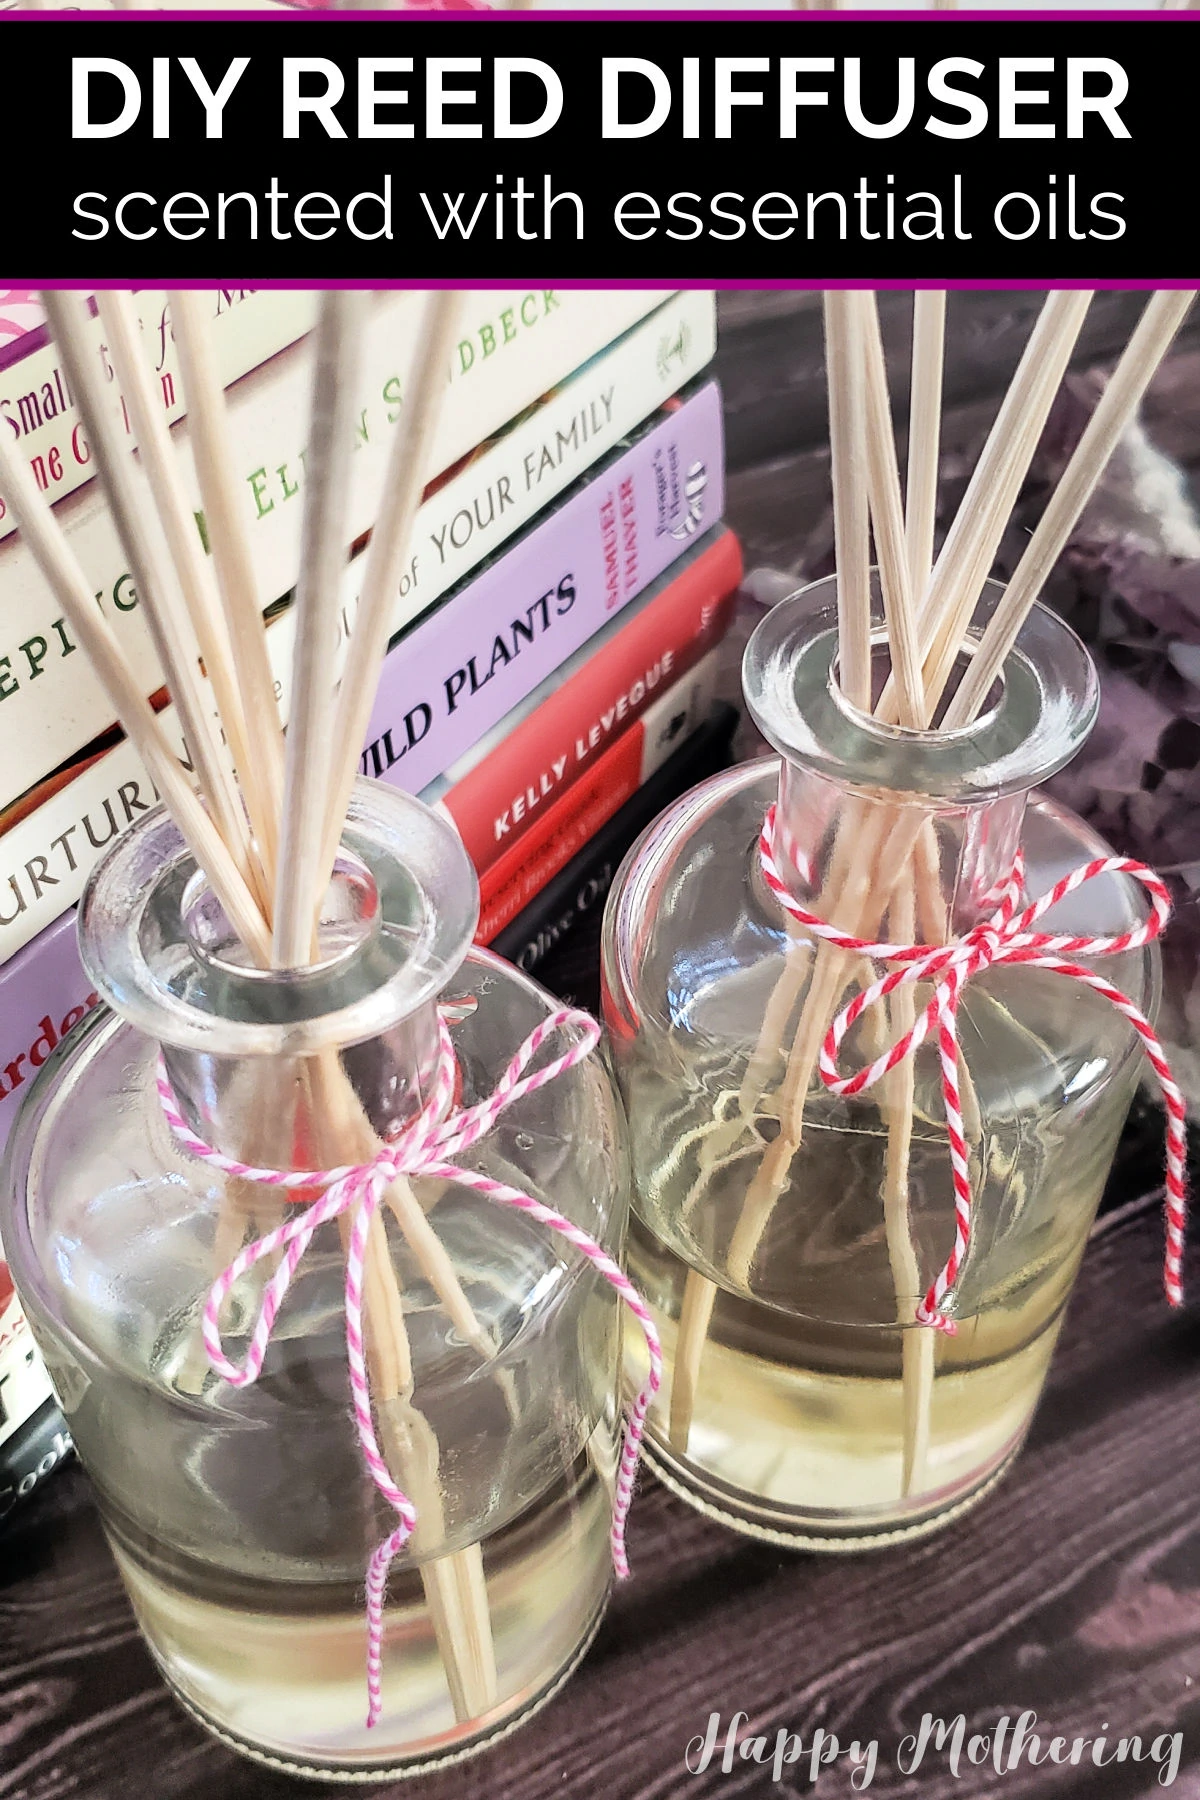
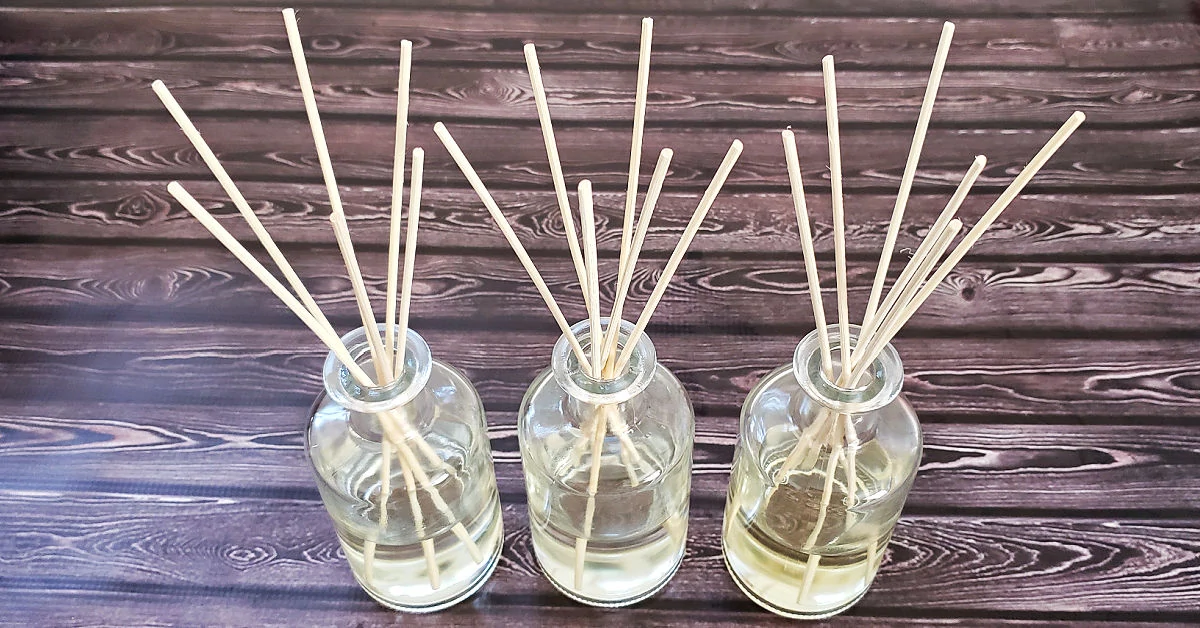
- 1 decorative glass bottle with a narrow opening
- 4-5 reed diffuser sticks
- ¼ – ½ cup of carrier oil, room temperature
- 20-30 drops of essential oils
- Funnel
- Whisk
- Measuring cup
By the Numbers: How to Make a Reed Diffuser
Follow these simple steps to make your own DIY reed diffuser in a matter of minutes.
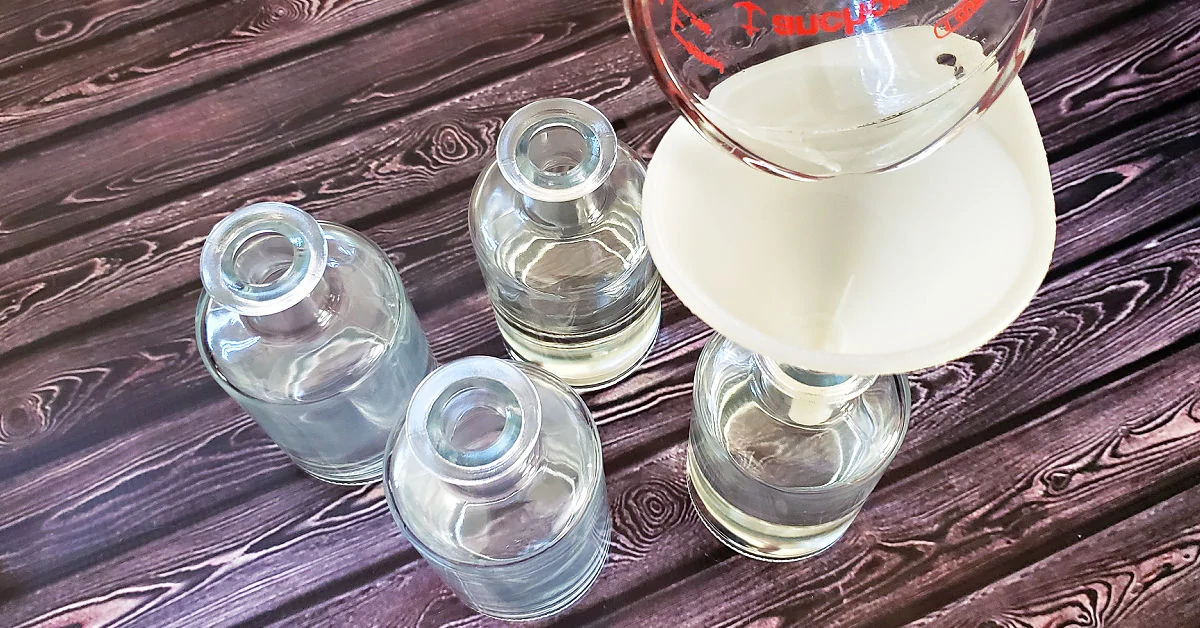
Step 1: Add Carrier Oil to Bottle.
The first thing you want to do is pour the carrier oil through a funnel into the bottom of each glass bottle until it’s about 1-inch deep. Depending on the bottle, it usually takes about ¼ cup.
Step 2: Add Essential Oils.
Next, add 20-30 drops of your favorite essential oil blend and swirl it into the carrier oil until it’s mixed well. Smell it and see if you think it’s strong enough (it’s not likely to be too strong at this point). If you’re happy with the scent level, leave it. If not, add more until you’re content with the strength.

Remember, you’re going to be smelling this from across the room in your house, so it should be a relatively strong scent. It’s hard to add too much essential oils but, if you do, you can always balance it with more carrier oil.
Step 3: Add Reeds to Bottle.
Finally, add 4-5 reeds to the bottle. If it’s a narrow bottle, you may need fewer. If it’s a wider bottle, you may need more.
Make sure all of the reeds can touch the bottom of the jar. If they can’t, you may need to remove one. They need to be submerged down in the oil if you want the scent to diffuse through the room.
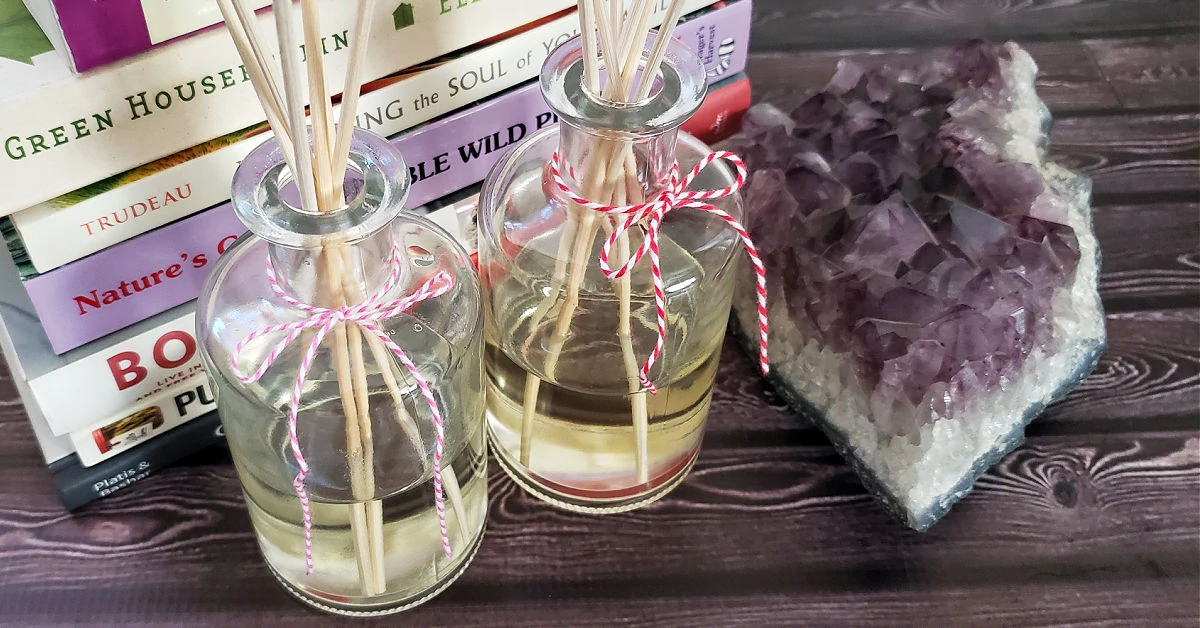
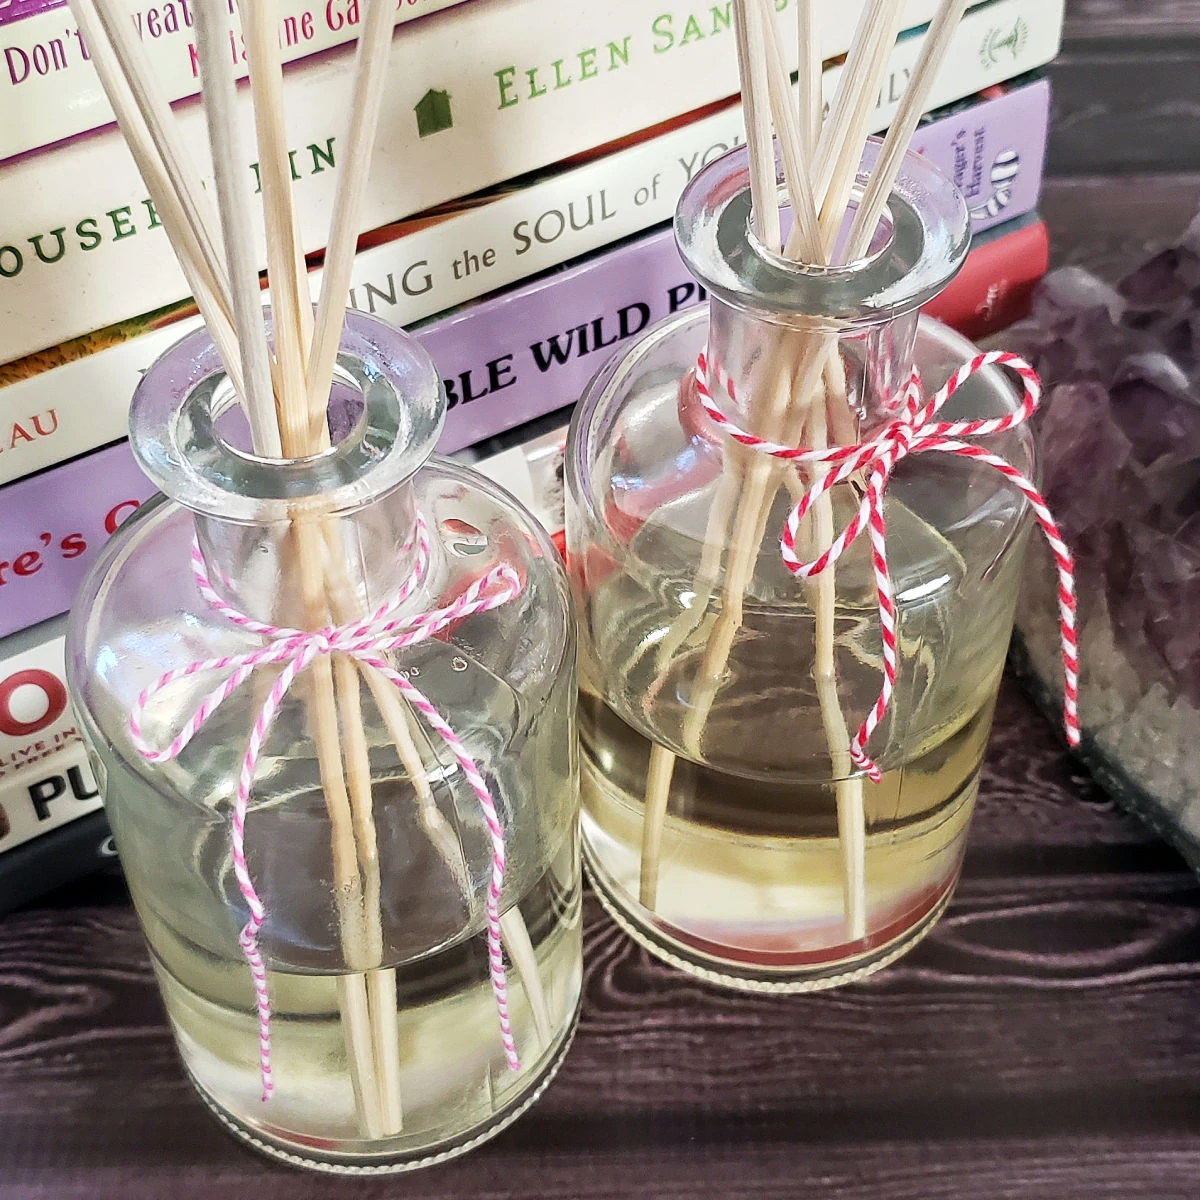
Step 4: Display your DIY Reed Diffuser.
It will take a while for the reeds to drink up the oil and start diffusing the scent, but when they do, you’ll get to enjoy pretty home décor that doubles as a room freshener! Keep out of direct sunlight for best results.
Tips for Making DIY Reed Diffusers
Answers to all of your questions about making a homemade reed diffuser with essential oils.
1. How to use a reed diffuser?
To keep the scent going strong in your own home, you’ll want to flip the reeds every few days. If your reeds have dry ends, they won’t put out as much scent.
If you have a smaller space, one reed diffuser will work great. Larger rooms may need more than one.
2. What type of bottle works best?
I prefer a bottle with a small opening as you don’t have to use as many reeds and the oil doesn’t evaporate as quickly. And with kids, bottles like the ones I used are less likely to spill oil everywhere if they’re knocked over.
You can use new bottles from the dollar store (some flower vases can work well) or craft stores or pick some unique used bottles up at thrift stores. I don’t recommend using a glass jar with a wider mouth like a mason jar because the oil will evaporate more quickly, or a ceramic container since you can’t see when the diffuser liquid level gets low.
3. Which carrier oils work best?
There are so many different carrier oils out there and you can use pretty much anything as a base oil. However, the thicker oils will evaporate more slowly than thinner oils.
In my opinion, the best carrier oil choice to use as a base oil for an essential oil reed diffuser is a heavier neutral oil like sweet almond oil or fractionated coconut oil. You can use lighter oils like safflower oil, jojoba oil or olive oil, but they may evaporate more quickly.
I don’t recommend synthetic oils like mineral oil or baby oil even though they’re heavier oils. I also don’t recommend a water base even though you may have seen that recommended elsewhere. Stuff is much more likely to grow in a water mixture than oil, so stick with oil, even if all you have available is a light carrier oil.
Learn more about the qualities in different oils in my post on how to use carrier oils to dilute essential oils.
4. Reed diffuser essential oil recipes.
You can use any of your favorite essential oils for this project, but here are some of my favorite personal blends if you want to try something new.
- Winter blend. Eucalyptus and wintergreen bring a light, sweet and fresh aroma to the room. Evergreen scents are also great in the winter.
- Spring blend. Lemon, lavender and peppermint is uplifting and refreshing, just like spring.
- Fall blend. Scents like cinnamon and sweet orange can fill your home with fall scents. (see more essential oil diffuser blends for fall)
- Summer blend. Think citrus oils and floral when it’s summertime.
- Calming blend. Try a combination of lavender and sandalwood.
- Clean blend. If you want your home to smell freshly cleaned, try a combination of tea tree and lemon.
Keep experimenting with different oils and you’ll discover your personal favorite scents.
Make sure you’re choosing pure essential oils if you want a strong scent so that you get the aromatherapy benefits of essential oils with your reed diffuser.
These days, I only use Rocky Mountain Oils because of their quality. It’s worth the extra cost over the stuff you can buy at the grocery store and big box stores because the quality is so much better and the scent lasts so much longer. Plus, it’s a fraction of the cost to make your own essential oil diffuser compared to buying one.
5. Substitutes for diffuser reeds?
If you can’t get your hands on diffuser reeds, there are a few reed diffuser stick alternatives. Some people like to use bamboo skewers, rattan reeds or even twigs they collected in nature.
6. When to refill diffuser bottles?
You’ll know your reed diffuser needs an oil refill when the oils have dissipated and the reeds are no longer dark in color. It typically takes a week or two for this to happen, depending on size of your bottle and the type of carrier oil you chose.
When it’s time to refill, simply fill with more carrier oil and essential oil and you’re good to go. You can always add some more essential oils to freshen it up after a couple of days if the scent isn’t as strong, but there’s still plenty of oil in the bottle.
7. How to make reed diffuser smell stronger?
If you’re having trouble getting your scent to last, try adding a little vodka, rubbing alcohol or witch hazel to the reed diffuser bottles with the oil combination.
If you’re trying to scent large rooms, try adding 2 reed diffusers on separate sides of the room. You may also want to make sure the area where you place the diffuser gets air flow to carry the scent through the room.
8. More ways to scent your home with essential oils.
I love using essential oils to scent my home. Here are some other tutorials for scenting your home with essential oils:
- DIY wax melts for wax warmers
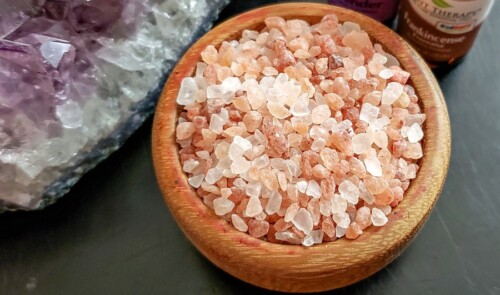
- Homemade salt diffuser (another inexpensive way to use essential oils)
- DIY beeswax candles
- Easy air freshener mason jars
- Ultrasonic diffuser
- DIY room sprays
DIY Reed Diffuser Tutorial
Supplies
- 1 decorative glass bottle
- 4-5 diffuser reeds
- ¼ cup carrier oil - such as fractionated coconut oil or sweet almond oil
- 20-30 drops essential oils - see below for essential oil diffuser recipes
Tools
- Funnel
- Whisk
- Measuring cups
Instructions
- Pour room temperature carrier oil through a funnel into your decorative bottle until there is about 1-inch of oil in the bottom.

- Add 20-30 drops of essential oil and give it a good shake, being careful not to spill. Smell and see if the scent of the oil mixture needs to be stronger, and add more until you’re happy with the strength of scent.
- Add 4-5 reeds to each bottle, making sure they are pushed all the way down into the oil at the bottom.
- Place your homemade essential oil reed diffuser in your favorite space and enjoy!