Jump to Directions

Using a wax warmer is a great way to make your home smell like your favorite scent any time of year. In this easy tutorial, I’ll show you step-by-step how to make wax melts scented just how you want them.
After seeing how easy it is to make your own wax melt rubes, you won’t want to buy them again. All you need is a handful of natural ingredients, including coconut oil, soy wax and essential oils or fragrance oils to make homemade wax melts.
This easy DIY natural wax melts recipe is affordable and way easier to make than you might expect. You’ll want to make a new batch for every season.
They also make great handmade gifts for any special occasion.
- Supplies and Tools
- By the Numbers: How to Make Wax Melts
- Tips for Making & Using Your Own Wax Melts
- Ideas to scent wax melts?
- How to make edible wax melts?
- What other type of wax can be used?
- Can you dye wax melts?
- What other types of molds can be used?
- What if I don’t have a double boiler?
- How to store homemade wax melts?
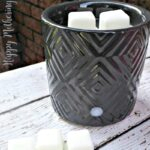
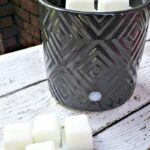
- What type of wax warmers do these wax melts work with?
- What to do with old melted wax?
- How to Make Wax Melts
- Popular Crafts & DIY Projects
Supplies and Tools
- ⅓ cup of coconut oil
- 2 tablespoons of soy wax flakes
- 30 drops of your favorite essential oils or ½ teaspoon of fragrance oil
- Measuring cups and spoons
- Double Boiler
- Wax melt tray
By the Numbers: How to Make Wax Melts
Follow these simple steps to make your own wax melts at home.
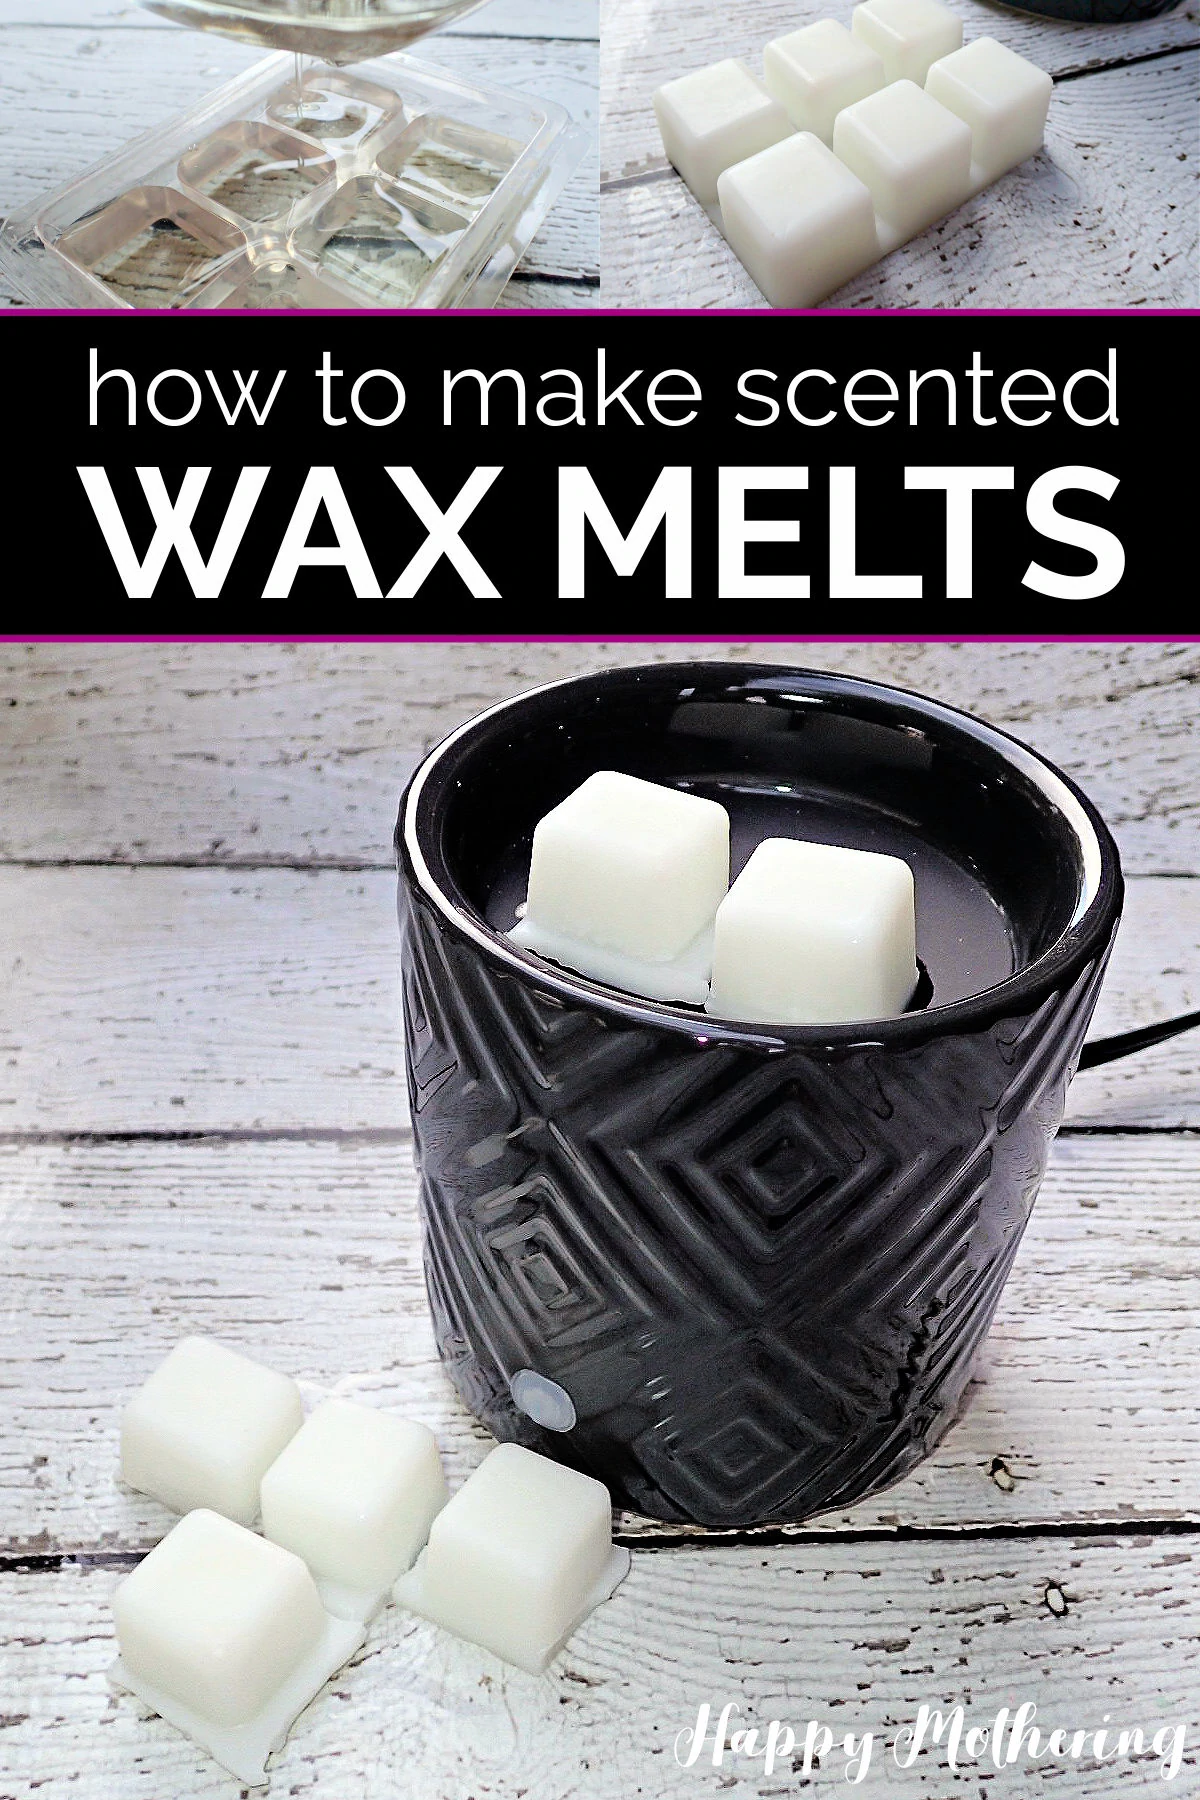
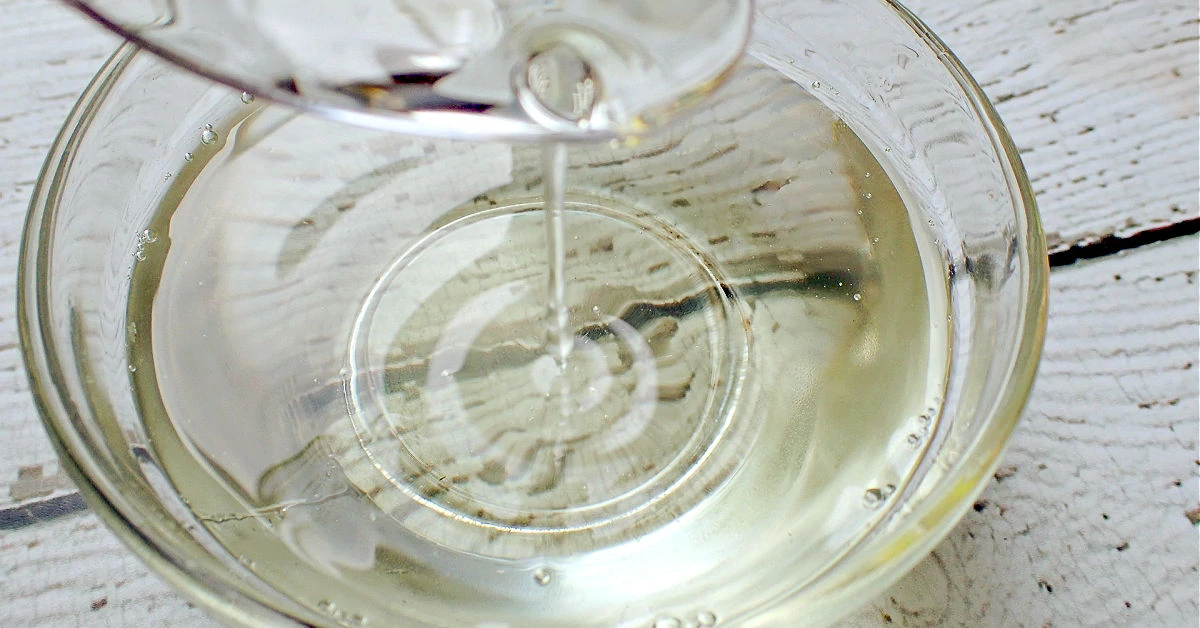
Step 1: Melt Wax and Oil.
Add ⅓ cup of coconut oil and 2 tablespoons of soy wax flakes to a double boiler and heat until melted.
Step 2: Scent Your Wax Melts.
Turn off the heat, then stir in 30 drops of your favorite essential oils. Alternatively, you can add ½ teaspoon of fragrance oil, oil soluble vanilla extract (or your favorite oil soluble food extract) or candy flavoring oil.
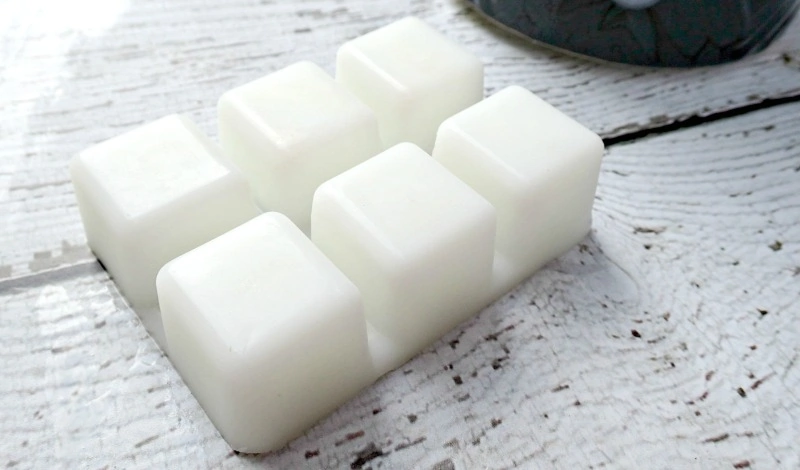
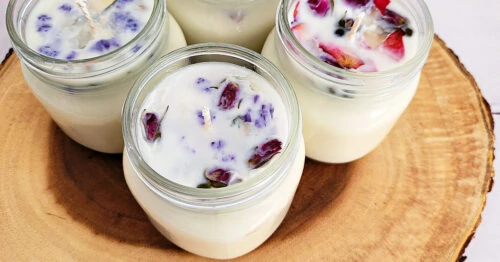
Step 3: Pour Scented Wax Mixture Into Molds and Cool.
Once everything is melted, clear and well combined, very carefully pour the molten wax into your chosen mold. If you’re using a silicone mold, be sure it’s resting on a cookie sheet or cutting board so it can easily be moved.

Step 4: Remove from Molds and Store.
Once the mold is filled, put it into your freezer until the wax melt cubes are completely cooled and hardened. Pop them out of the mold and store as indicated below.
Tips for Making & Using Your Own Wax Melts
Answers to all of your questions about making homemade wax melts, including tips and substitution ideas.
Ideas to scent wax melts?
The best way to get excellent scent throw is to use quality essential oils, flavoring oils or fragrance oils. You can choose calming or uplifting scents, or really anything that you enjoy!
I buy all of my natural essential oils from Rocky Mountain Oils because they’re high quality and the scent really lasts for a long time compared to some of the cheaper brands I’ve tried. You’ll want to add about 30 drops of your favorite essential oils blend to this recipe.
Some of my favorite oil blends are:
- Lemon, lavender and peppermint
- Cinnamon, orange and cardamom
- Lavender and sandalwood
- Pine and peppermint
And if you haven’t heard of them before, be sure to read my Rocky Mountain Oils Review.
If you want to use fragrance oils, I like Nature’s Oils. They have some really fun scents (like the Monkey Farts and Blue Cotton Candy blends I used in my last batch of homemade soy candles). If you go this route, you’ll want to use about ½ teaspoon of fragrance oil. If you use much more than that, the fragrance load may be too heavy.
You can also use about ½ teaspoon of candy flavoring oil. They come in all sorts of fun and fruity flavors.
How to make edible wax melts?
You’ll want to omit the wax and use flavoring oils (not essential oils or fragrance oils) if you’re worried someone might pop a wax cube into their mouth.
I love this option because if your little ones happen to get their hands on them and eat them, it’s totally safe! All they’ll get is the taste of coconut oil and natural flavorings.
What other type of wax can be used?
The best wax to use in wax melts is natural soy wax because of its affordability. I like to purchase soy wax for melts from Your Oil Tools or Blick Art Materials. You can also buy soy wax flakes on Amazon.
Since you typically have to buy a pound of wax, it can also be used to make DIY Soy Candles if you’ve been wanting to try candle making.
While it’s even cheaper, I don’t recommend paraffin wax as there is a lot of debate about whether or not it’s a clean burning wax.
Beeswax also works, but you’ll probably only want to add about 1 tablespoon of beeswax vs 2 tablespoons of soy wax as it’s a bit firmer. You can make Beeswax Candles, Face Cream, Chocolate Lip Balm or a Headache Balm with the leftovers.
I prefer to order beeswax from Mountain Rose Herbs because it’s high quality and clean burning.
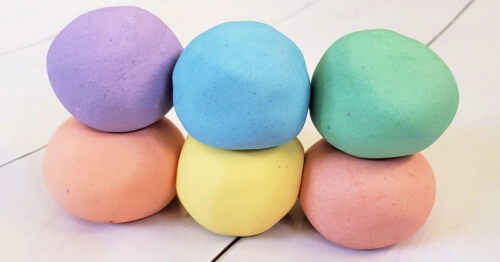
Can you dye wax melts?
If you’d like to dye your own melts so they look fancy like commercial wax melts from the store, the best choice is candle dye blocks (they can be purchased at Blick Art Materials, Amazon and Wayfair).
To dye your wax tarts, please follow the dye manufacturer’s instructions. I prefer not to dye mine, but it’s a personal choice.
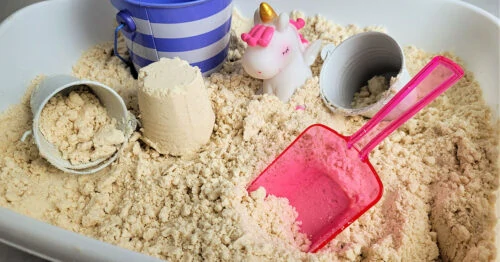
What other types of molds can be used?
You can use pretty much anything as a mold that will create a wax melt that’s small enough to work with your wax warmer.
Some ideas for different molds include:
- Any cute silicone mold (like candy molds) set on a cookie sheet
- Traditional wax melt clamshell molds
- Mini ice cube trays
What if I don’t have a double boiler?
It’s best to use the double boiler method or wax melter when melting oils and waxes together. A double boiler is something you’ll use a lot if you like making DIY beauty products, and you can get a really affordable double boiler insert from Mountain Rose Herbs.
If you don’t have one, you can very carefully melt the ingredients in a small saucepan on the lowest temperature possible, stirring constantly and being very careful not to scorch the ingredients.
Another option is to make your own double boiler by placing a glass bowl inside a sauce pan of water (the same way you’d use the double boiler insert).
You can also melt it in the microwave in 30 second increments. Just don’t put your essential oils in the microwave or they’ll lose their aroma and potency.
How to store homemade wax melts?
Store your wax melt cubes in an airtight container (like a mason jar) out of direct sunlight in a cool, dry, dark place (preferably in the refrigerator) until you’re ready to use them.
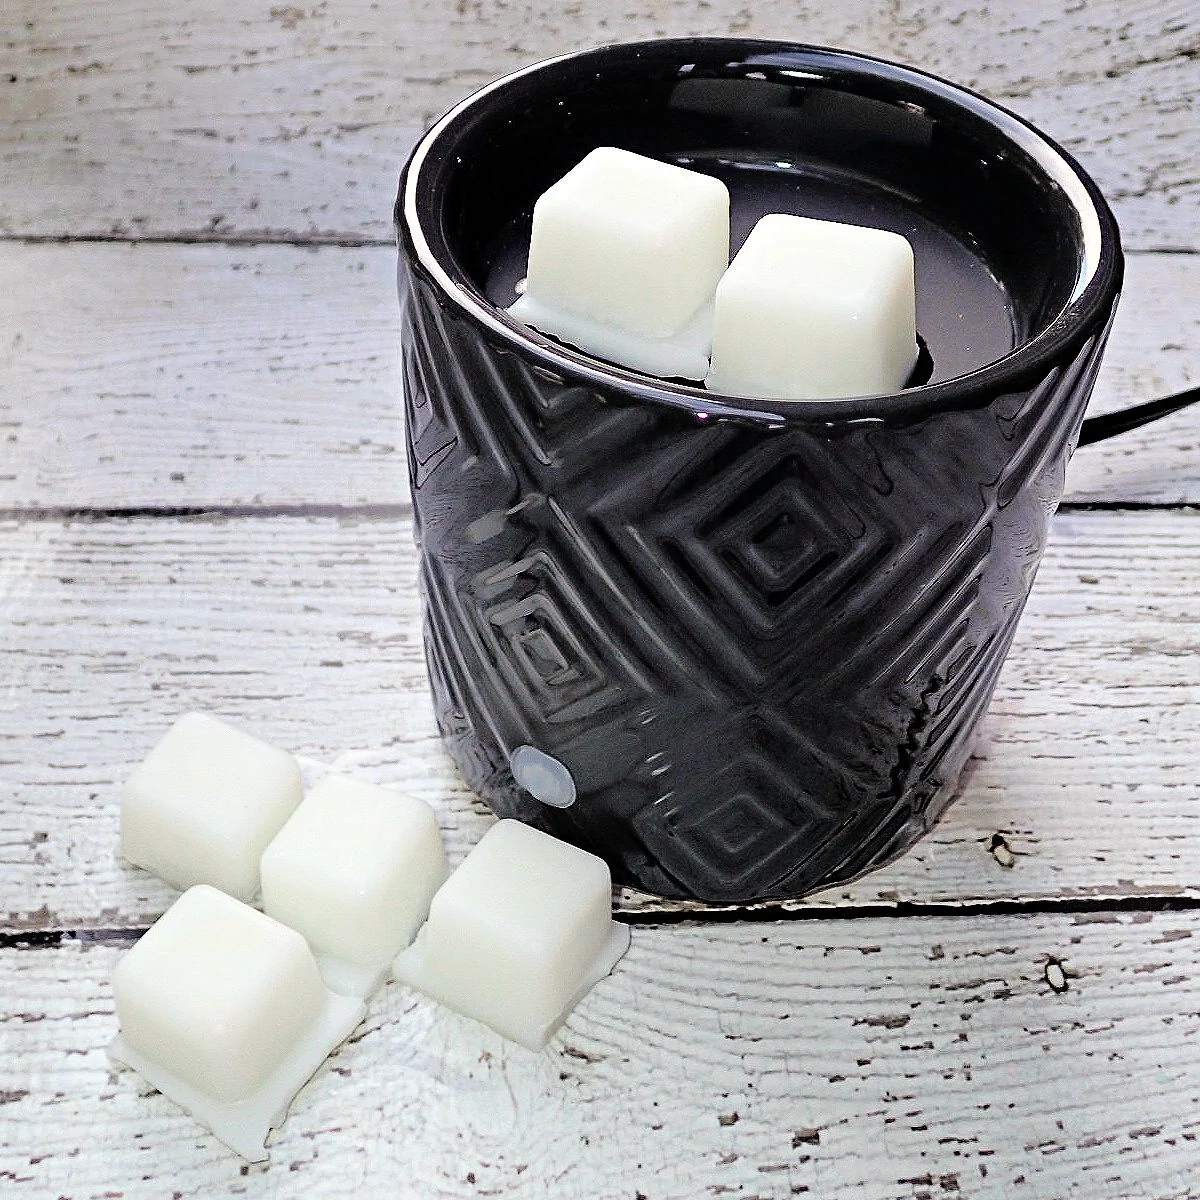
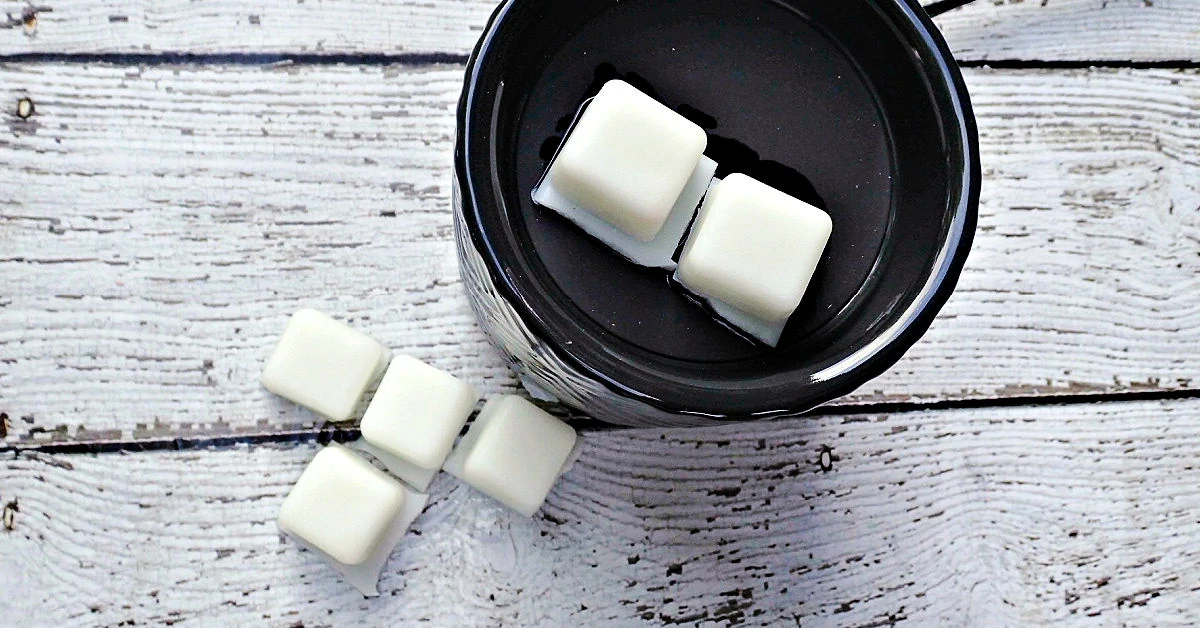
What type of wax warmers do these wax melts work with?
You can use homemade wax tarts in both tea light candle warmers and electric wax tart warmers. You use homemade melts just like store bought melts.
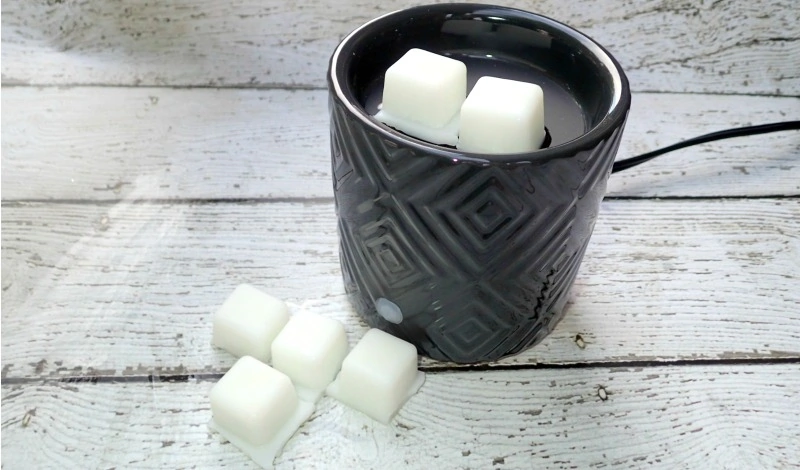
My preference is an electric wax burner as there’s no open flame to worry about. Having a safer direct heat source to melt your tarts is an especially good idea if you have young children whose curiosity might get the best of them.
Zulily always has a fun selection of electric wax warmers if you need a new one.
What to do with old melted wax?
You know your wax melts are done with when they aren’t casting out a good scent anymore. Most wax melts last for about 6-12 hours, depending on the quality of the ingredients.
After that, you can toss the completely cooled wax with the garbage (it can’t go in the recycle or compost bins). You could also melt down the leftover wax to make your own candles.
How to Make Wax Melts
Supplies
- ⅓ cup coconut oil
- 2 tablespoons soy wax flakes
- 30 drops essential oils - or candy flavoring or fragrance oils
Tools
- Measuring cups and spoons
- Double Boiler
- Wax melt tray (or see below for more ideas)
Instructions
- Add the coconut oil and soy wax flakes to a double boiler and heat until melted. Mix in 30 drops of essential oils (or ½ teaspoon of your favorite oil-soluble food extract, candy flavoring oil or fragrance oil).

- Pour the melted ingredients into your wax melt mold.
- Place the mold in the freezer until it's solid and firm, then remove from freezer and pop your melts out of the mold.
- Use your DIY wax melts to scent your home.


R u sure of your measurements? We made these and even when freezing to remove they r too soft. Almost as if the oil & wax measurements are reversed in the recipe. Please advise
Did you use solid coconut oil or liquid? I’ve made them with only coconut oil and no wax in the past and that still worked. I make coconut oil bath melts with no wax and they hold up as well.
Do you need solid coconut oil or can you use the liquid and then it turns into solid I’ve never made candles so I was just curious cuz I want to make my own wax melts at home.
Hi Miranda, if you’re asking if you can use fractionated coconut oil, which is always liquid, the answer is no. It needs to be the type that solidifies in cooler temperatures. If it’s simply melted because of the heat, you can use that. You’ll just want to store your wax melts in the fridge if coconut oil is liquid due to the temperature.
Thank you are amazing
You’re welcome! 🙂
Are Extracts safe to breathe. I’ve been doing some research and I haven’t found much about it. I have made some wax melts with extracts, but just want to make sure it’s safe. Thanks!
What kind/brand of extracts?
I tried this and it came out really nice using extracts. But I’m trying to research if using extracts is safe to breath. Any help would be so appreciated. Thank you
What kind of extracts are you specifically asking about?
Food extracts like Vanilla, Mint and just basic brands like the ones from the grocery store McCormick for example.
There is definitely conflicting information out there. You can find the MSDS (material safety data sheet) for the specific brand you’re using and see what it says about respiratory irritation. The biggest issue I find with some food extracts that aren’t oil soluble is that they contain water and can separate from the oil.