Winter means icy sidewalks and driveways. Learn how to make your very own DIY ice melt using common household ingredients!
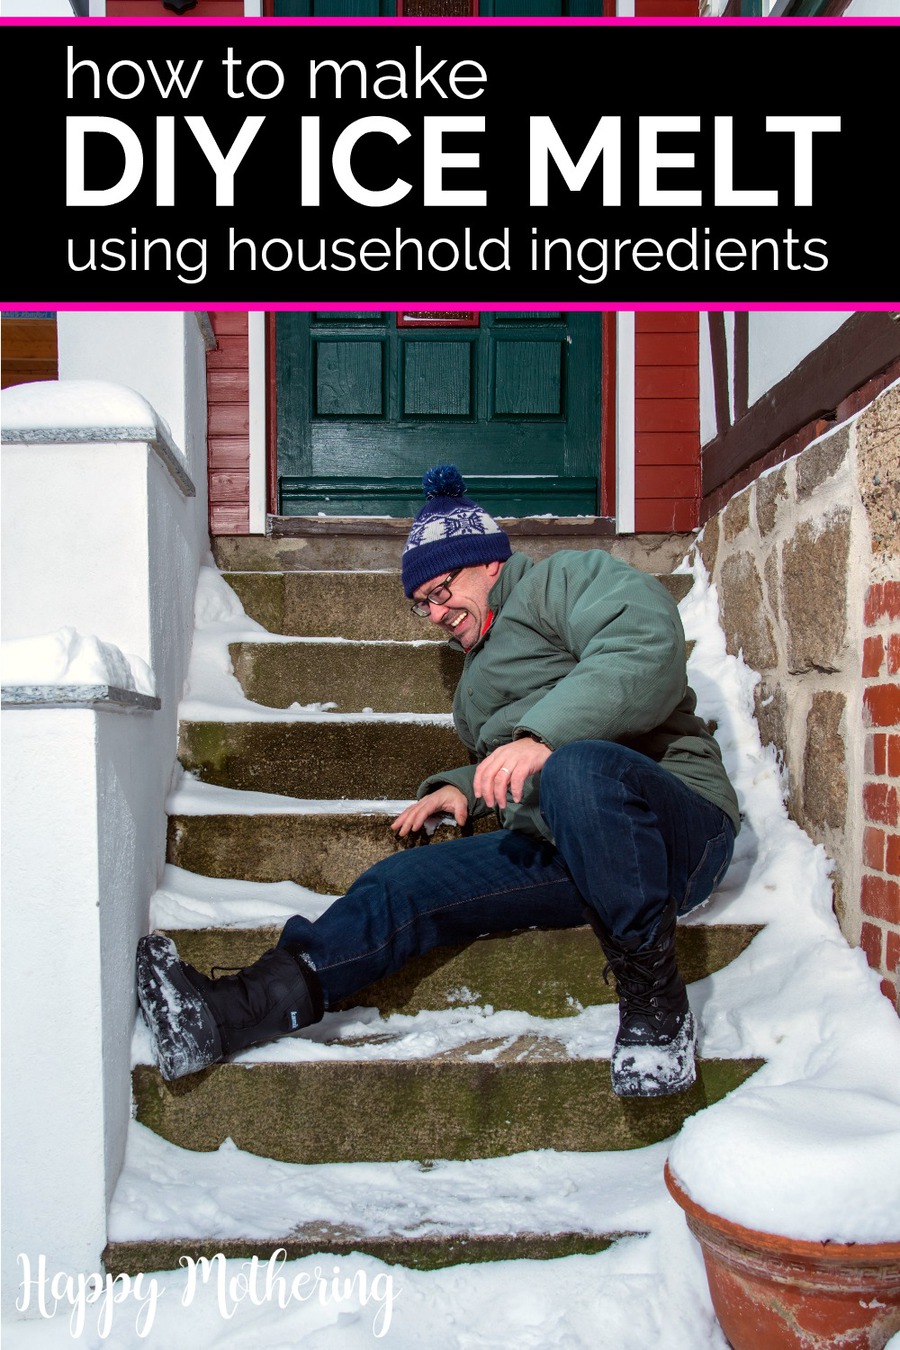
Winter is coming, and that means soon our driveways, porches and sidewalks will be covered with snow. Soft and fluffy isn’t a problem, but when it turns to ice it can become quite dangerous.
Scraping away snow and ice that accumulates on porches and patios can be backbreaking work, but luckily there is a way to melt it all down a little easier. If you want to melt the snow and ice on the areas around your home, but don’t want to use a ton of chemicals or back breaking effort to do so, you do have some more natural options.
Take a look below at how to make your own DIY ice melt using household ingredients. Chances are you already have what you need on hand!
First, here are the ingredients and supplies you will need:
- ½ gallon of warm water (should be warm and not hot or boiling)
- 6 drops of earth-friendly liquid dish soap (basic soap, nothing fancy)
- ¼ cup of rubbing alcohol (basic)
- Mixing bowl or pitcher
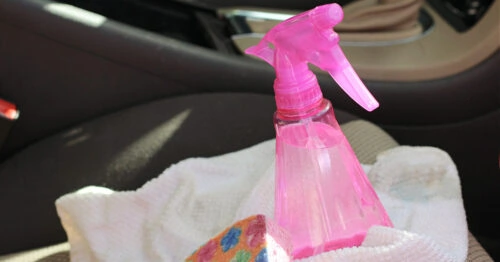
- Spray bottles
- Broom (optional)
Now you will need to decide how you will apply the ice melt. If you wish to spray it, you will need spray bottles. If you wish to pour it on the areas directly, an empty milk or vinegar jug will do. Whichever storage method you use, be sure you mark and label all containers for safety. A simple peel and stick label will do or you can write directly on the bottle or jug with a permanent marker.
Directions
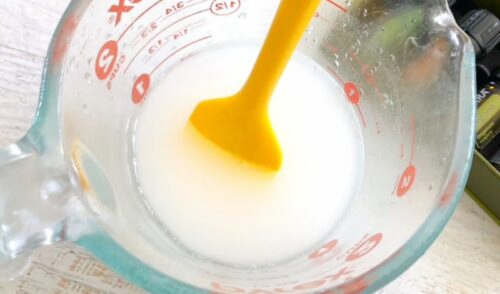
Mix the ingredients in a container of choice and transfer it to spray bottles or another jug or container. Be sure you have mixed them well. You can give the contents one more shake after you transfer them. Be sure you are preparing the mix when you are ready to use it. The idea is to not let the mixture sit, but use it while the water is still warm. Take note that the water should be warm, but not HOT.
Carefully pour or spray the solution over the icy area. If you wish, you can take a broom to quickly spread the liquid and to help it achieve more coverage. If you wish to cover a larger area such as a deck or patio, feel free to double the recipe as needed to create more of the mixture. You can still apply it in the same fashion as mentioned above.
You will find the ingredients work well together to break down the ice and rinse away any trace of it. The warm water will NOT refreeze, so you don’t need to worry about ice forming after you clean it the first time.
Gather your materials and give this easy DIY ice melt method a try. It can bail you out should you find yourself without commercial ice melt. It is also just a nice alternative if you want to use something using household, non-toxic ingredients. Give it a try and see how well it works for you!