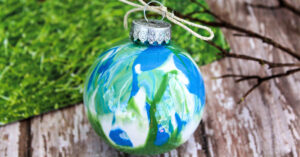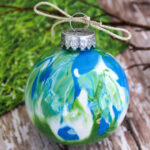
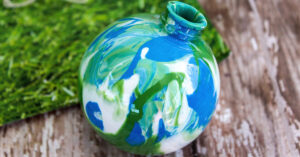
DIY Paint Swirl Ornaments
Learn how to make this adorable DIY Paint Swirl ornament for your family's Christmas tree. They also make the perfect gift for the important people in your life.
Servings: 1 Christmas Ornament
Equipment
- Drop cloth, newspaper or old towel
- Plastic or paper cup
- Paper towels
- Rubbing alcohol
Ingredients
- Clear fillable globe ornaments clear glass balls and plastic balls work
- Acrylic paint (blue, white and green or your favorite color trio)
- Hemp twine or ribbon, for hanging
Instructions
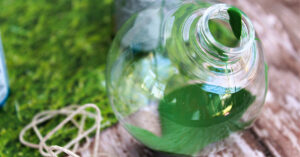
- Lay down a drop cloth or some newspaper to protect your surfaces from paint splatters.Take ornament tops off and add about 1 teaspoon of green paint to the inside. Slowly swirl paint around the ornament by twisting it around so the paint can glide along the inside of the ornament.
- Add in a teaspoon of white paint, then slowly twist and turn the ornament around so the paint can coat the inside. Repeat with your final color, the blue paint, then swirl it a bit more before replacing the lid of the ornament.
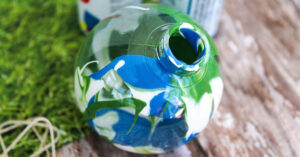
- Press your finger over the ornament top to hold it in place and give the entire ball a shake for about 15-20 seconds to mix up the paint. Don’t overdo it or all of the colors will blend and turn brown. When the colors are swirled to your liking, remove the lid of the ornament, set the ornament upside down in a cup to let extra paint drip out and let it dry for 24-48 hours. Wipe any paint drips with a paper towel and some rubbing alcohol.
- Once it’s completely dry, replace the hanger top and add a piece of ribbon or twine for hanging. Your beautiful ornaments are now ready to be displayed.