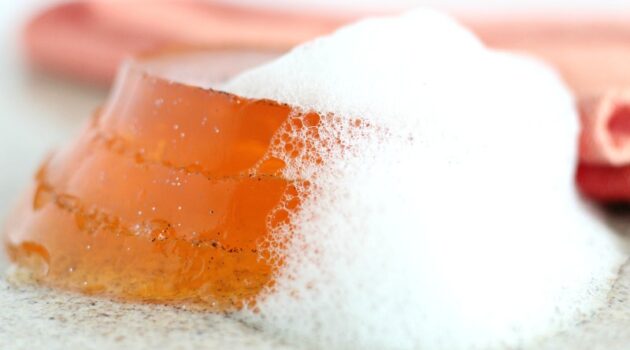
DIY Shower Jellies (Lush Copycat)
Jump to Directions


Learn how to make copycat Lush shower jellies with a few simple ingredients in this easy DIY beauty tutorial.

Everyone is always talking about how amazing Lush beauty products like their shower jellies are, but they’re so expensive!
Did you know you could make your own copycat Lush beauty products for a fraction of the price? It’s true, and easier than you think.
In this beauty tutorial, I show you how to make your own shower jellies with a few simple ingredients. Make sure to watch the video tutorial too!
Supplies and Tools
- 4 ⅓ cups of hot filtered water
- 2 ½ teaspoons of gelatin
- 2 teaspoons of sea salt
- 1 cup of shower gel
- 20 drops of essential oils
- 2 drops of food coloring
- Any color body glitter
- Mixing bowl
- Whisk
- Pan
- Mold
Step-by-Step: How to Make Shower Jellies
Follow these simple steps to make your own shower jellies that are a lot like you find at Lush!
Step 1: Mix Boiling Water and Gelatin
Bring 4 ⅓ cups of water to a boil, then add to a mixing bowl and pour in 2 ½ teaspoons of gelatin.

Step 2: Add Salt
Add 2 teaspoons of salt to the pan, then let it cool and dissolve.

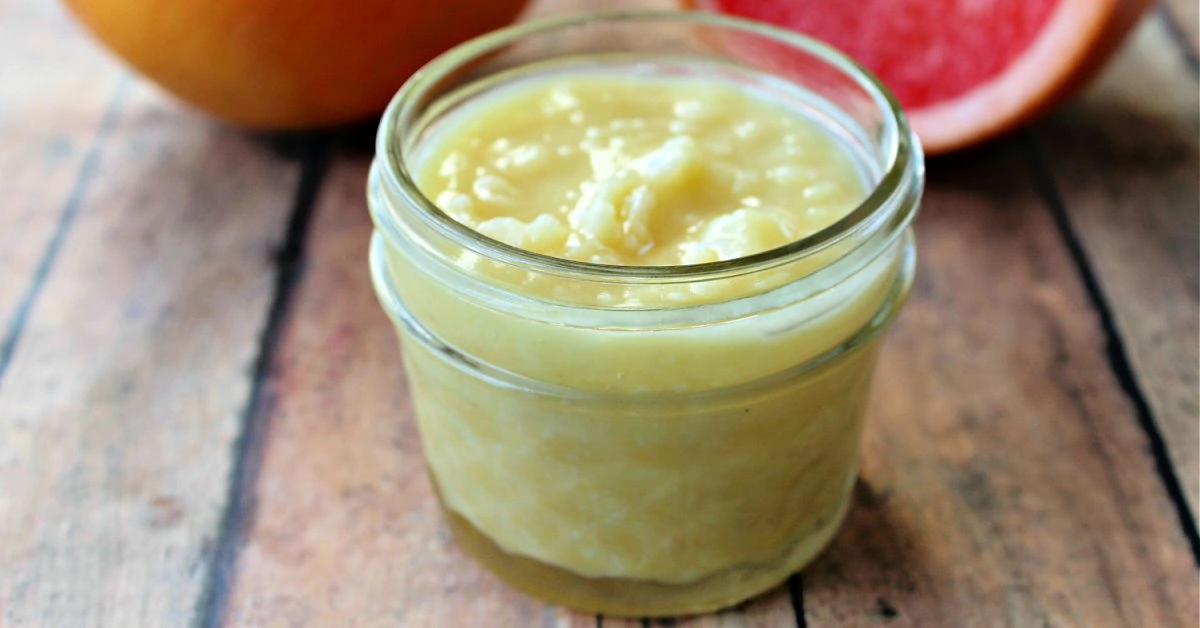
Step 3: Add Shower Gel
Once the salt is dissolved and the mixture has cooled a bit, mix in 1 cup of shower gel or bath soap.

Step 4: Add Food Coloring
Add 2 drops of food coloring (I used 1 each of red and yellow) and stir until well combined.

Step 5: Add Essential Oil
Add 20 drops of essential oils or fragrance oil, if desired.

Step 6: Pour Into Molds
Pour the shower jelly mixture into your chosen molds.

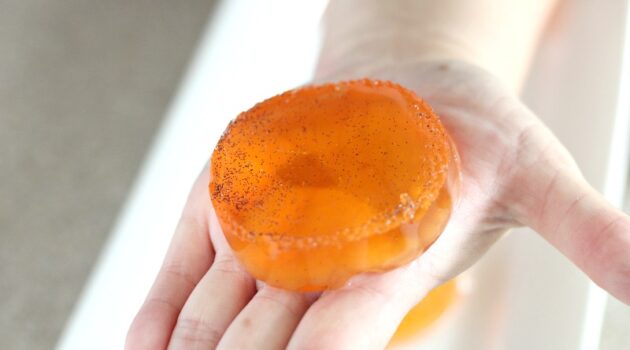
Step 7: Add Glitter
Sprinkle glitter on top of the soap mixture. I used black glitter but you can use any type you like, but I recommend body glitter that is preferably biodegradable.

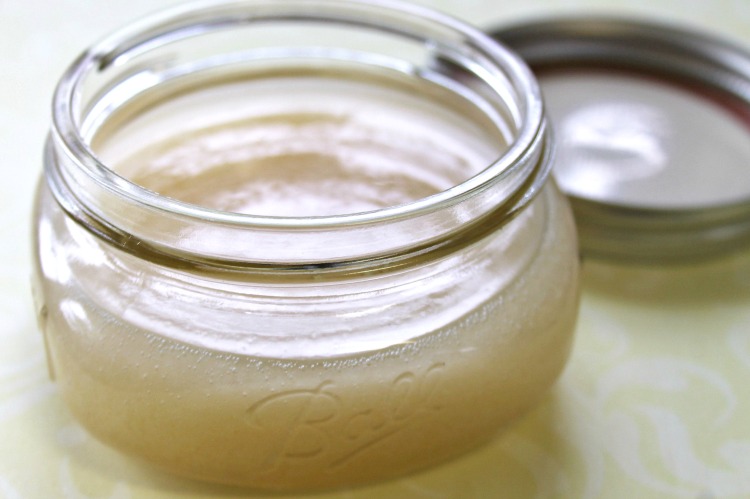
Step 8: Chill Soaps in Fridge
Place the soap mold in the refrigerator and allow your shower jellies to chill and set for two hours, then remove them from the molds.
Would you like to save this?

Step 9: Use Your Shower Jellies
To use, lather up in the shower or tub and use like you would a bar of soap.

Tips for Making this Shower Jelly Recipe
Answers to all of your questions about making shower jellies, including tips, substitutions and variations.
Can I use a vegan gelatin substitute?
Yes, you can use a vegan substitute like agar-agar, but the texture might be slightly different. Agar-agar sets more firmly and may require some experimentation with the amount to achieve a similar consistency to gelatin.
What type of shower gel works best?
A thicker shower gel works best because it helps the jellies hold their shape better. However, any shower gel should work, including sulfate-free or moisturizing varieties.
Can I add more or less essential oil?
Yes, you can adjust the amount of essential oil to your preference. Adding more may intensify the scent, but too much might affect the consistency. It’s best to start with less and add more as needed.
You can use your favorite essential oils for homemade beauty products. Some popular choices are soothing scents like lavender or uplifting scents like citrus.
How long do the shower jellies last?
Shower jellies typically last about 2-3 weeks. Store them in the fridge to extend their shelf life, especially if your home is warm or humid.
Can I skip the glitter?
Yes, you can skip the glitter without affecting the function of the shower jellies.
Can I use other types of molds?
Silicone molds are ideal because they make it easy to remove the jellies. You can use plastic or metal molds, but it may be more difficult to remove the jellies without breaking them.
What if the shower jellies don’t set properly?
If the jellies don’t firm up, you can try refrigerating them for longer or adding a little more dissolved gelatin to the mixture. Ensuring the mixture cools sufficiently before adding the shower gel can also help.
How do I prevent the jellies from melting too quickly in the shower?
To make the jellies last longer in the shower, you can store them in the fridge between uses. Using a slightly higher concentration of gelatin may also help them hold up better under hot water.
If you give them to the kids in the tub, they’ll figure out a way to use the entire bar in one bath, so you may want to make smaller bars for kids.
Can I use these shower jellies on sensitive skin?
If you have sensitive skin, use a gentle, fragrance-free shower gel and avoid essential oils that might irritate your skin. You can also test a small amount on your skin before using it in the shower.
What can I do if the color isn’t vibrant enough?
If the color isn’t vibrant enough, you can add more food coloring, but do so gradually to avoid staining your skin or towels. You can also try using gel-based food coloring for a more intense hue.
While I used orange this time, you can swap out colors to make any shade you want.

DIY Shower Jellies
Supplies
- 2 ½ teaspoons gelatin
- 4 ⅓ cups hot filtered water
- 2 tsp sea salt
- 1 cup orange shower gel - or bubble bath
- 20 drops essential oils - of your choice
- 1 drop red food coloring
- 1 drop yellow food coloring
- Black body glitter - or any color
Tools
- Mixing bowl
- Whisk
- Pan
- Soap mold
Instructions
- Bring 4 ⅓ cup water to a boil, then add to a mixing bowl and pour in gelatin.
- Add salt and let cool and dissolve.
- Once dissolved, mix in your shower gel or bath soap.
- Drop in red and yellow food coloring, and stir until well combined.
- Add fragrance or essential oils, if desired.
- Pour the mixture into your molds and sprinkle glitter on top.
- Sprinkle black cosmetic glitter over the top of the mixture.
- Place in the refrigerator and allow them to chill and set for two hours, then remove from molds.
- To use, lather up in the shower or tub.