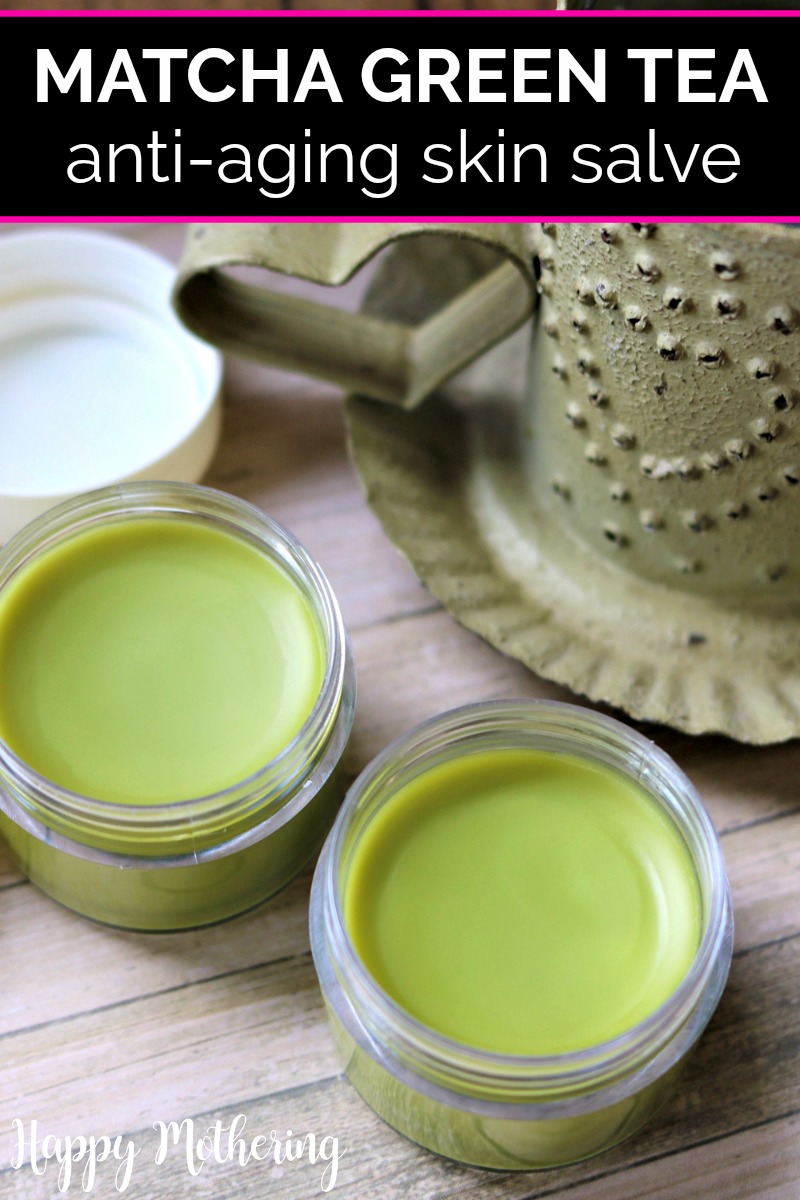
DIY Matcha Green Tea Salve
Jump to Directions

Learn how to make a DIY Matcha Green Tea Salve with coconut oil, essential oils and other natural ingredients.
Over the years, I have become a huge fan of matcha green tea. Besides drinking it, I’ve started using it in my homemade beauty products.
I love that you can use it as an eye shadow. You can make soaps like these Matcha Green Tea Soap Bars. And today I’m sharing a recipe for Matcha Green Tea Salve.
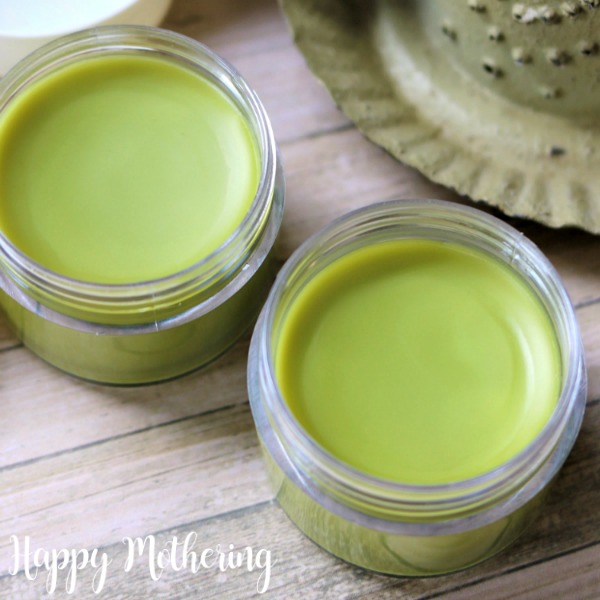
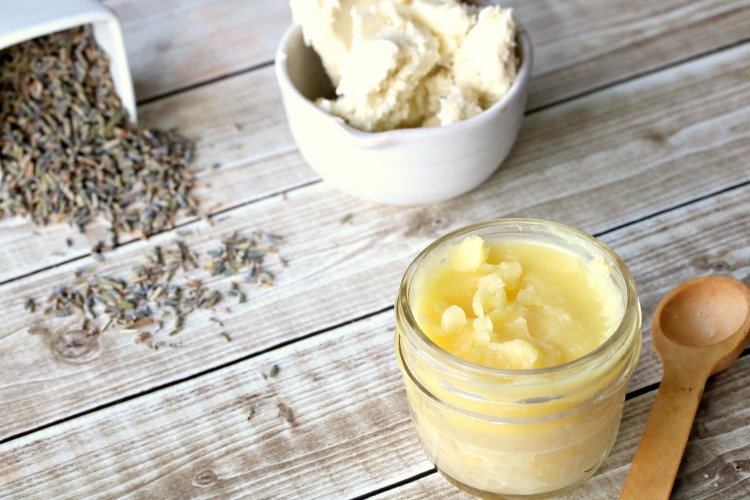
Yes, it does have a more unusual green color to it, but let that just be a reminder of the goodness that comes with the green. This balm uses other natural base ingredients like beeswax and coconut oil as well, plus some wonderful essential oils.
Would you like to save this?
The combination of all of these natural ingredients makes this Matcha Green Tea Salve work for your skin. You can use it daily or use as needed.
Matcha Green Tea Salve Tutorial
Supplies
- 2 teaspoons beeswax pastilles
- 1 teaspoon sweet almond oil
- 1 tablespoon coconut oil
- ½ teaspoon Matcha green tea powder
- 12 drops frankincense essential oil
- 8 drops geranium essential oil
- 7 drops myrrh essential oil
Tools
- Double Boiler
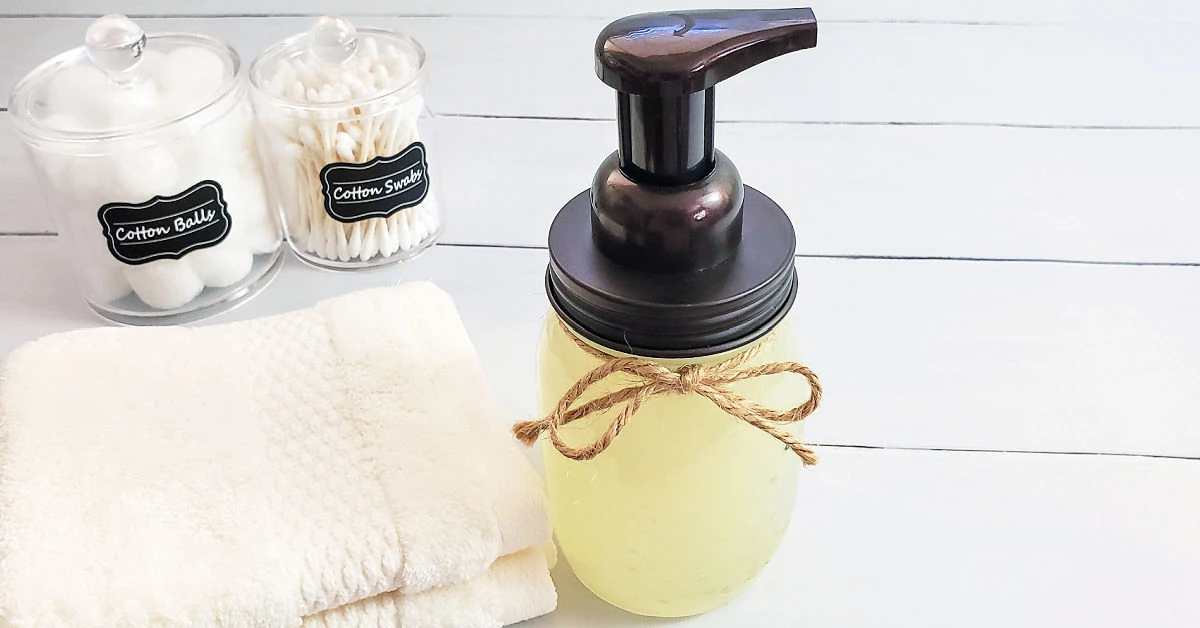
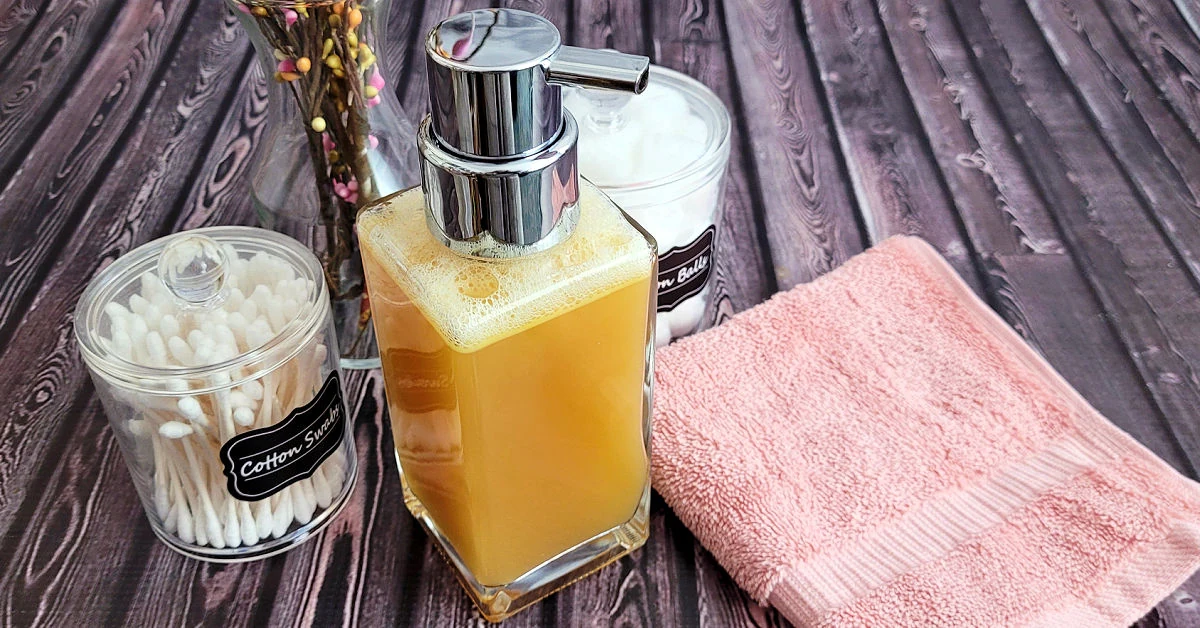
- Salve containers with lids
Instructions
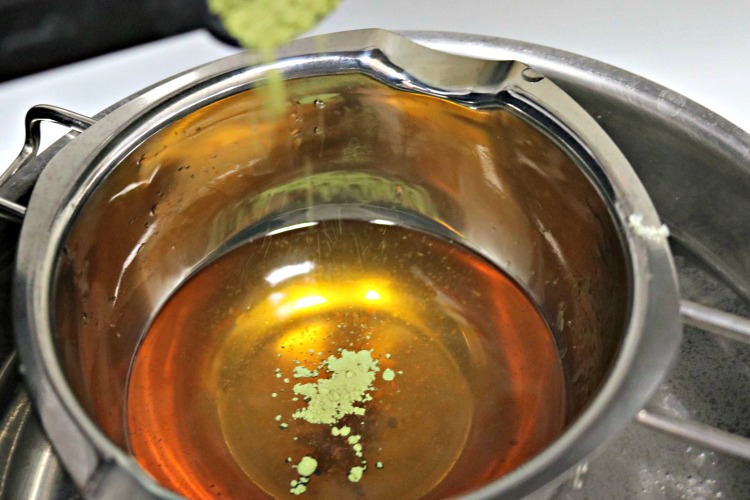
- Add the beeswax, coconut oil and sweet almond oil to your double boiler over medium heat. Stir frequently until melted and well combined. Turn off the heat.

- Next, add in the essential oils. The frankincense and geranium are both thin oils. You will want to be cautious when adding them, so that you don’t over-pour in any drops. The myrrh on the other hand is the opposite. It is a resin and it is very thick. Stir the oils in well.

- Next, measure out the Matcha green tea powder and add it to the mixture. Let it melt in for a few seconds and then stir it in slowly. It tends to clump up, so you may need to use the back of a spoon or your scraper to push those clumps up against the side and break them up. Be sure to scrape the sides of the pan and get all of the tea, then stir or whisk until it is well combined and there are no clumps in it.
- Now you are ready to pour. Fill your containers to just below the top edge. Do not place the lids on just yet.

- Leave the salve out on the counter to cool fully at room temperature, which will likely take about 30-45 minutes, depending on the size of your containers. You will see the salve go from see-through to solid as it cools. Check the bottom middle of containers to see if it has cooled thoroughly before placing on the lids, because it will build up moisture inside the container if you put them on too early and ruin the salve. Once cool, place on the lids on.


This looks so good! What a great gift to make for friends or to enjoy yourself!
Thanks Suzanne! I hope you enjoy the salve!
Thanks for sharing! Does it keep long?
Like most salves made without water based ingredients, it should have a pretty good shelf life as long as you used fresh ingredients. With salves and balms, I usually recommend you go by the earliest expiration date on the ingredients you used.
Oh! I need to try this.
Let me know how you like the salve!
How long is the shelf life
Since there are no water-based ingredients in this salve, it has a pretty good shelf life. I typically recommend going by the soonest expiration date on the ingredients you’re using. If it starts to look or smell off before that date, toss it.
Thanks for sharing your recipe. What size tins did you use?
I believe the ones pictured are 1 ounce.