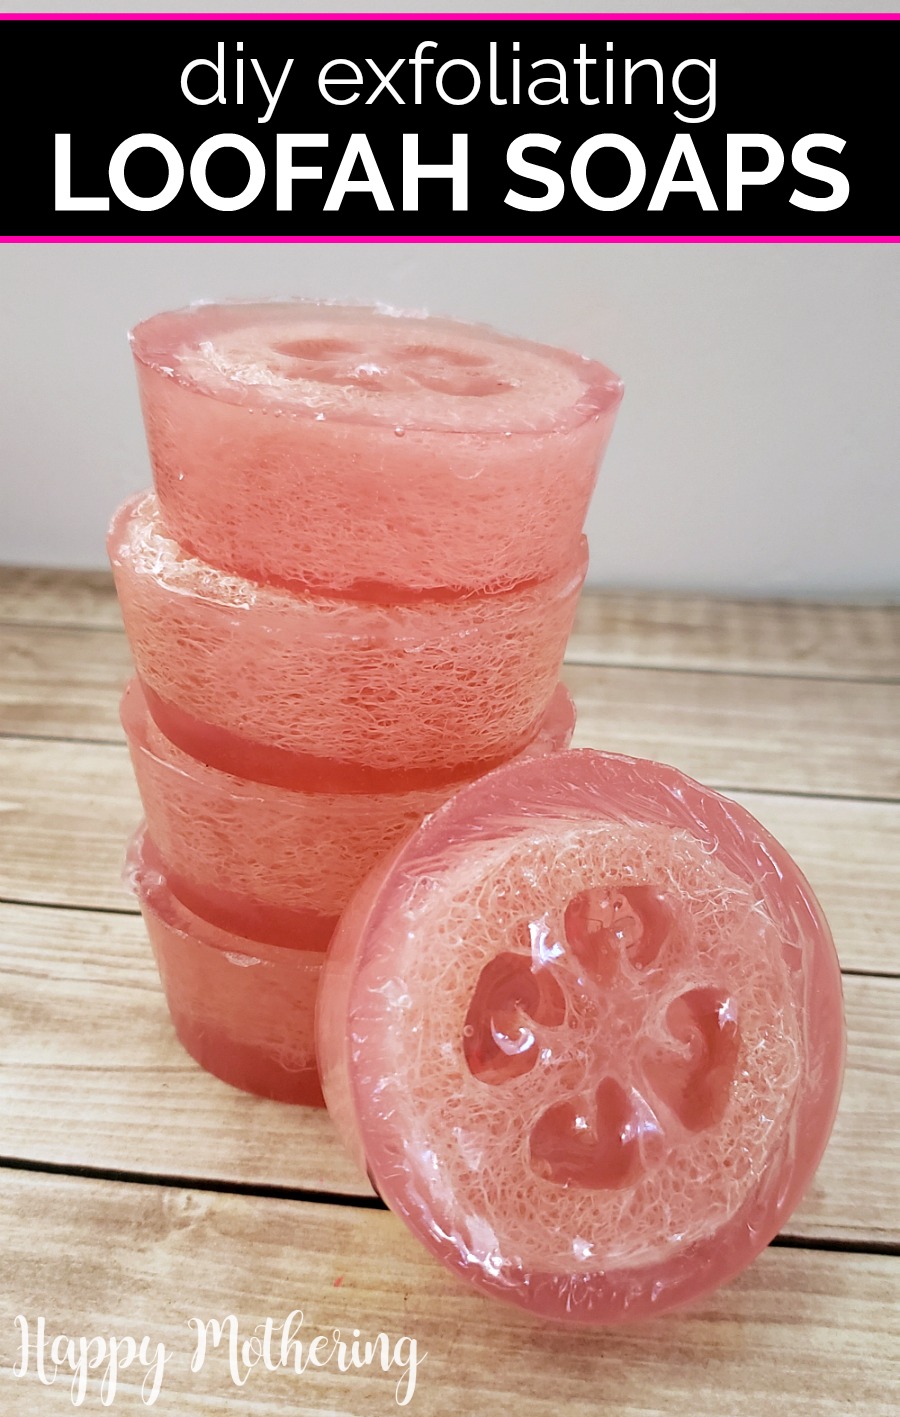
DIY Exfoliating Loofah Soap Bars
Jump to Directions
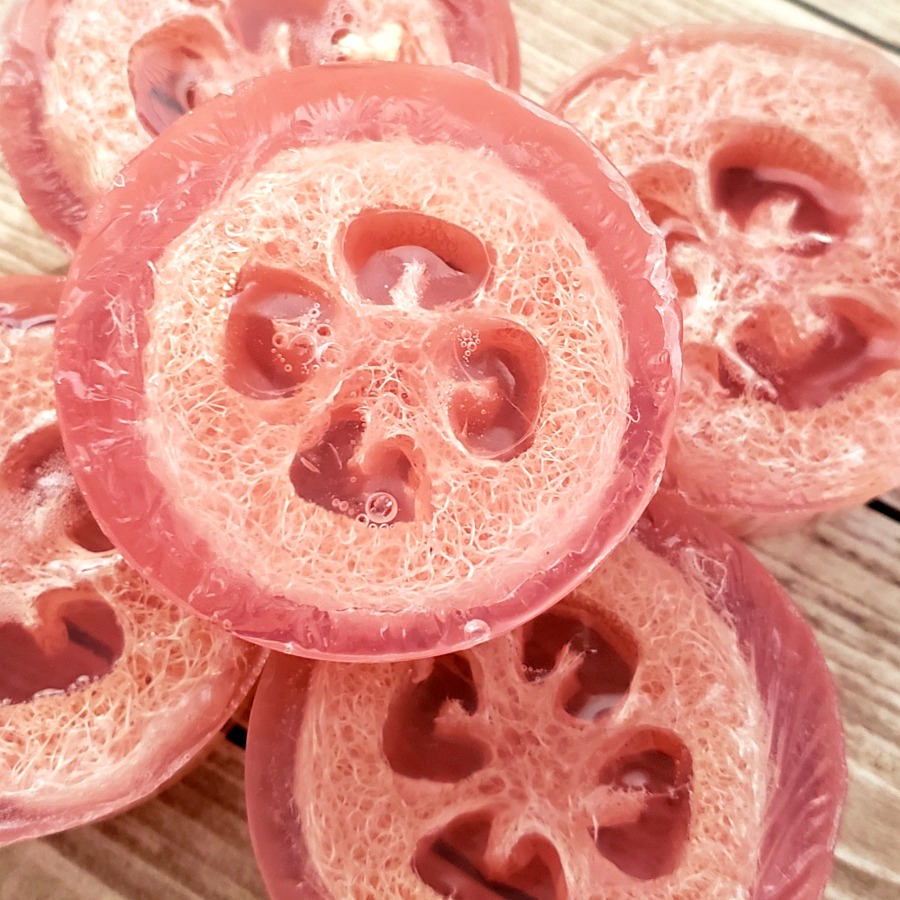
Loofah Soaps (aka luffa soaps) are an easy way to cleanse and exfoliate skin at the same time, so it stays smooth and radiant. While Loofah Soap may look like a high-end beauty product, it’s incredibly fun and easy to make!
All you need are a few simple supplies to make your own homemade exfoliating soap bars, like loofahs, melt and pour soap, colorant and essential oils.
Take a few minutes to make your own soap bars and feel like you’re spending a day at the spa every time you bathe. Lots of tips and modification ideas are included under the directions, so be sure to read it all for more ideas!
Supplies and Tools
- 1 pound of melt and pour soap base
- 1-2 natural loofah sponges
- 20-30 drops of your favorite essential oil
- Soap colorant
- Sharp serrated knife
- Cutting Board
- Double Boiler
- 6-cavity round silicone soap mold
- Craft stick
- Plastic Wrap
- Mason Jar
Step-by-Step: How to Make Loofah Soap
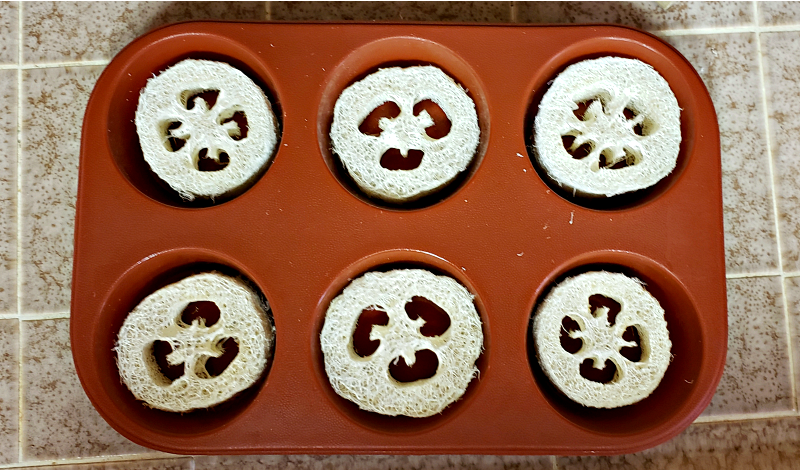
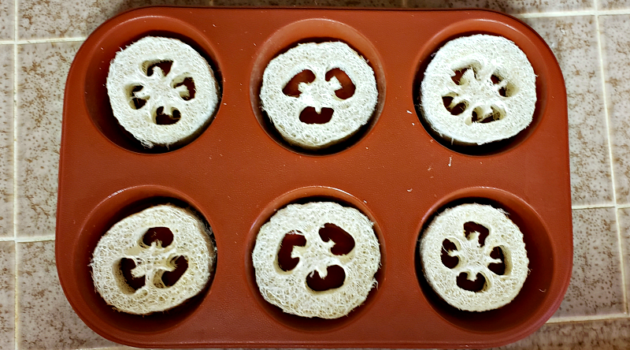
Step 1: Cut your Loofah.
Begin by placing your whole loofah on a cutting board. Using a sharp knife, cut strips that will fit into each cavity of your silicone mold (you don’t want them too tall). Once you’ve cut as many slices as you need, place them in your silicone mold.
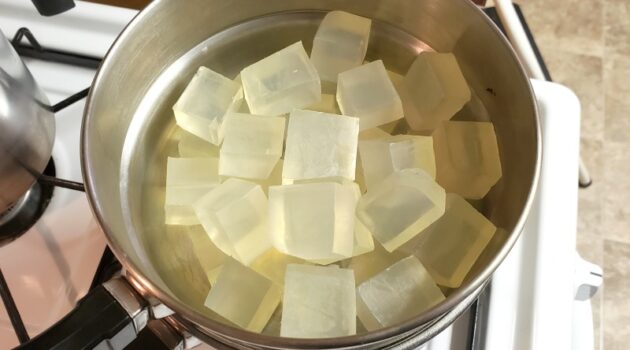
Step 2: Melt the Soap.
The easiest way to melt your soap is to cut it into cubes – it’ll melt much faster and more evenly.
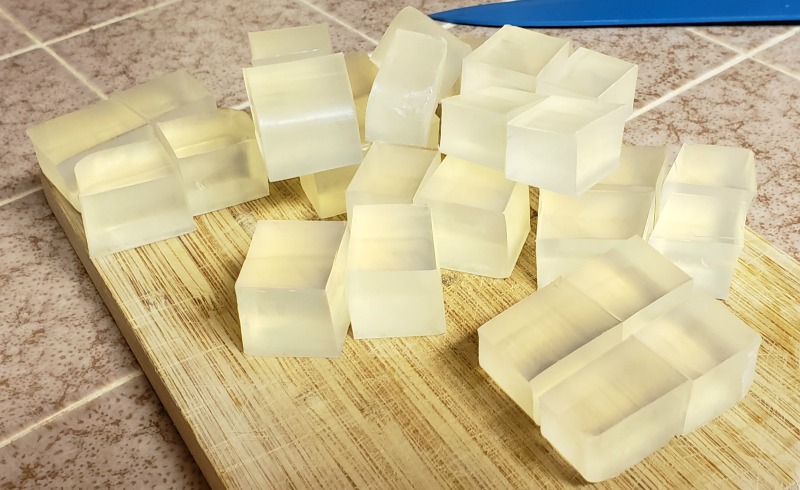
After you’ve chopped your cubes, you can put them in the top of your double boiler pan.
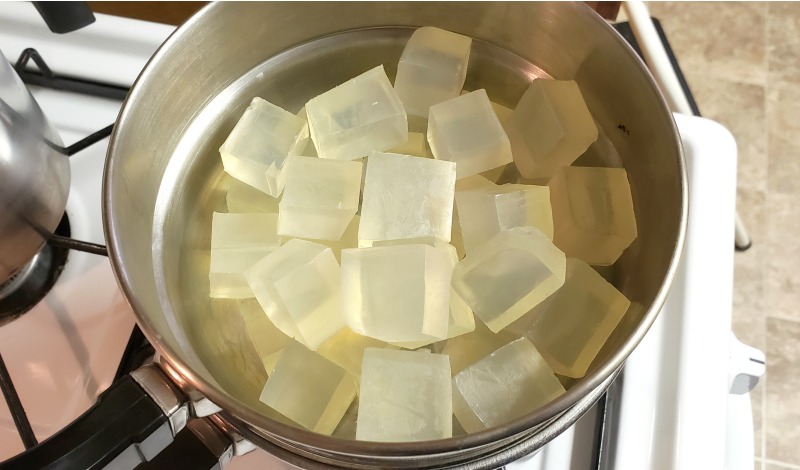
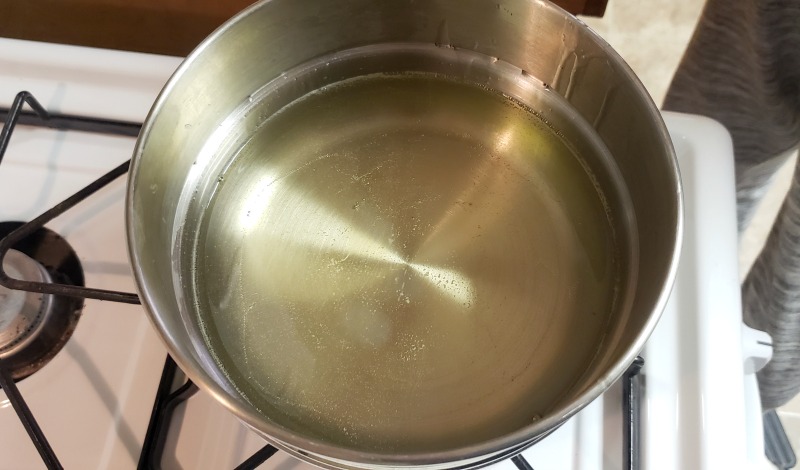
Turn the stove on medium-low, and allow the soap to melt, stirring frequently, until it’s totally melted and clear.
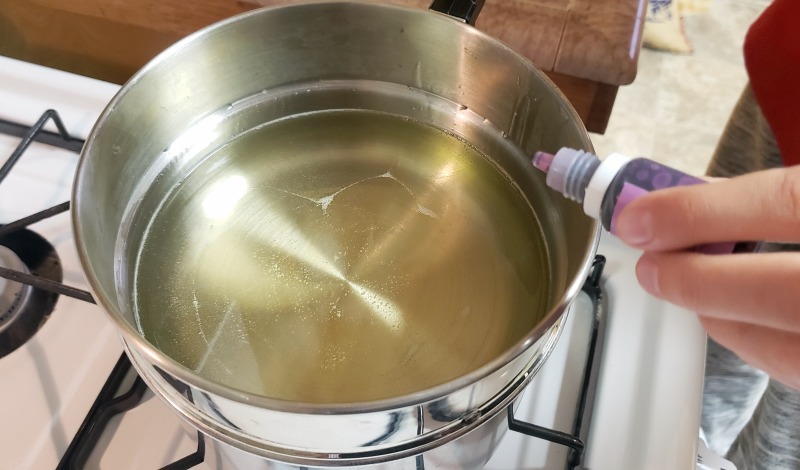
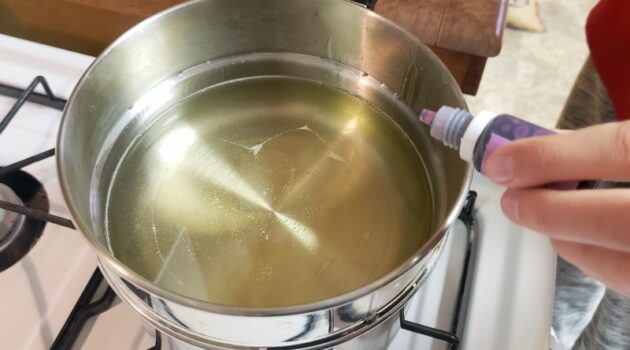
Step 3: Color Your Soap.
After your soap is finished melting, add several drops of soap colorant and stir to combine. Keep adding more colorant until the soap reaches the color you’re after.
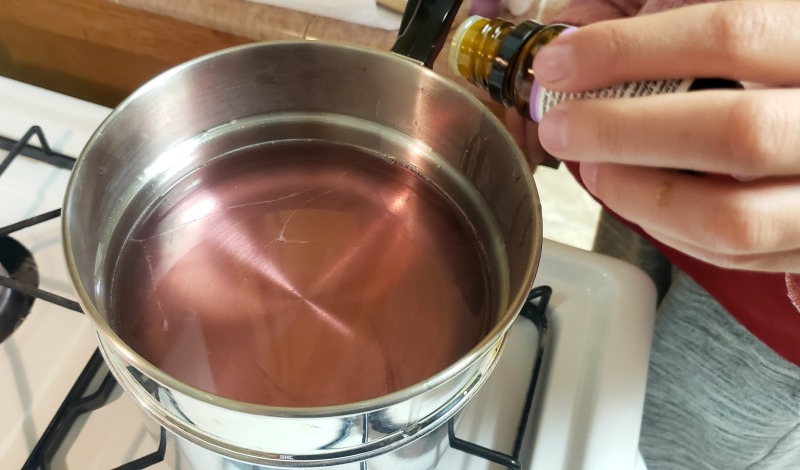
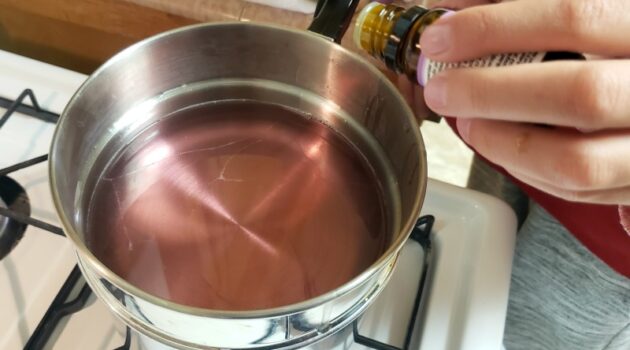
Step 4: Scent Your Soap.
After you’re happy with the color of your soap, it’s time to scent the soap with essential oils (or fragrance oils). Start by adding 20 drops of the scent of your choice and stir to combine. Smell the soap, then add more oil until you’re happy with the scent.
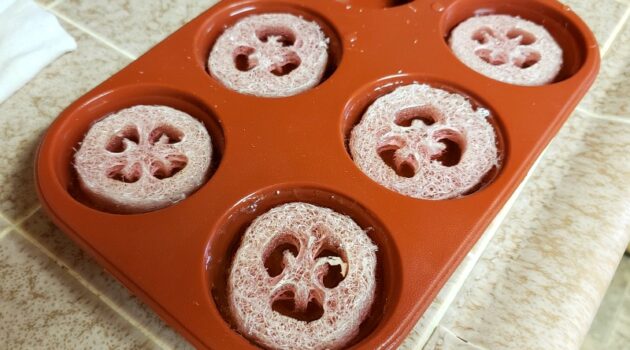
Step 5: Pour Soap into Molds.
Once you’re happy with the color and scent of the soap, quickly pour it into your prepared silicone mold (over the loofah slices) until they’re just covered with soap.
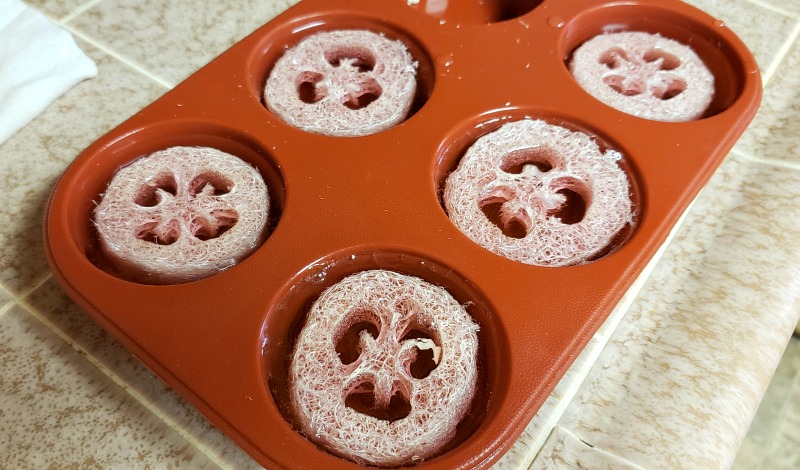
Tip: Make sure the mold is in a place where you don’t need to move it while the soap is cooling. Placing the mold on a cutting board or sheet pan can make it easier to move around.
Step 6: Allow Soap to Cool and Harden.
Allow the soap to completely cool harden before you pop them out of your mold.
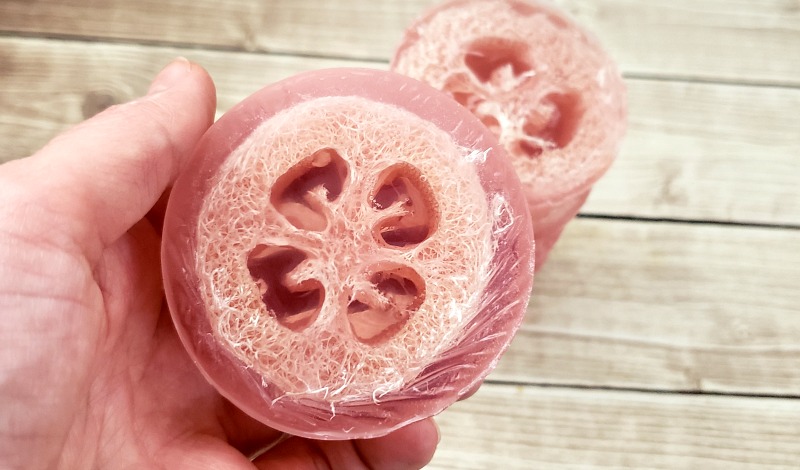
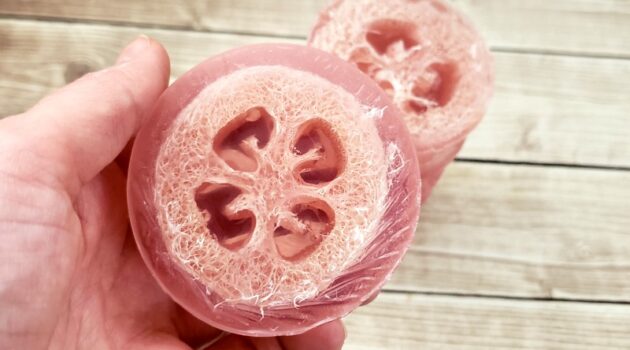
Be sure they’re completely cool so you don’t end up with condensation, then tightly wrap in plastic wrap. Store the wrapped soap bars in a glass jar for use in the shower or at the sink.
Tips for Making DIY Loofah Soap Bars
1. Why exfoliate skin?
Exfoliating is an important part of personal care. When you exfoliate skin, it removes dead skin cells. This, in turn, makes it easier to moisturize dry skin.
These loofah soap bars both cleanse and exfoliate at the same time, making them not only pretty, but super functional too.
2. What is melt and pour soap made from?
Generally, melt and pour soaps are glycerin based. This means they’re a bit softer than cold process soaps, which is likely what you’re used to.
They come in both clear and opaque forms. You can choose either for pretty much any soap making project – just consider how you want the final product to look.
The great thing about using a melt and pour glycerin soap base is that it will help attract moisture to your skin. This can help keep it feeling nice and hydrated.
You can buy soap bases from most craft stores, including Michaels (I love that they carry bulk soap bases).
Would you like to save this?
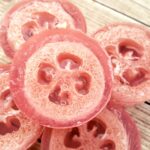
3. What are loofah sponges?
Loofah sponges are 100% natural and come from the luffa plant, which is a member of the cucumber family. You can buy loofahs from many places, but I like to buy loofahs on Etsy because many are home grown!
Many people grow luffa plants from seeds in their garden and use them to make homemade beauty products. If you want to try growing your own, you can also buy luffa seeds on Etsy to plant in your garden.
To use home grown loofahs, you need to allow them to fully mature. Once picked, you will remove the skin and seeds, then wash them to make sure they’re all clean. Then you dry them out and they’re ready to use.
4. Should you soak the loofah first?
I don’t recommend it. I know that some other soap makers say that the pH level of soap doesn’t allow for bacteria or mold to grow. However, if you’re introducing water into any DIY beauty product, you automatically increase your risk of contamination.
5. Can I use the microwave to melt the soap?
Yes, we don’t own a microwave, but you can use one to melt your soap. Do it in 30 second increments, stirring between each one, until melted. I don’t recommend putting essential oils in the microwave though.
If you enjoy making DIY beauty products and don’t have a double boiler yet, I recommend investing in one (like this double boiler at Home Depot). It will give you a lot more flexibility in which products you can make!
6. How to scent soap?
I typically use pure essential oils to scent my homemade beauty products. I have been getting mine from Rocky Mountain Oils lately.
They are super high quality and the scent lasts a really long time. If you don’t have a blend you like, check out their skin care recommendations.
If you don’t want to use essential oils, you can also use fragrance oils that are skin safe.
7. How to color melt and pour soap?
I typically use soap colorant like what you find at craft stores like Michaels. It can fade pretty quickly, especially if the bars are exposed to sunlight.
If you want super pigmented soap bars, I recommend using mica powder instead. It has a lot more staying power than liquid soap colorant, and a little goes a long way so you can start with a small set of mica powders from Michaels.
8. Tips to make them extra exfoliating?
While these loofah soaps are exfoliating as is, you can add ground apricot seed to the melt and pour soap to make it even more exfoliating. Check out my Apricot Seed Soap Bars to see how it’s done.
9. Can you use cold process soap?
Yes. If you’re an experienced soap maker, you can make loofah soaps with cold process soap. Be sure that the soap is a thin trace. If you don’t know what that means, stick with melt and pour soap.
10. Is it okay to add dried flowers?
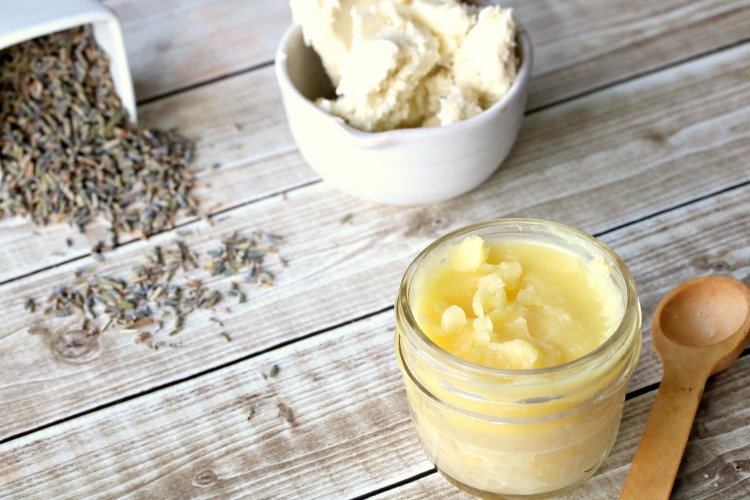
Yes. If you want to add dried flowers to your soap bars, sprinkle them in the mold before placing the loofah slice in. Never use fresh flowers or you risk mold growth. See my Lavender Bud Soap Bars recipe for more tips about making soap with dried flowers in it.
11. Best way to store loofah soaps?
It’s important to wrap your melt and pour soap bars immediately after they’re cooled or glycerin dew can form. Wrapping them tightly in plastic wrap stops them from attracting moisture, so your bars are still fresh when you’re ready to use or gift them.
Use a heat gun designed for crafting on the plastic wrap to help seal it for best results.
Once they’re well wrapped, be sure to store them in a cool, dry place in your home. Be sure they are not in direct sunlight or both the color and scent will fade.
You can put the wrapped bars into an airtight container and even add silica packets for longer term storage. Silica packets have many uses, so I like to keep a bag on hand.
12. Can I cool or store my soaps in the fridge?
It’s best to let your soap bars harden at room temperature, and continue storing them that way. That’s because placing them in the fridge can make them more likely to sweat and form glycerin dew.
Another issue that is that melt and pour soap can become brittle when stored at cold temperatures.
13. Can I use melt and pour soap in hot climates?
I don’t recommend it during the warmer months as melt and pour soap starts to melt around 120° F. Humid climates can also be a challenge with melt and pour soaps as it can cause them to sweat easier.
14. Why are my soap bars sweating?
If you didn’t store your melt and soap bars as described above in #11, they may sweat or develop beads of moisture on them. This is called glycerin dew.
The reason this happens is because extra glycerin is added to melt and pour soap to make it easier to work with. It also helps the soap act as a humectant so it attracts more moisture to your skin.
This can also draw more moisture to the soap bars themselves if they’re just sitting on the counter. That’s why I usually make smaller melt and pour soap bars.
Some soap makers use a dehumidifier in the room where their handmade soaps are stored. This can help some, but it’s not a total solution. If you want to try it, this Frigidaire Dehumidifier at QVC is great.
15. Buy Loofah Soaps instead
If you don’t want to DIY your own loofah soap bars, you can buy them instead. There are a ton of sellers on Etsy who sell handmade Loofah Soaps. Check out the current Loofah Soaps for sale.
How to Make DIY Loofah Soap Bars
Supplies
- 1 pound melt and pour soap base
- 1-2 natural loofah sponges
- 20-30 drops essential oil - of your choice
- Soap colorant - of your choice
Tools
- Sharp serrated knife
- Cutting Board
- Double Boiler
- 6-cavity round silicone soap mold
- Craft stick
- Plastic Wrap
- Mason Jar
Instructions
- Cut the whole loofah into strips that will fit neatly into each cavity, then place them in the silicone mold.
- Chop the melt and pour soap into cubes, then place it in the top of the double boiler. Heat the soap over medium-low until it’s completely melted and clear, stirring frequently.
- Once it's completely melted, add several drops of soap colorant. Stir, then continue adding more until you get your desired color intensity.
- Next, add essential oils until you get your desired strength of scent and stir to combine.
- Immediately pour the melted soap into the silicone mold over the loofah pieces until there’s enough soap to just cover them.
- Allow the soap to cool and dry completely, then pop your loofah soaps out of the silicone mold. Wrap tightly in plastic wrap. Place your wrapped homemade soap bars in a mason jar and use them one at a time in the shower or gift them to a friend.


This is exciting, this DIY soap looks really nice, thanks!
Thank you so much! I hope you give it a try! 🙂
You make it look so easy! )
Some time ago I made soap at home and it looked ugly, but yours is beautiful
Thanks for such a marvelous idea
Tom
Melt and pour soap makes it easy for anyone to make pretty soaps. Have you tried using it before?
How long does it take for the soap to cool and harden?
Usually around an hour or so. It will depend on the size of the mold as well as the temperature and humidity in your house.