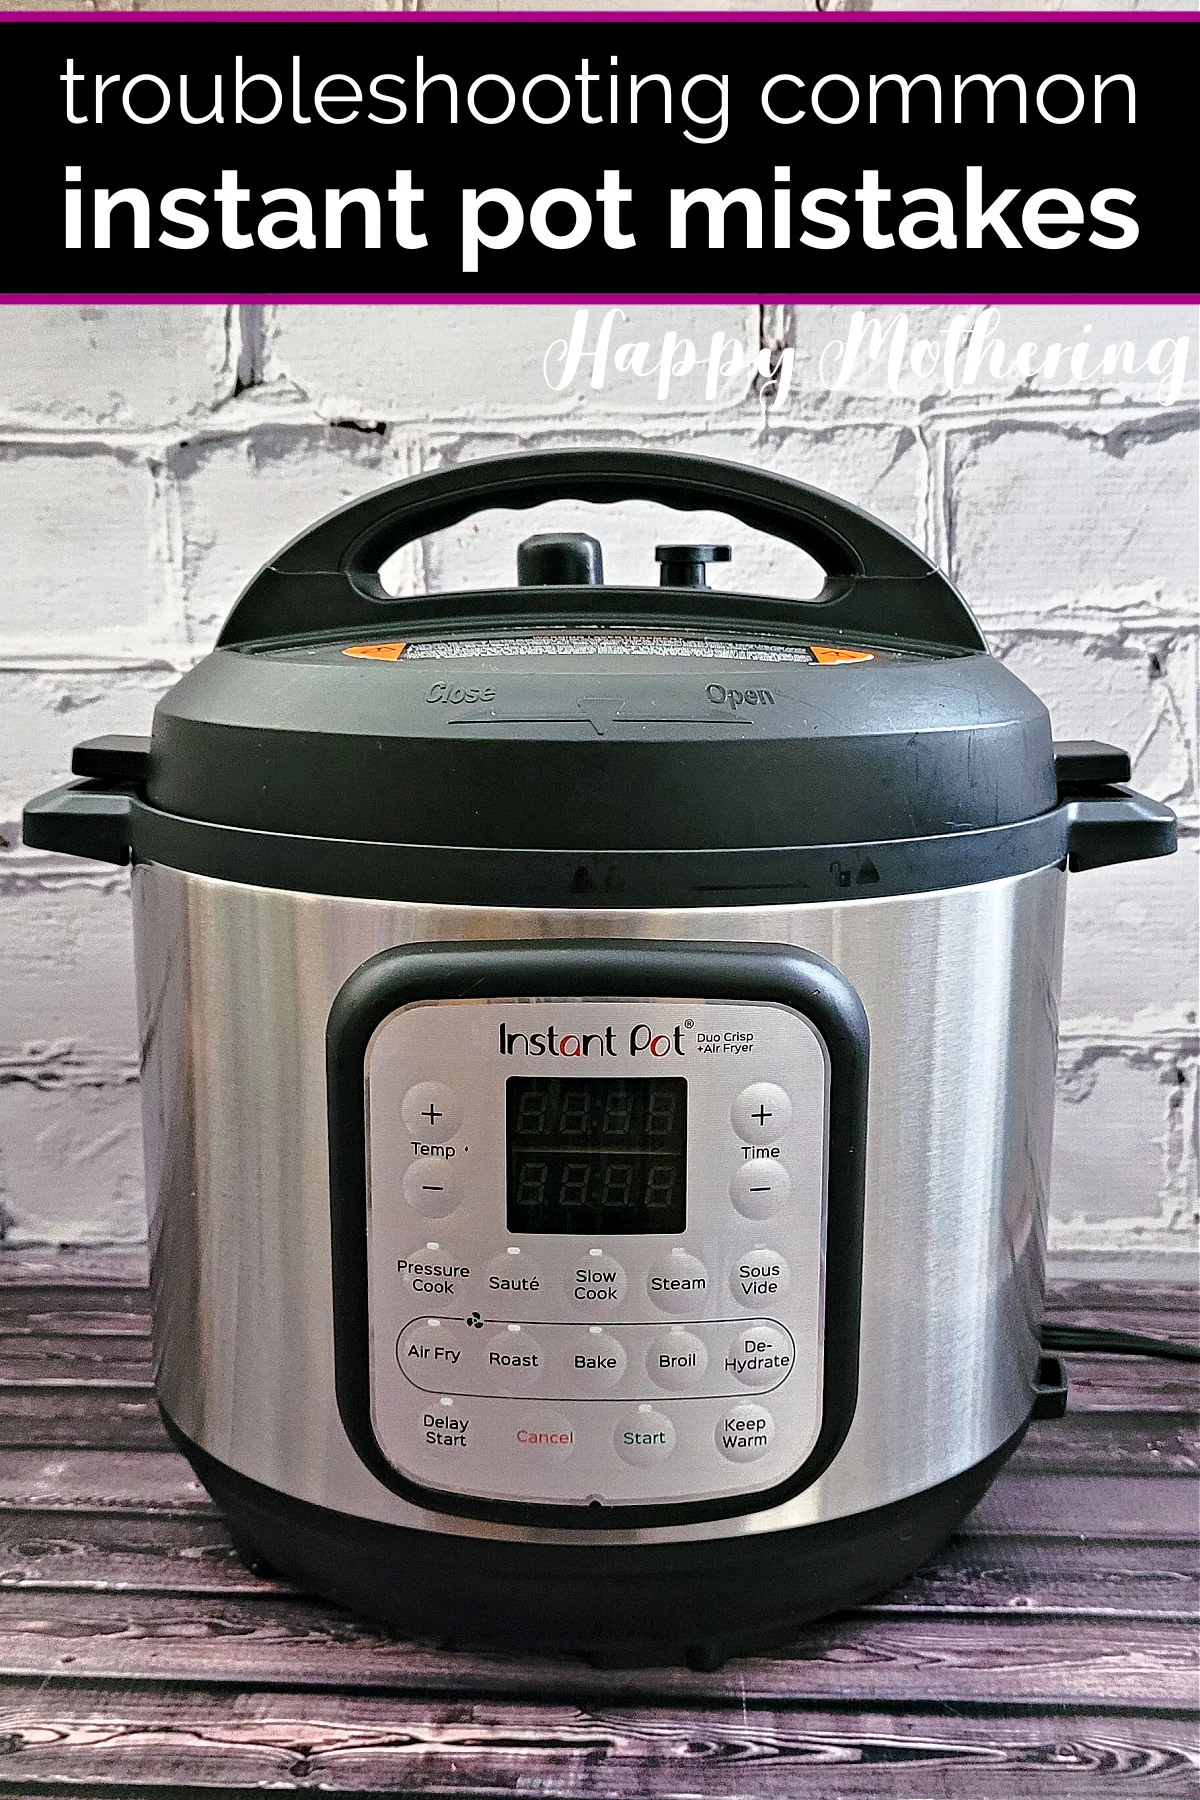
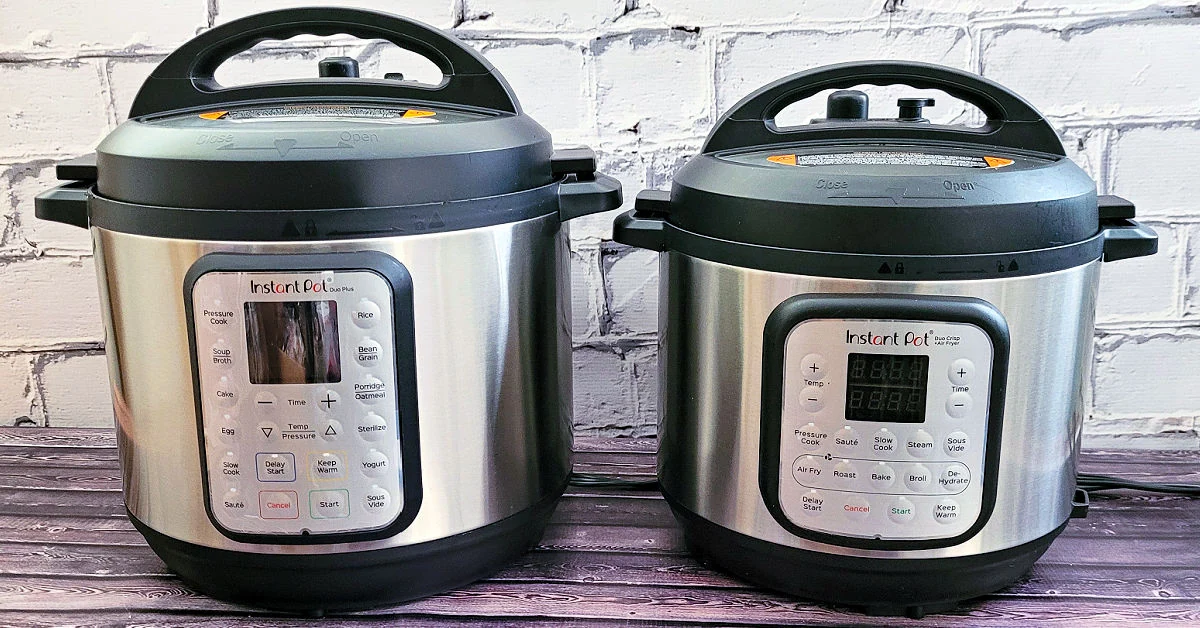
Troubleshooting Common Instant Pot Mistakes
This post contains affiliate links. Please see full disclose.
Learn how to troubleshoot the most common Instant Pot mistakes so you can be successful with your favorite pressure cooker recipes from the start!
Instant Pots have become incredibly popular in recent years, thanks to their ability to cook meals quickly and easily. However, as with any kitchen appliance, it’s important to use them properly to avoid the most common causes of subpar results or even damage to the pot.
I know from experience that using an Instant Pot for the first time can be intimidating. Mine sat in the box for months before I opened it. But once I learned the basics of how to use an Instant Pot, my whole world opened up to a new way of cooking.
There are a number of common issues new Instant Pot users encounter, all of which you can avoid by reading my tips. The more familiar you are with your electric pressure cooker, the more you can do to ensure a successful first use!
As you keep learning how to use your Instant Pot, you’ll find that there are so many Instant Pot uses you hadn’t thought of before. It’s truly a wonderful kitchen gadget that my family uses almost daily.
In this post, I’ll discuss some of the most common Instant Pot mistakes so you can troubleshoot any problems. And hopefully you’ll know how to avoid them before you even get started!
Forgetting to Put the Inner Pot Back
You’re rushing around to get dinner on the table, but you’ve made one critical error! You’ve poured your recipe ingredients into your Instant Pot, but forgot to put the stainless steel inner pot back after washing it!
This is one of the most common mistakes across both novice and experienced Instant Pot users, but it’s one that can seriously damage the heating element and electrical components of your Instant Pot.
To avoid this error, it’s a good idea to put the lid, or even your cooking spoon, on top of the Instant Pot as a reminder when you remove the inner pot.
Forgetting to Replace the Sealing Ring
The Instant Pot lid has something inside of it called a sealing ring. This ring is made of silicone and will tend to absorb the smells of all the food you cook. This leads to many users removing this piece and washing or airing out the ring.
The mistake comes when people forget to put it back before their next use. Without the silicone ring in place, your Instant Pot can never come to pressure and most of the liquid will escape and cause the dreaded Instant Pot Burn notice.
Just as we put that wooden spoon there to remind us not to forget the inner pot, make sure you leave a reminder to keep you from forgetting to put back the sealing ring. There’s nothing worse than a wasted meal because of a simple misjudgment.
And if your Instant Pot isn’t sealing, even with the ring in place, you may need to buy a new ring to replace it with.
Overfilling the Instant Pot
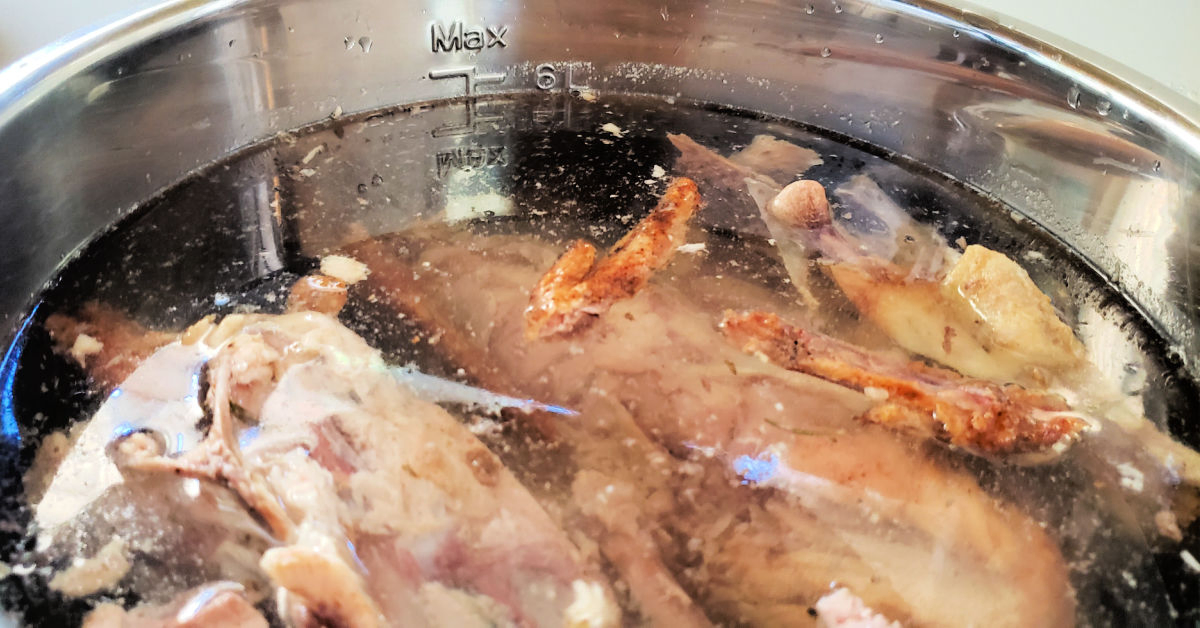
One of the most common mistakes people make when using their Instant Pot is overfilling it. Instant Pots have a maximum fill line that should not be exceeded, as overfilling can cause the pot to spew hot liquid or food during cooking. It can also lead to the vent becoming clogged with food debris, uneven cooking or even burning.
To avoid this mistake, be sure to measure out your ingredients before adding them to the pot and always follow the manufacturer’s guidelines for maximum fill levels.
If you accidentally fill past the max fill line, don’t panic. The simple fix is just using the natural pressure release to relieve all excess pressure, remove the extra liquid, re-seal the pot and start over.
Ignoring the Steam Release Valve
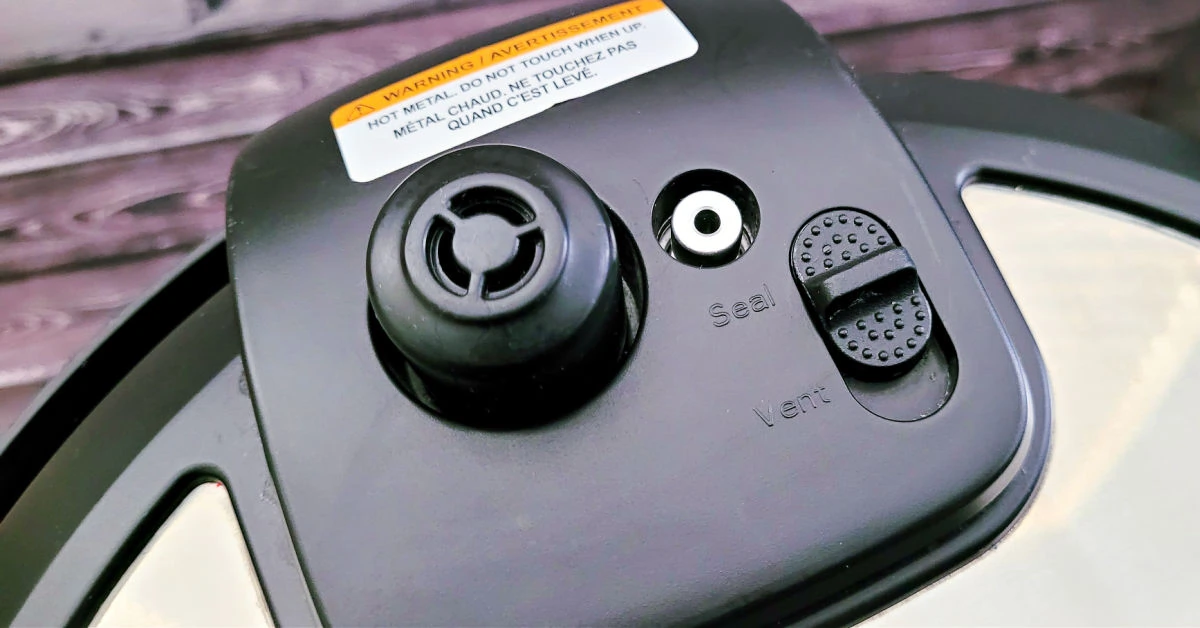
The steam release valve (which is next to the float valve) is a critical component of the Instant Pot, as it allows pressure to escape during cooking. One of the most common mistakes new Instant Pot users make is forgetting to turn the venting knob to the sealing position.
You’ll know it’s in the sealing position when the floating valve has popped up (note: some newer models no longer use this feature). If you hear your pressure cooker hissing, you’ve probably left that valve in the venting position. Just use a spoon or something similar to move it back into a sealed position and it should be able to keep cooking.
However, if most of the liquid has escaped, you may want to stop cooking, release pressure and check the water inside before proceeding so you don’t end up with a burned pot. You should also never attempt to force the lid open before the pressure has fully released.
Setting the Instant Pot on the Stove
When you have very little counter space, you may try to move your Instant Pot to the stove top to save some space. You should never put your Instant Pot on the stove – this could lead to accidentally burning the bottom of your Instant Pot!
Remember this about the lid too. Someone set the lid of my first Instant Pot on the stove, and a burner melted the lid! Better to be safe than sorry.
Not Adding Enough Liquid
Another common mistake is not adding enough liquid to the Instant Pot. The Instant Pot needs a certain amount of liquid to create steam and build pressure, which is what allows it to cook food quickly.
If you don’t add enough liquid, your food may not cook properly or may burn. As a general rule, you should add at least one cup of liquid to the pot, but the exact amount will vary depending on the recipe and the size of Instant Pot you have.
Adding Too Much Liquid
Just like adding too little liquid can be an issue, adding too much can also cause problems. For one, it will increase your cooking time because the pot will take longer to come to pressure, which can mean accidentally overcooking your food, diluting your seasoning or creating a bland dish.
To avoid this issue, make sure you are not filling past the max fill line, but not using less than the minimum recommended amount for your model. And be sure that you don’t add more liquid than any recipe calls for unless you know exactly why you’re doing it.
Using Thick Sauces vs Thin Liquids
When using an Instant Pot or any other pressure cooker, it’s important to use the right amount and type of liquid to ensure that your food cooks properly and safely. Using thick sauces instead of thin liquids can cause a variety of issues, such as uneven cooking, burning and even damaging the appliance.
Thick sauces, such as tomato sauce or cream-based sauces, have a higher viscosity and can be more difficult for steam to penetrate. This means that the food may not cook evenly or may take longer to cook than it would with a thin liquid. Thick sauces can also stick to the bottom of the pot, which can cause burning and scorching.
Would you like to save this?
In addition to cooking issues, using thick sauces in an Instant Pot can also be a safety hazard. The thick sauce can block the pressure release valve, which can cause the pot to build up excessive pressure and potentially lead to an explosion.
Using thin liquids, such as broth or water, is recommended when using an Instant Pot. Thin liquids can easily circulate through the pot, allowing the food to cook evenly and quickly. Thin liquids also help to prevent burning and scorching, as they can help to create a barrier between the food and the bottom of the pot.
Not Deglazing the Pot
Deglazing the pot is an important step in the cooking process when using an Instant Pot or any other type of pot. Failure to do so can result in a number of issues that can affect the quality of your food and the performance of your pot.
Deglazing the pot involves adding a liquid, such as broth or wine, to the pot after searing or browning meat. The liquid helps to dissolve any browned bits stuck to the bottom of the pot, which are full of flavor and can add depth and complexity to your dish.
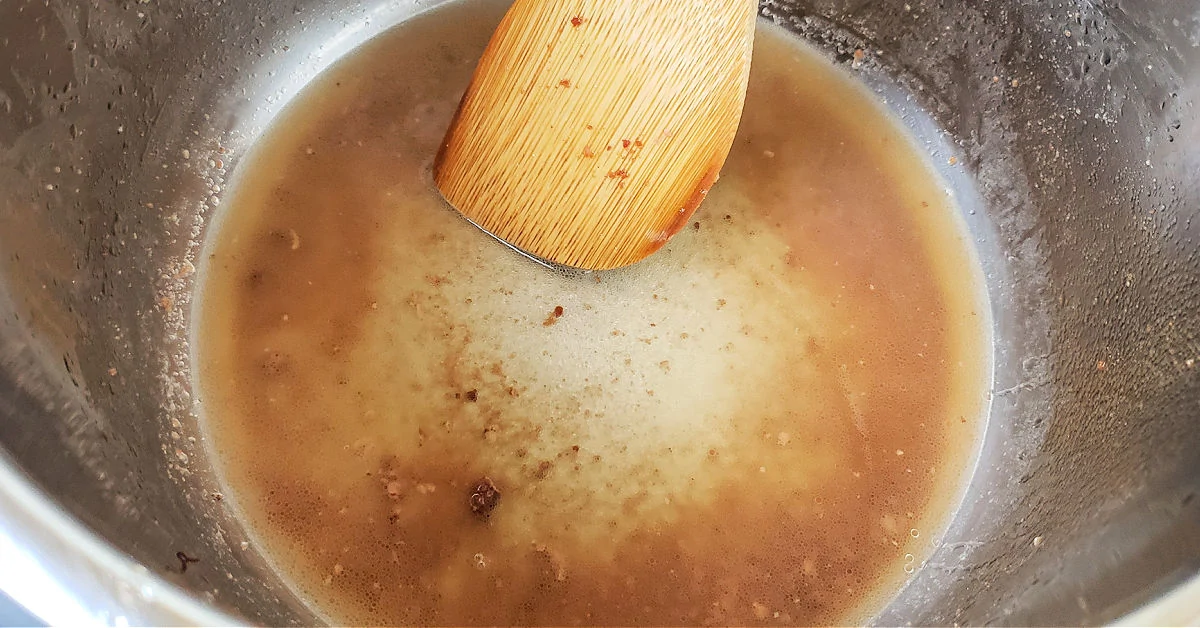
If you don’t deglaze the pot, those browned bits can burn and stick to the bottom of the pot, which can cause scorching and even ruin your dish. This can also make it more difficult to clean the pot, as the burnt bits can become stuck to the pot’s surface.
Not deglazing the pot can also affect the performance of your Instant Pot. Over time, burnt food can build up on the bottom of the pot and cause damage to the pot’s surface. This can make it more difficult for the pot to build pressure and can even cause the pot to overheat or malfunction.
Not Using the Proper Cooking Setting
Instant Pots come with a variety of cooking settings, such as “Pressure Cook,” “Slow Cook” and “Saute.” Using the wrong setting can lead to overcooking or undercooking your food.
For example, if you use the “Pressure Cook” setting for a recipe that calls for the “Slow Cook” setting, you may end up with mushy or overcooked food. Always double-check the recipe and the recommended cooking setting before you start cooking.
Quick-Release Instead of Natural Release
When using an Instant Pot, it’s important to understand the difference between a quick pressure release and a natural pressure release. Have you ever seen those pictures of failed Instant Pot recipes with food all over the outside and the counter? Not knowing the difference here is often the reason why this happens.
- Quick-release means manually releasing the pressure by turning the steam release valve immediately after the cooking cycle is complete.
- Natural release means letting the pressure release slowly on its own, which can take anywhere from 10 to 30 minutes.
Some recipes will require a natural release to prevent overcooking, while others will require a quick release to prevent food from becoming mushy. Always follow the recipe instructions for releasing pressure… there’s a reason for it!
One example is cooking foamy foods in the Instant Pot. In this case, if you use Quick Release, you risk splattering. You should always use a natural release with foamy foods (like beans) to avoid splattering.
Using the Instant Pot Without Properly Cleaning It
Proper cleaning and maintenance of your Instant Pot is essential to keep it functioning properly and to prevent bacteria and germs from accumulating. Always clean your pot thoroughly after each use, including the lid, sealing ring and inner pot.
Check the manufacturer’s instructions for the recommended cleaning method and avoid using abrasive cleaners or scouring pads that can damage the pot’s surfaces. I typically put my lid and ring on the top shelf of the dishwasher and the inner pot on the bottom rack. Then I wipe the actual Instant Pot clean with a damp towel.
Forgetting to Press Start
My original Instant Pot did not have a Start button. You simply set your cooking time and pressure and it started all on its own.
So when I replaced it with the Duo Crisp model (after the lid got melted on the first one), I ran into this problem for a while! So if you’re wondering why your Instant Pot never started cooking, you may have forgotten to push Start!
Pressing the Timer Button When Setting the Cook Time
When you press the timer button on your Instant Pot, you’re not setting your cooking time! The timer button is for delayed cooking and will be lit green when ready.
If you see that your timer button is lit green, press your keep warm or cancel button and your Instant Pot will begin cooking again.
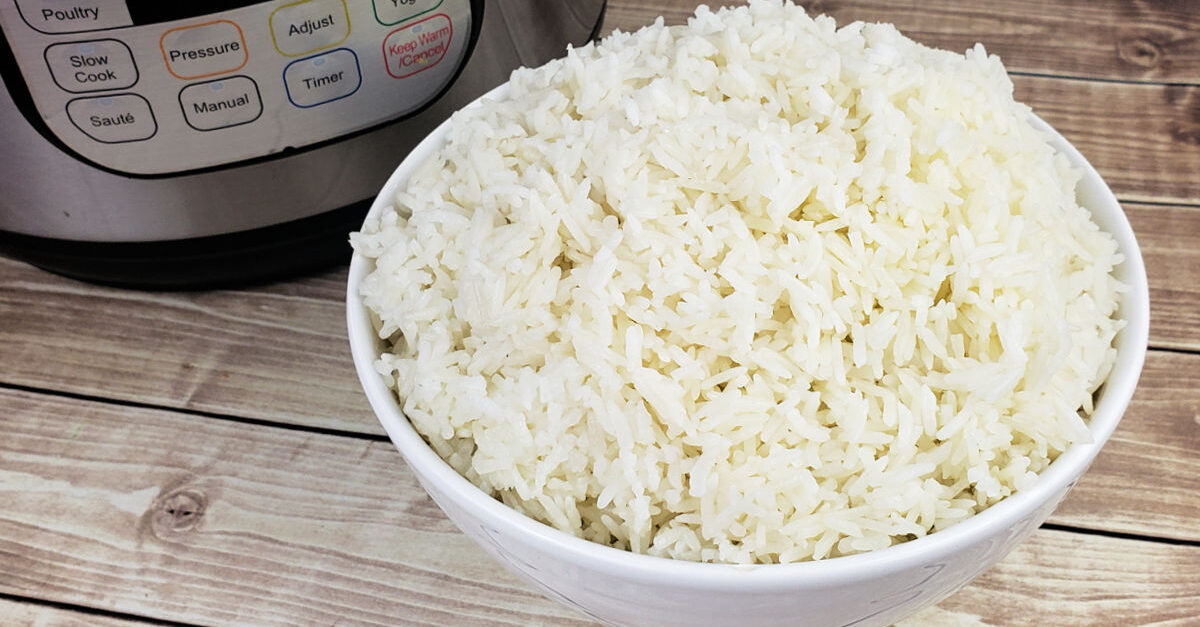
Using the Rice Button to Cook All Types of Rice
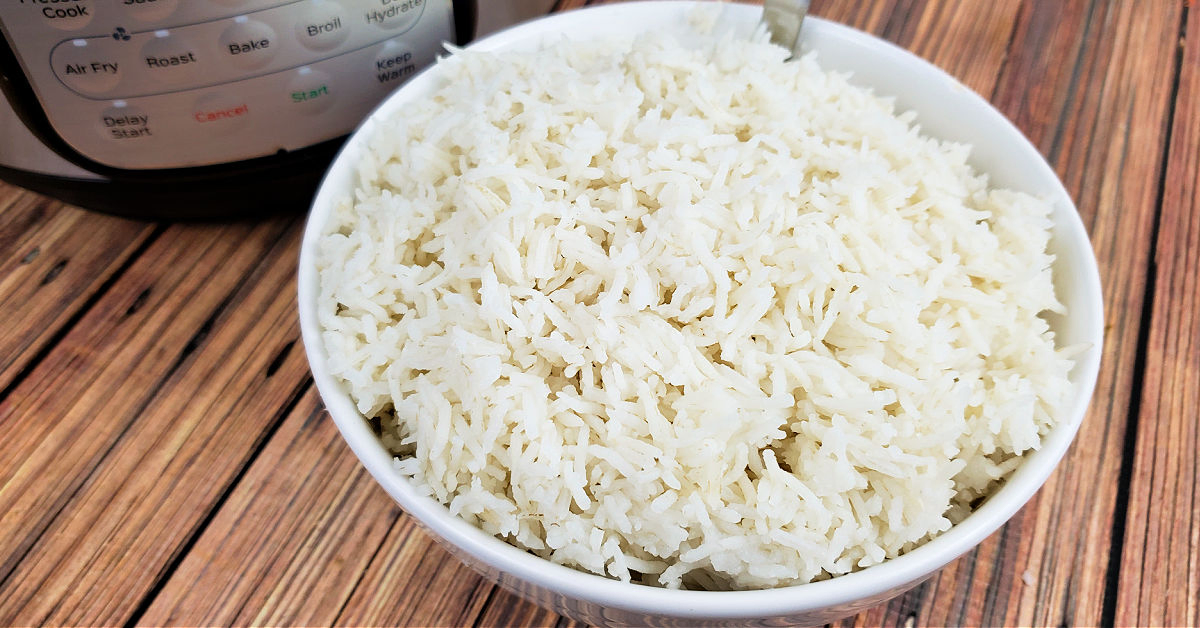
Cooking rice in the Instant Pot is one of my favorite ways to use it. The rice button is not an all-in-one solution for making rice though. Different types of rice will require different amounts of water to rice ratios, and that will change the cooking time.
For example, jasmine rice and basmati rice need very different liquid to rice ratios, but they use the same cook time. Brown rice needs a much longer cook time then white rice.
There are also certain types of rice and grains that will require use of the Multi-Grain button. So, when making rice, quinoa or another grain, be sure that you’re following the right instructions for preparing those grains.
Using the Wrong Temperature of Liquid
The last of the Instant Pot mistakes is to using the wrong temperature of water. Pay close attention to whether your recipe calls for hot water or cold water. Using hot instead of cold liquids can lead to undercooking your meal and shortening your cook time.
While using an Instant Pot can be a great way to cook delicious and healthy meals quickly and easily, there are many common Instant Pot issues people encounter with their Instant Pot when they’re getting started (and even when they’re experienced).
I hope reading these tips for new users was helpful for you and that you’ll become a troubleshooting pro. Be sure to save this post so you can refer to it whenever you need troubleshooting help!
By avoiding these common mistakes when pressure cooking, you can ensure that your meals turn out perfectly every time and that your Instant Pot lasts for years to come. Happy cooking!