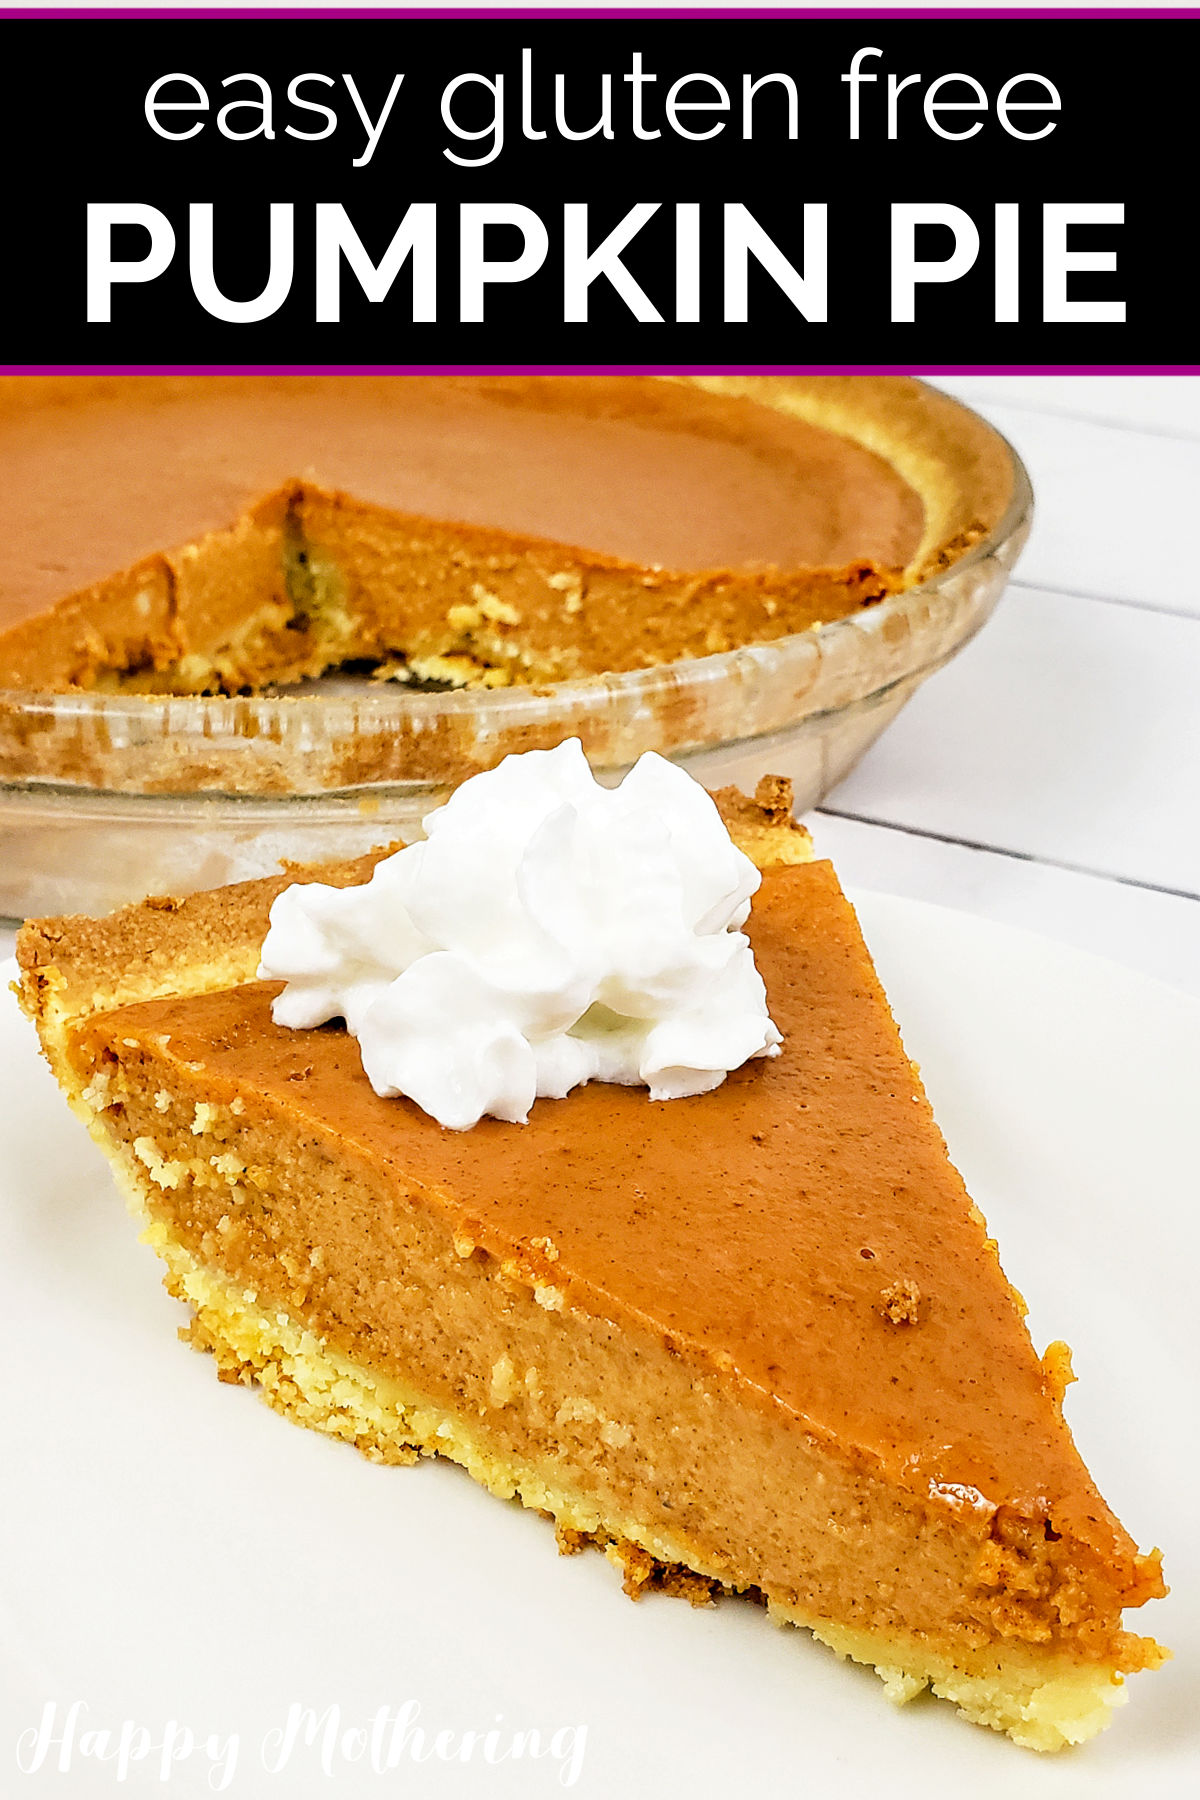
Gluten Free Pumpkin Pie
Jump to Recipe
My Gluten Free Pumpkin Pie recipe is easy to make and tastes just like the real thing. Almost no one will know you’re serving a gluten-free version of this classic recipe unless you tell them!
Making a traditional pumpkin pie is a cherished part of the fall season for my family. We make one every year for the Thanksgiving table. It’s a tradition I love!
I’ve made many pumpkin pie recipes over the years and I’m always amazed by how many different ingredient combinations can result in a delicious homemade pie. For this gluten-free recipe, I’ve chosen very simple ingredients to make preparation incredibly easy.
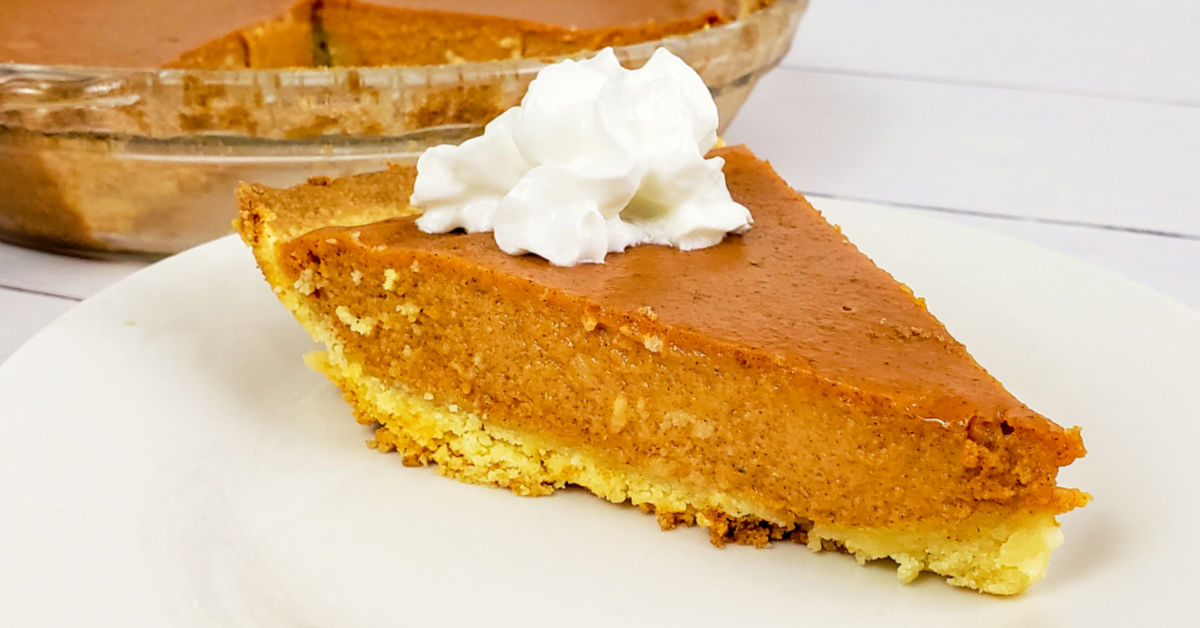
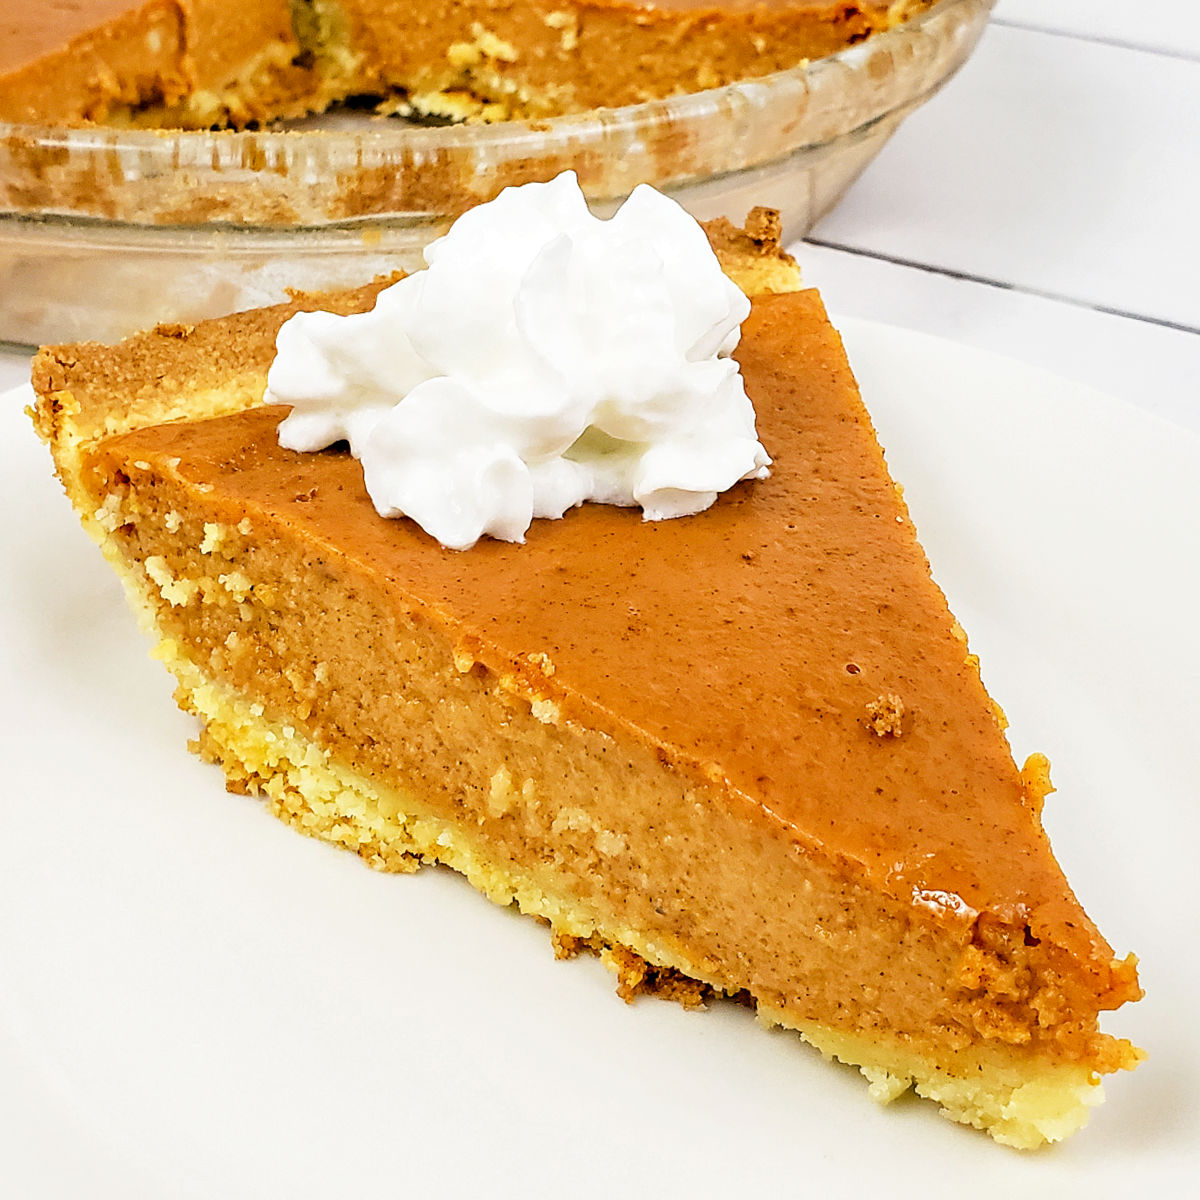
My gluten-free pumpkin pie recipe features a flaky pie crust and creamy filling that’s full of flavor. And while we typically make it during the holiday season, you can make it any time of year.
Ingredients
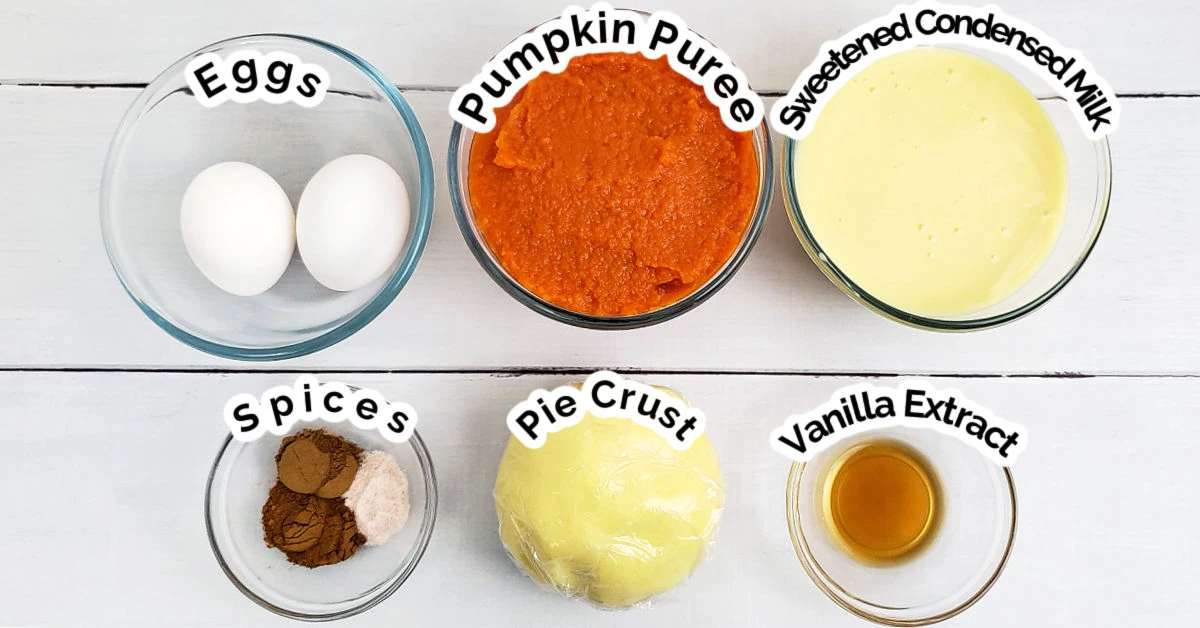
- 1 gluten free pie crust
- 1 can of pumpkin puree (not pumpkin pie filling)
- 1 can of sweetened condensed milk
- 2 eggs
- 1 teaspoon of vanilla extract
- 1 teaspoon of cinnamon
- 1 teaspoon of pumpkin pie spice
- ½ teaspoon of sea salt
Equipment
- Mixing bowls
- Whisk
- Measuring cups and spoons
- Dough blender
- Plastic wrap
- Rolling pin
- 9-inch pie plate
Step-by-Step: How to Make Pumpkin Pie
Follow these simple step-by-step instructions to learn how to make the easiest gluten free pumpkin pie to serve on Thanksgiving or any day of the year.
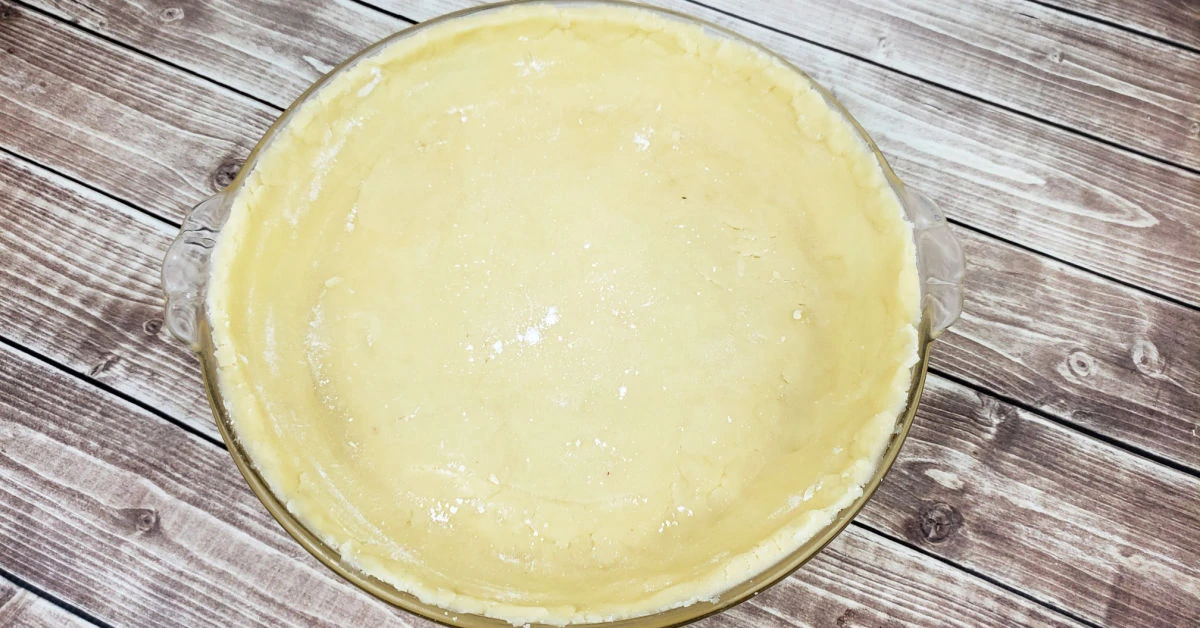
Step 1: Make Pie Crust
The first thing you want to do is prepare your pie crust. You can use my simple gluten free pie crust recipe, you own recipe or a store-bought crust. If the dough is raw, dust it lightly with gluten free flour.
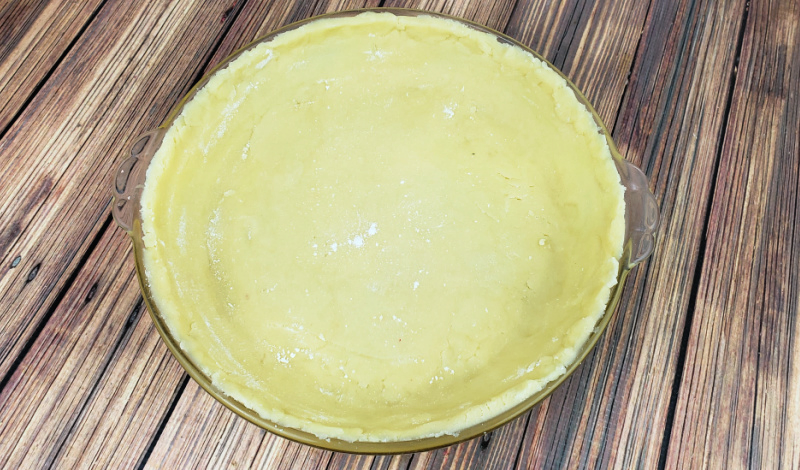
Once you’re ready to make the pie, preheat your oven temperature to 350˚ F before proceeding.
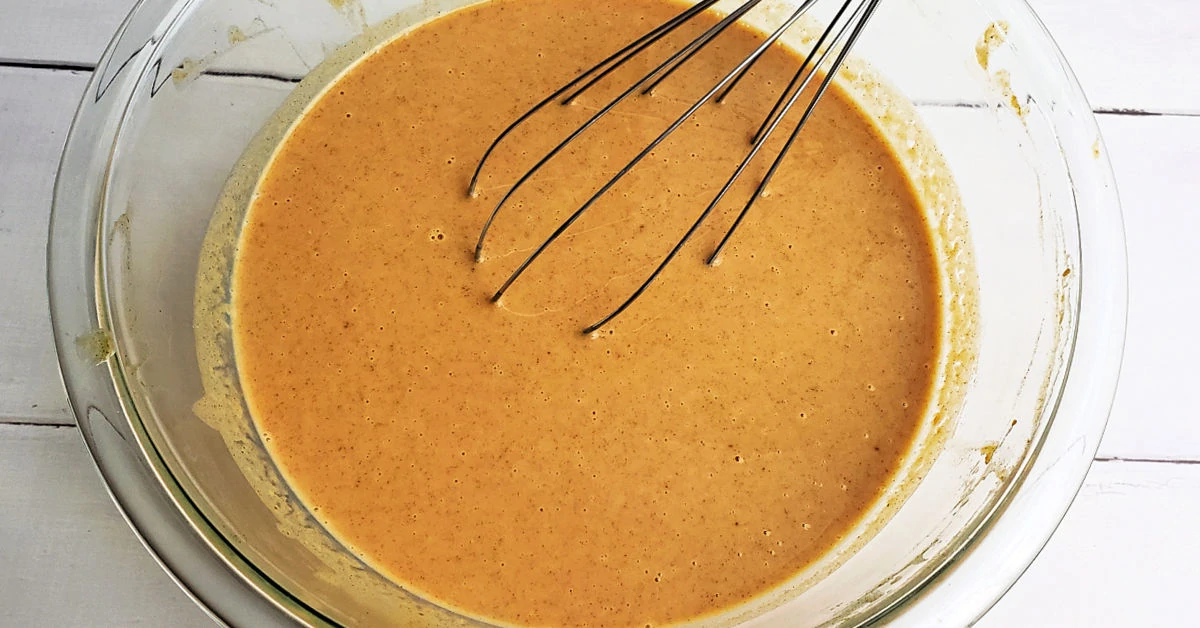
Step 2: Make Filling
In a large mixing bowl, whisk together 1 can of pumpkin puree, 1 can of sweetened condensed milk, 2 eggs, 1 teaspoon of vanilla extract, 1 teaspoon of cinnamon, 1 teaspoon of pumpkin pie spice and ½ teaspoon of sea salt.
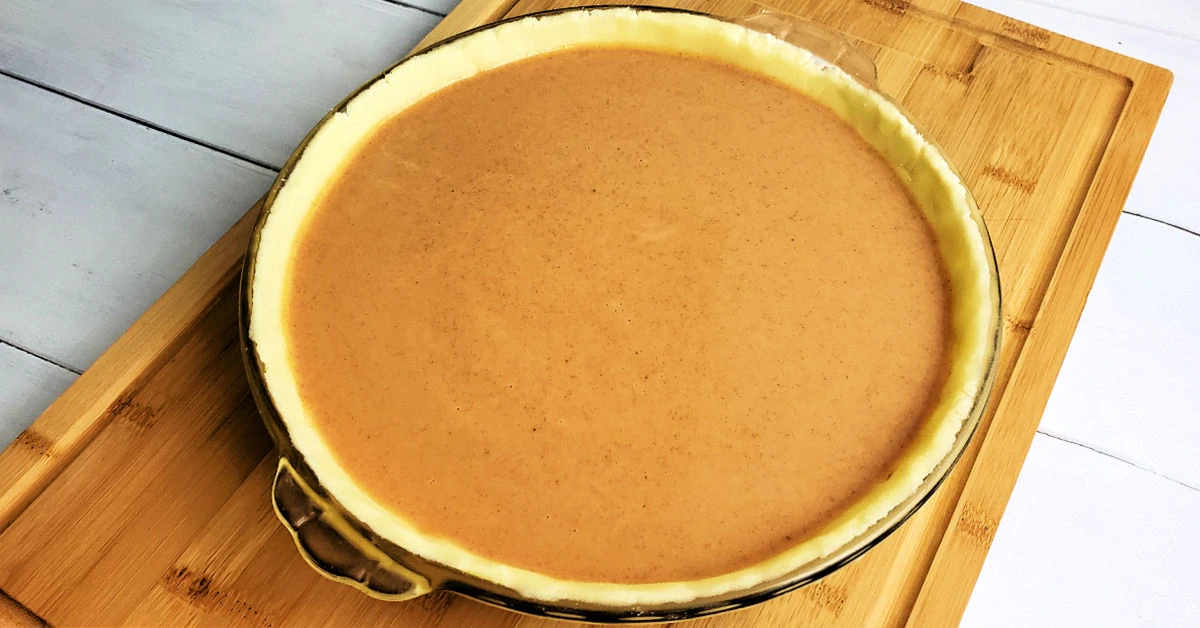
Step 3: Pour Filling Into Crust
Once the filling is nice and smooth, pour it into your prepared pie dish.
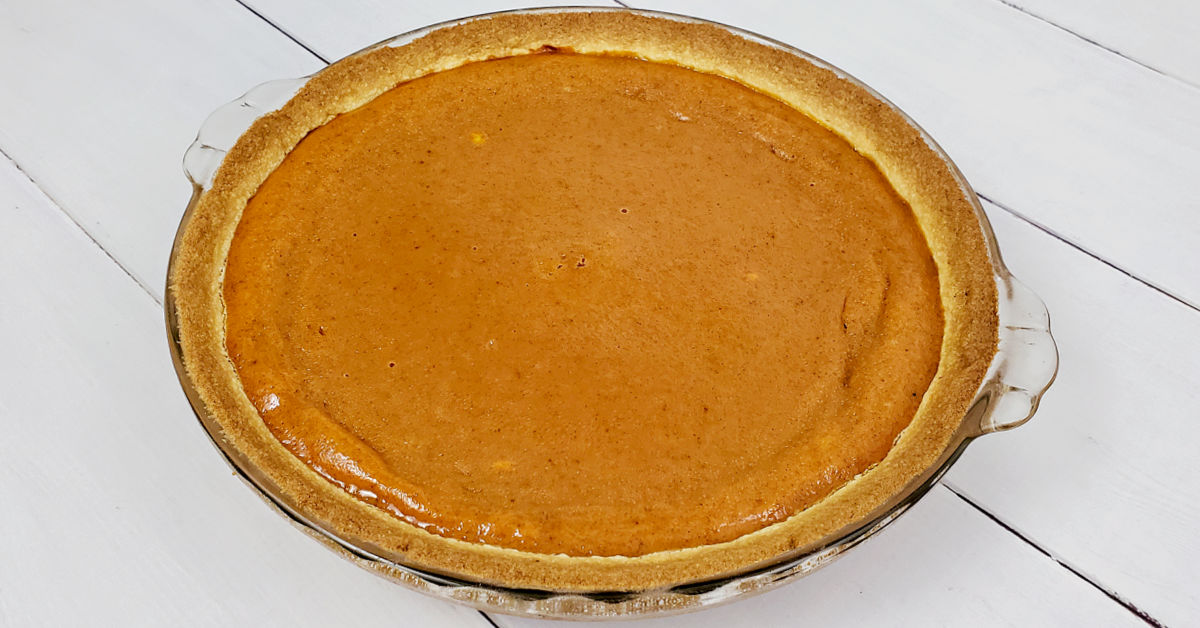
Step 4: Bake Pie
Carefully place the pie pan into your oven and bake for 45-50 minutes. When it’s done, you should be able to insert a butter knife into the pie, 1-inch from the crust, and have it come out clean.
Step 5: Serve Pumpkin Pie
Allow the pie to cool a bit, preferably on a wire rack. Then you can slice and serve it with whipped cream or vanilla ice cream, if desired.
Would you like to save this?
Tips for Making Gluten Free Pumpkin Pie
Answers to all of your questions about making the best gluten free pumpkin pie, including tips and substitution ideas.
Tip: Warm Pumpkin
If you find that canned pumpkin has a bit of a “canned” taste to it, you can warm it on the stove for a bit and it will reduce that taste.
Best gluten free flour
I personally prefer to use Cup4Cup gluten free flour when making my gluten-free pie crust recipe. However, you should be able to substitute any gluten free flour as long as it contains xanthan gum.
Dairy free option
If you’d like to make dairy-free pumpkin pie filling, you can replace the sweetened condensed milk with sweetened condensed coconut milk. Any other substitution won’t work.
For the crust, just be sure to substitute vegan butter for the regular butter or use a different dairy free crust recipe. You can use up to ½ coconut oil in the crust, but it doesn’t set as well when you use 100% coconut oil if you’re trying to make a vegan pumpkin pie.
You can also totally omit the crust for a crustless pumpkin pie. The filling tastes amazing when served like pumpkin custard.
Fresh pumpkin puree vs canned
I typically use canned pumpkin puree because all cans have a relatively similar consistency. When you make your own pumpkin puree, it can have a higher or lower water content. So the filling may not turn out as consistently if you use fresh pumpkin puree.
What if the crust browns too quickly?
If you find that your crust browns too quickly and you’re afraid it’s going to burn, you can cover the crust with aluminum foil or a pie crust shield.
Storage tips
Be sure to store your gluten-free pumpkin pie covered in plastic wrap or in an airtight container in the refrigerator. Eat within 3-4 days.
You can also freeze your pumpkin pie for up to 2 months. Be sure to cool it to room temperature then wrap in plastic wrap and aluminum foil before freezing. Defrost on the counter or in the fridge overnight before reheating.
Free guide to gluten free baking
If you’re new to the gluten-free lifestyle, sign up for my Free Guide to Gluten Free Baking.
More gluten free pie recipes
Here are some more amazing pie recipes to add to your dessert table:
- Gluten Free Buttermilk Pie
- Gluten Free Apple Pie
- Gluten Free Pecan Pie
- Gluten Free Chicken Pot Pie
- Gluten Free Strawberry Apple Pie
Gluten Free Pumpkin Pie Recipe
Ingredients
- 1 gluten free pie crust
- 1 can pumpkin puree - not pumpkin pie filling
- 1 can sweetened condensed milk - full fat
- 2 eggs
- 1 teaspoon vanilla extract
- 1 teaspoon cinnamon
- 1 teaspoon pumpkin pie spice
- ½ teaspoon sea salt
Equipment
- Mixing bowls
- Whisk
- Measuring cups and spoons
- Dough blender
- Plastic Wrap
- Rolling pin
- 9-inch pie plate
Instructions
- Press your pie crust into your pie pan. If it's raw dough, dust lightly with gluten free flour. Then preheat your oven to 350˚ F before proceeding.

- Add all ingredients to a large bowl and whisk to combine.
- Once smooth, pour the filling into your pie dish.
- Bake the pie for 45-50 minutes. It’s done when a butter knife inserted 1-inch from the pie crust comes out clean.
- Let the pumpkin pie cool, then serve each slice with whipped cream or ice cream top of the pie, if desired.