Gluten-Free Buttermilk Pie Recipe
Jump to Recipe

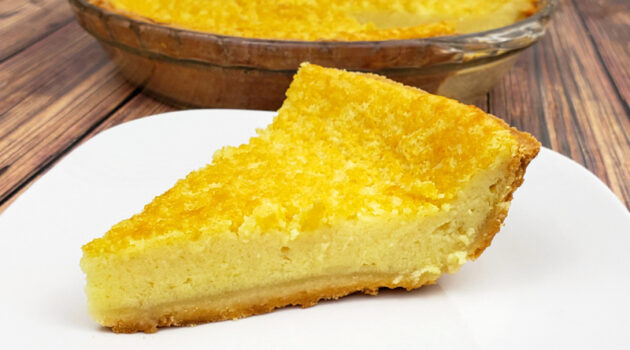
Learn how to make the best Gluten Free Buttermilk Pie with a flaky homemade pie crust.
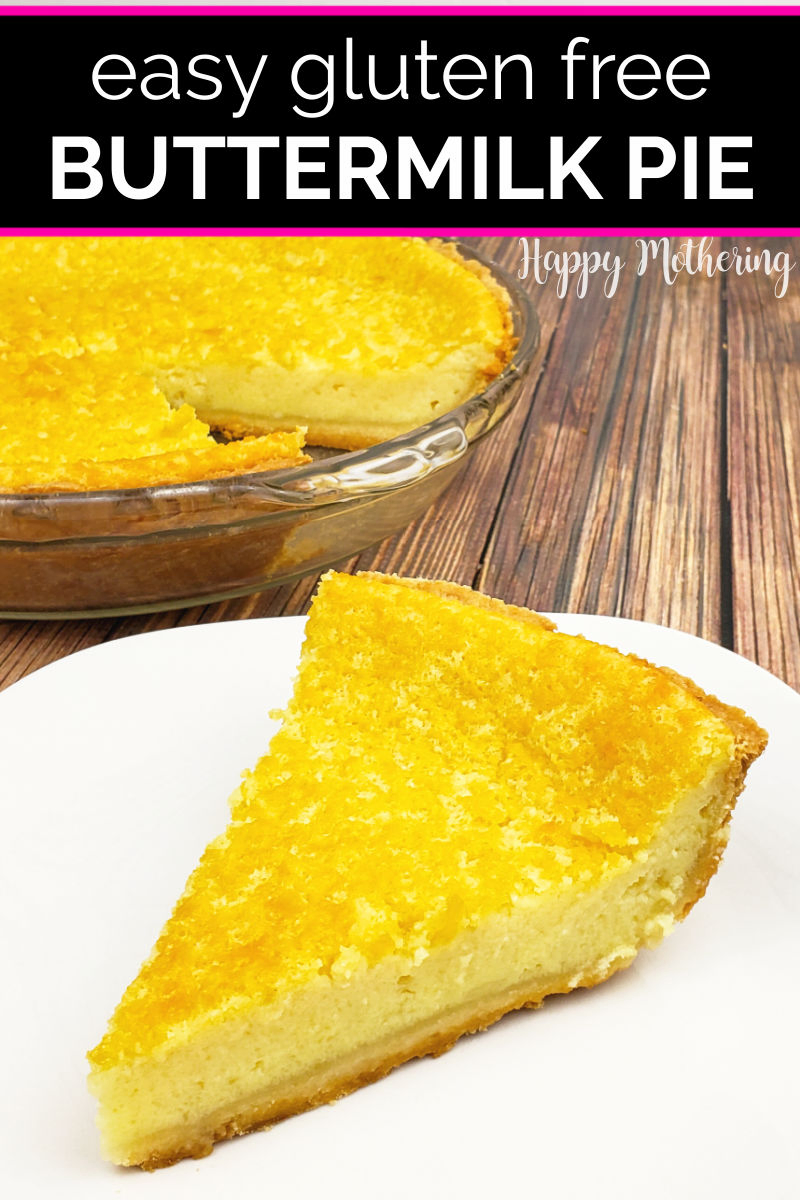
This pie is referred to as “The Southern Classic” in our home because it’s a true comfort food… not to mention my family loves it. You won’t know what you’re missing until you try it!
As a huge bonus, the ingredients are affordable compared to many other pie recipes, making it a great choice for Thanksgiving, Christmas or the average weeknight.
Ingredients
- 1 gluten free pie crust
- 4 eggs
- 1 cup of granulated sugar
- 2 tablespoons of Cup4Cup gluten free flour
- ½ cup of melted butter
- 1 ½ cups of buttermilk
- 1 teaspoon of vanilla extract
Equipment
- Mixing bowls
- Measuring cups and spoons
- Whisk
- Small saucepan
- Pie Pan
- Dough blender
Step-by-Step: How to Make Gluten Free Buttermilk Pie
Follow these simple step-by-step instructions to learn how to make the best Buttermilk Pie with a gluten free crust.
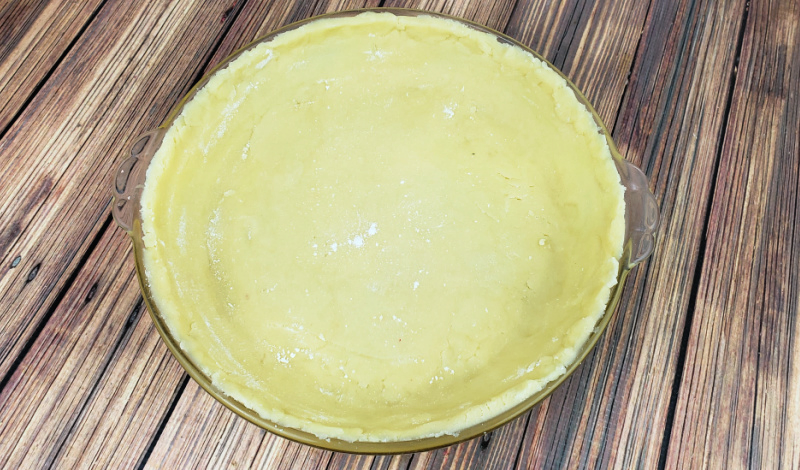
Step 1: Prepare Gluten Free Pie Crust
The first thing you want to do is make your homemade pie crust or get the one you bought ready. If the dough is raw, dust the crust lightly with gluten free flour. This will help keep the filling from soaking into the crust.
Step 2: Make the Buttermilk Pie Filling
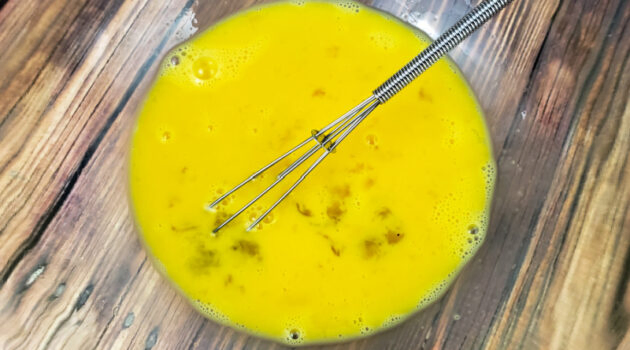
Preheat your oven to 325° F. Then grab a medium mixing bowl, crack 4 eggs into it and lightly beat the eggs.
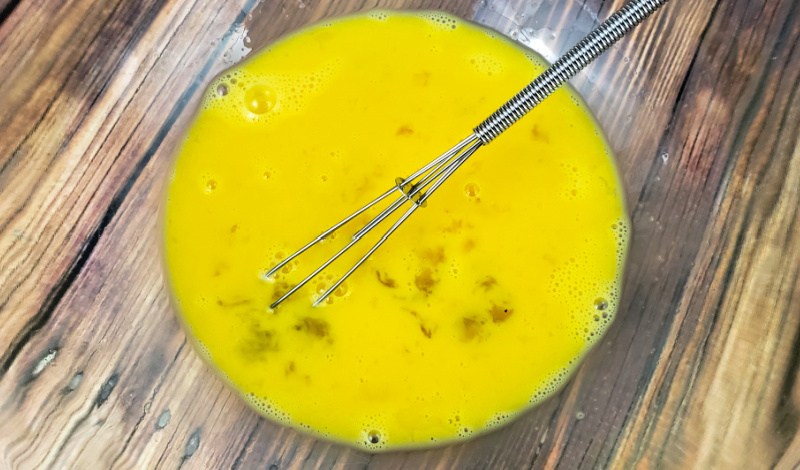
Whisk in 1 cup of granulated sugar and 2 tablespoons of gluten free flour. Once that’s combined, whisk in ½ cup of melted butter, 1 ½ cups of buttermilk and 1 teaspoon of vanilla extract.
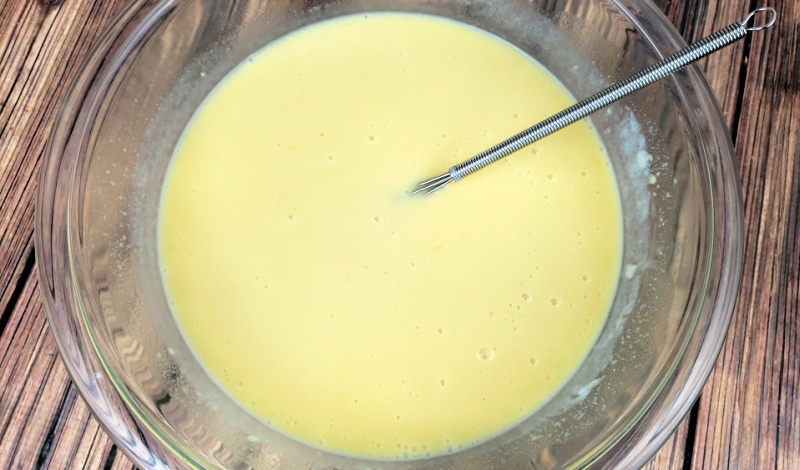
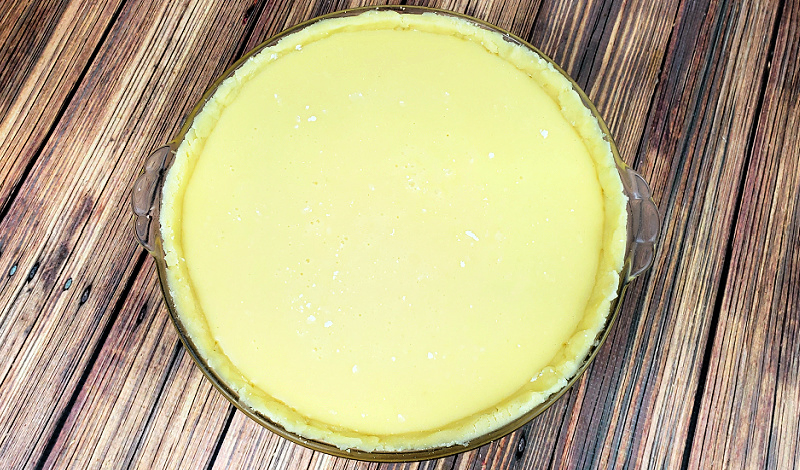
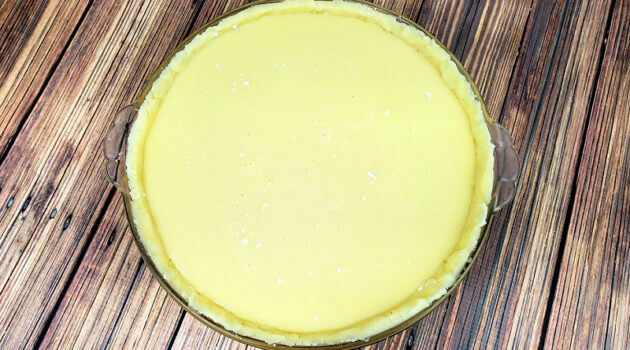
After your filling is nice and smooth, pour it into your prepared gluten free pie crust. Sprinkle a little more gluten free flour on top of your buttermilk batter.
Step 3: Bake the Pie
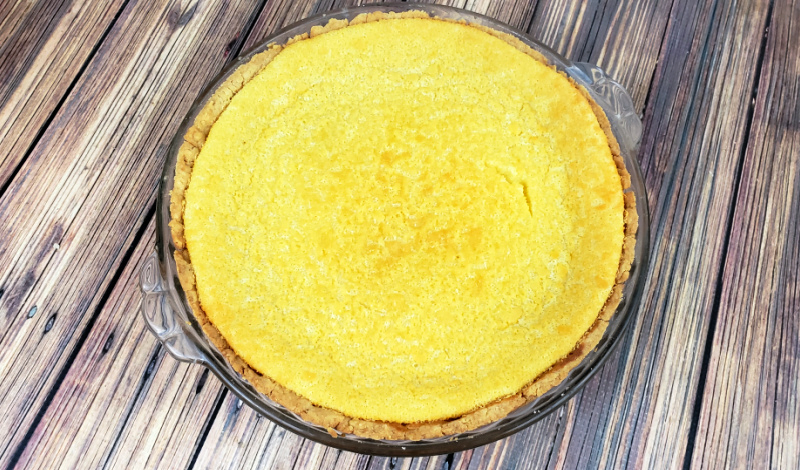
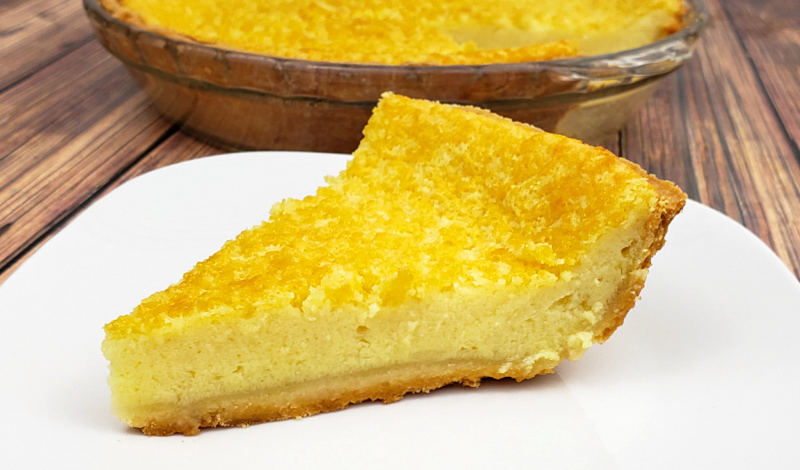
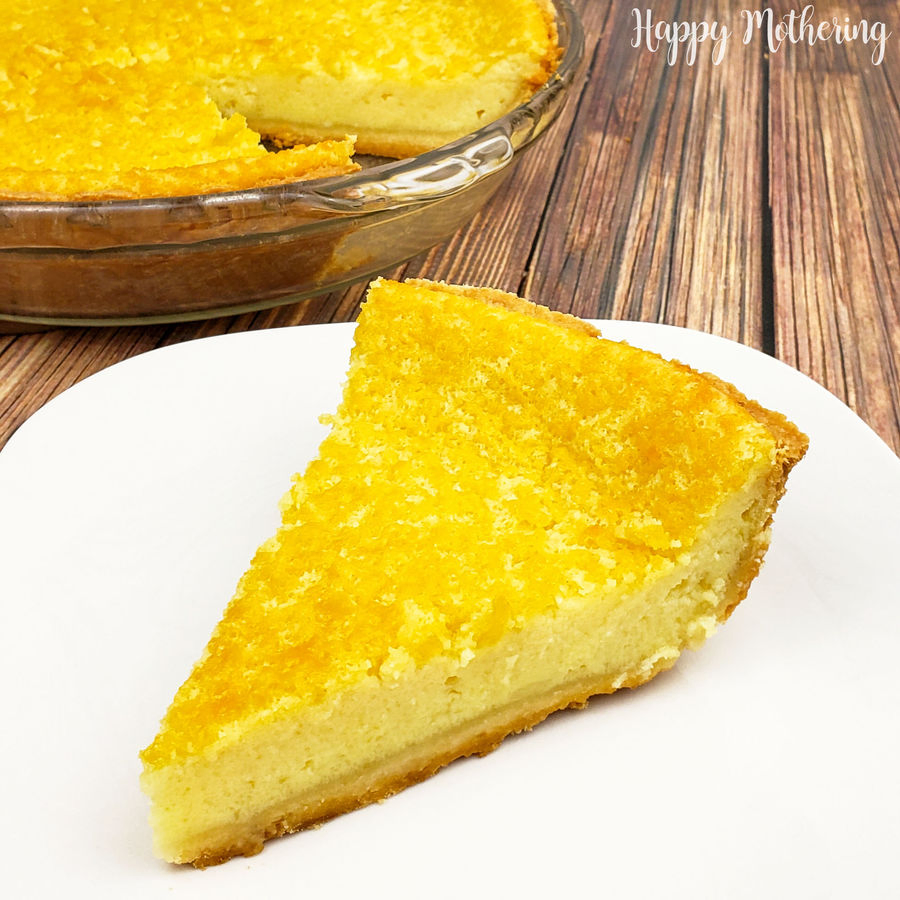
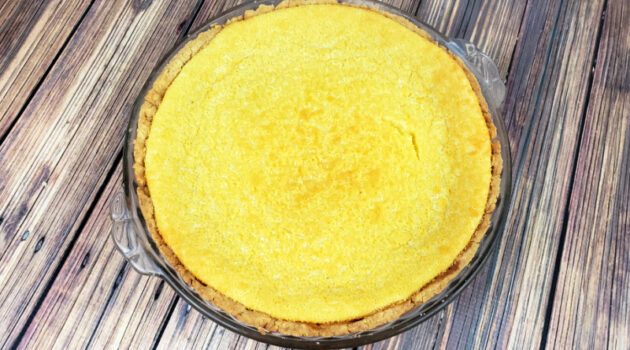
Place the pie in your pre-heated oven and bake it for about an hour, or until the custard is set and the top is turning a golden brown color.
Step 4: Serve Your Buttermilk Pie
You can serve your gluten free buttermilk pie warm, but we prefer to refrigerate it and eat it cold the following day.
Would you like to save this?
Tips for Making the Best Buttermilk Pie
This buttermilk pie recipe is simple and straightforward, but here are answers to some common questions I am asked frequently.
Don’t melt the butter when making the crust
Yes, melt the butter for the filling. And seriously, please don’t melt the butter for the crust. The “crust butter” has to be cold or your crust will come out more like cardboard than the flaky delight you’re after.
What does buttermilk pie taste like?
You’ll love it! The flavor and texture of the filling is a lot like a rich, creamy vanilla custard… but way better!!!
Should it be eaten warm or cold?
That’s up to you… it’s delicious both ways (I prefer cold). We often eat it warm for dessert the first night, then cold for breakfast the next morning!
Why is my batter runny?
Your batter should be runny, don’t worry. The custard like filling will set as it bakes. If your batter is thick, you did something wrong.
How do I know my pie is done?
The top of the pie should be a golden brown color and the filling should be set. You will need to gently move the pan back and forth, if the center is “jiggly” put it back in for a little more time. I usually put it back in at 10 minute increments until it stops moving.
Will this recipe work with a different pie crust?
You should be able to use any homemade or store bought pie crust with the buttermilk pie filling, but it may not be as flaky and delicious as my gluten-free pie crust recipe.
Storage tips
Ours has never lasted longer that 24 hours in our home, because it’s eaten that fast. Assuming you don’t gorge yourself on it as our family does… it should last in the refrigerator for 3-4 days if you have better will power. Don’t store this pie on the counter, only in the fridge.
More gluten free pie recipes
If you like this Buttermilk Pie, check out my other gluten free pie recipes:
Gluten Free Buttermilk Pie Recipe
Ingredients
- 1 gluten free pie crust
- 4 eggs
- 1 cup granulated sugar
- 2 tablespoons Cup4Cup gluten free flour - plus a little extra for dusting
- ½ cup butter - melted
- 1 ½ cups buttermilk
- 1 teaspoon vanilla extract
Equipment
- Mixing bowls
- Measuring cups and spoons
- Whisk
- Small saucepan
- Pie Pan
- Dough blender
Instructions
- Preheat your oven to 325° F. Press your gluten free pie crust into the pie dish or get the one ready you bough. If it's raw dough, dust lightly with gluten free flour. Make sure it's chilled.

- In a medium mixing bowl, beat the eggs slightly.
- Whisk in the sugar and flour, then mix in the melted butter, buttermilk and vanilla, and whisk until well combined.

- Pour the buttermilk batter into your prepared gluten free pie shell. Sprinkle a little more gluten free flour on top of your buttermilk batter.
- Bake the pie for about an hour, or until the custard is set.
- Serve your gluten free buttermilk pie warm or refrigerate and eat cold the next day.