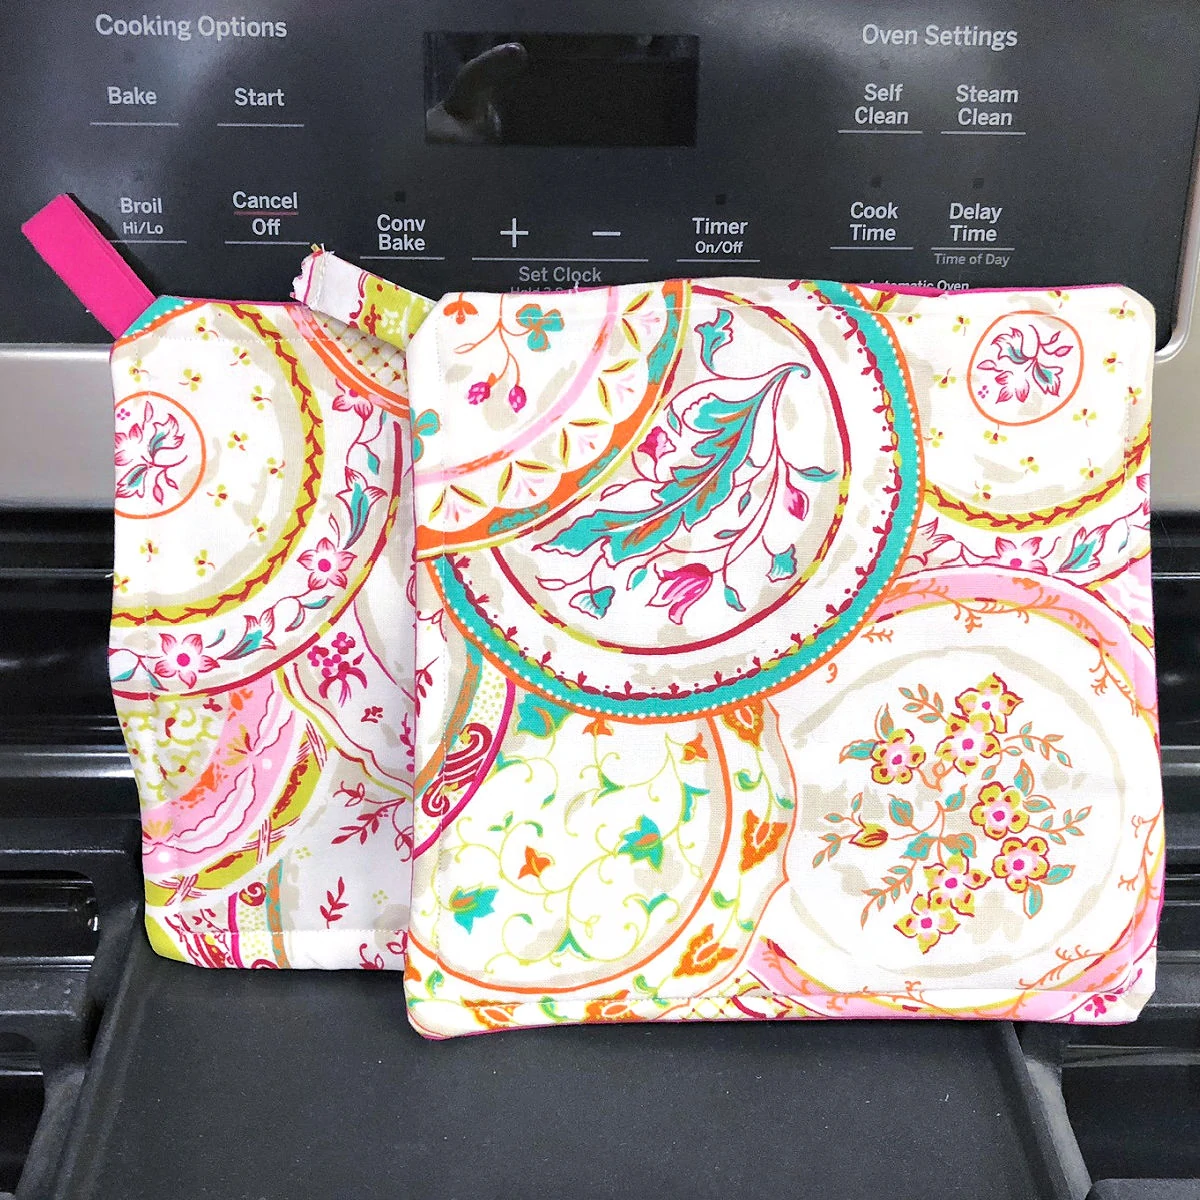
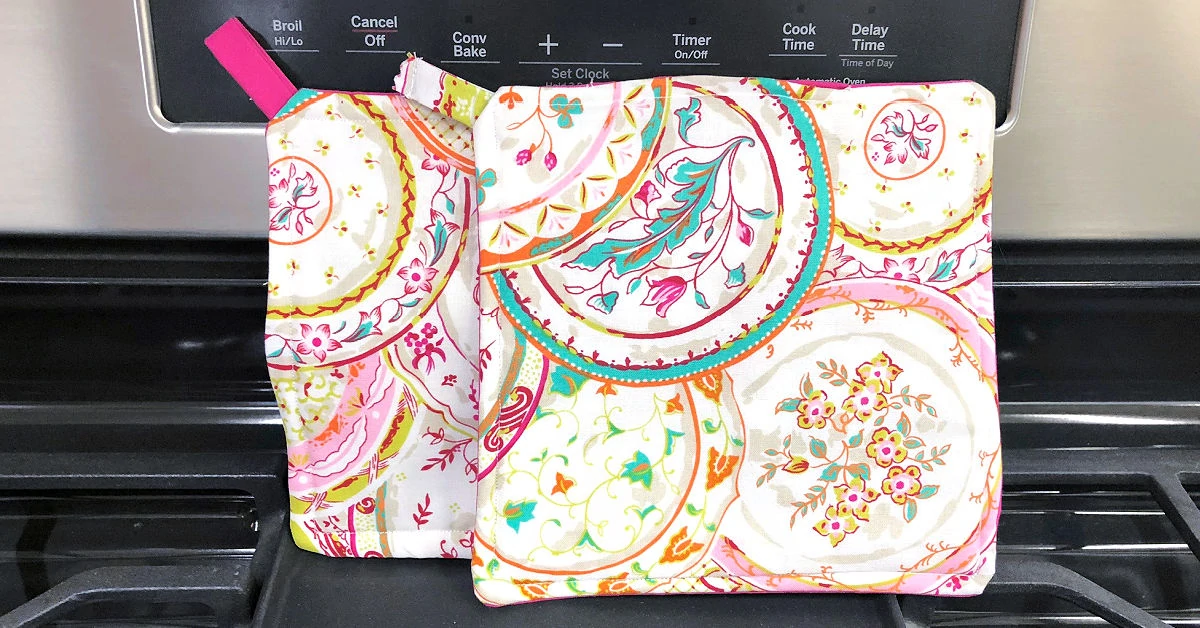
How to Sew an Easy Pot Holder in 10 Minutes
Jump to Directions

Are you looking for easy sewing projects for the kitchen? Learn how to make these cute DIY Pot Holders with a hanging hook.

It seems like our pot holders constantly need to be replaced. Instead of purchasing new pot and pan holders, I decided to sew my own pot holders.
You can often sew household items (like these sandwich wraps) for less money than you’d spend buying new, and that holds true with this project.
These DIY pot holders are seriously so easy to make if you know how to use a sewing machine. Really, they are. If you have your sewing basics down, you can make a kitchen pot holder in about 10 minutes.
Would you like to save this?
It’s really important to make sure you choose heat-safe batting if you want the best pot holder to protect your hands. Other than that, you can customize the outer fabric however you’d like – just choose something durable.
Easy DIY Pot Holder Tutorial
Supplies
- ¼ yard cotton fabric - main color
- ¼ yard heat safe batting - like Insul-Bright
- ¼ yard cotton fabric - complimentary or matching color
Tools
- Washable fabric pen
- Self healing mat
- Scissors
- All-purpose thread
- Wonder sewing clips
- Sewing machine
- Iron
Instructions
- Measure, mark and cut one 9” x 9” piece of your main, one piece of the 9” x 9” piece of your complimentary fabric, one 2” x 4” piece of either of the cotton fabrics and one 9" x 9" piece of heat safe cotton batting or fabric.
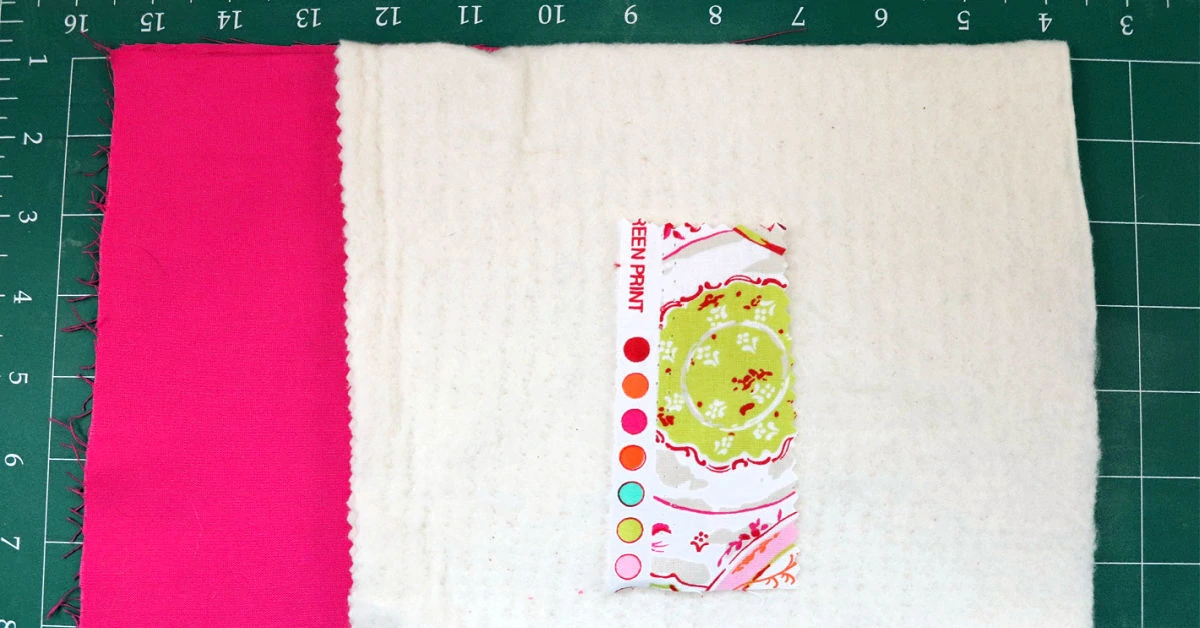
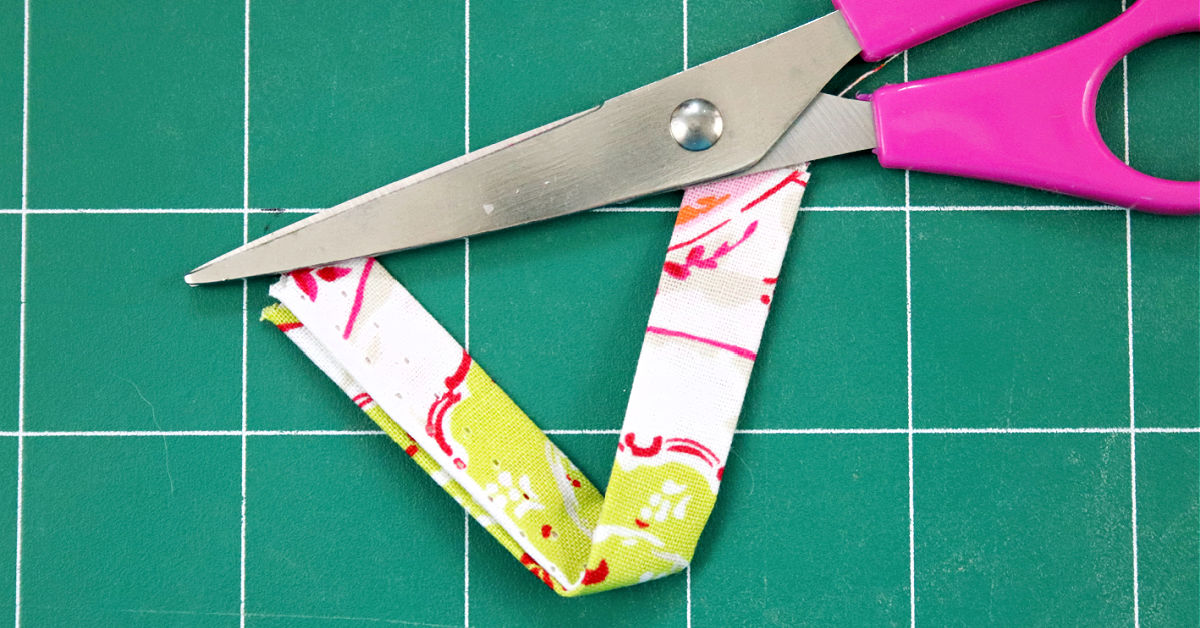
- Fold your 2” x 4” in half length-wise and press with an iron. Next fold each side to touch the middle fold and press together and then fold in half and press. This will be your loop to hang your pot holder.
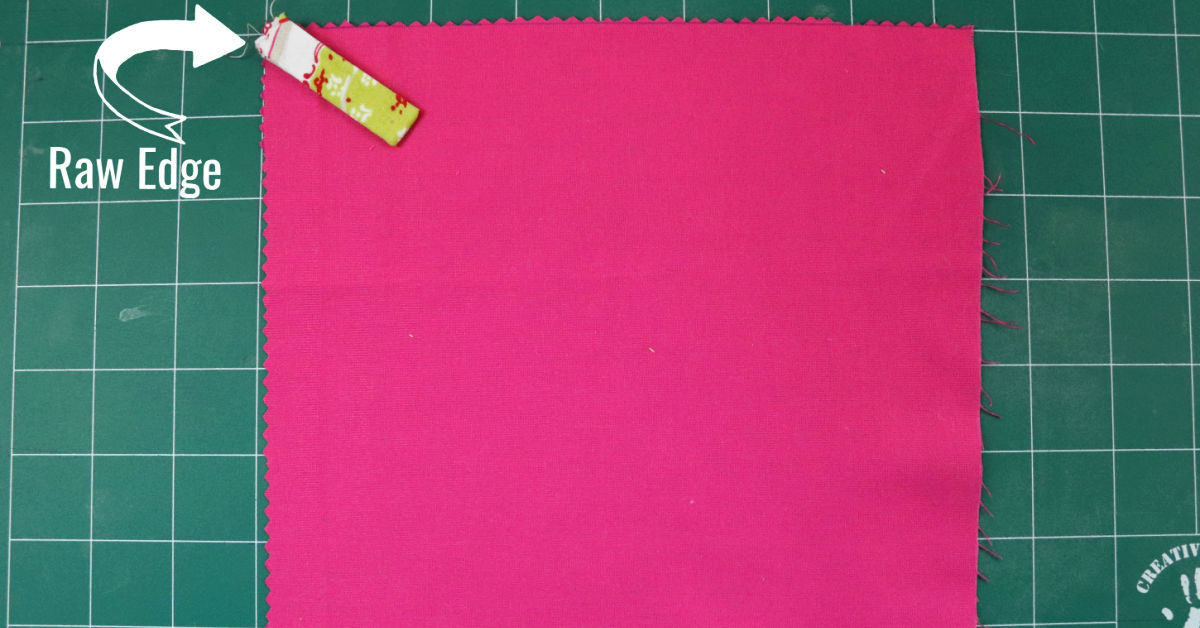
- Place one piece of your cotton fabric right side up, place loop piece in one corner, with the raw edge facing the corner.
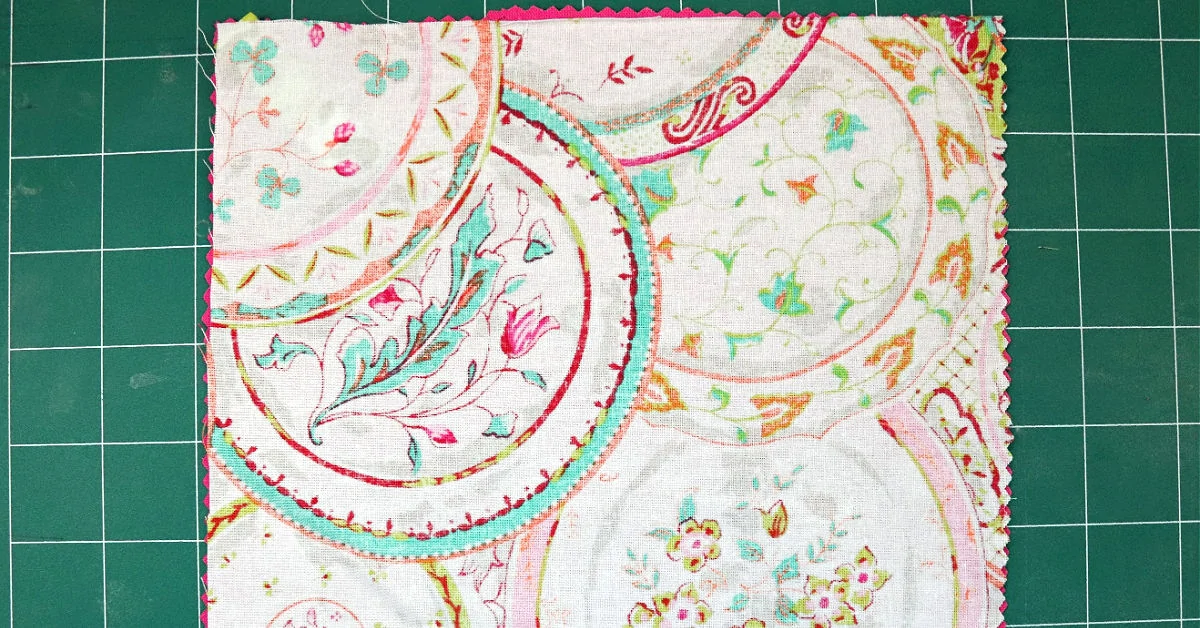
- Lay the second piece of cotton fabric on top of the first piece, but right side down this time (so the right sides are facing each other).
- Lay the heat safe or cotton batting on top of the cotton fabric pieces.
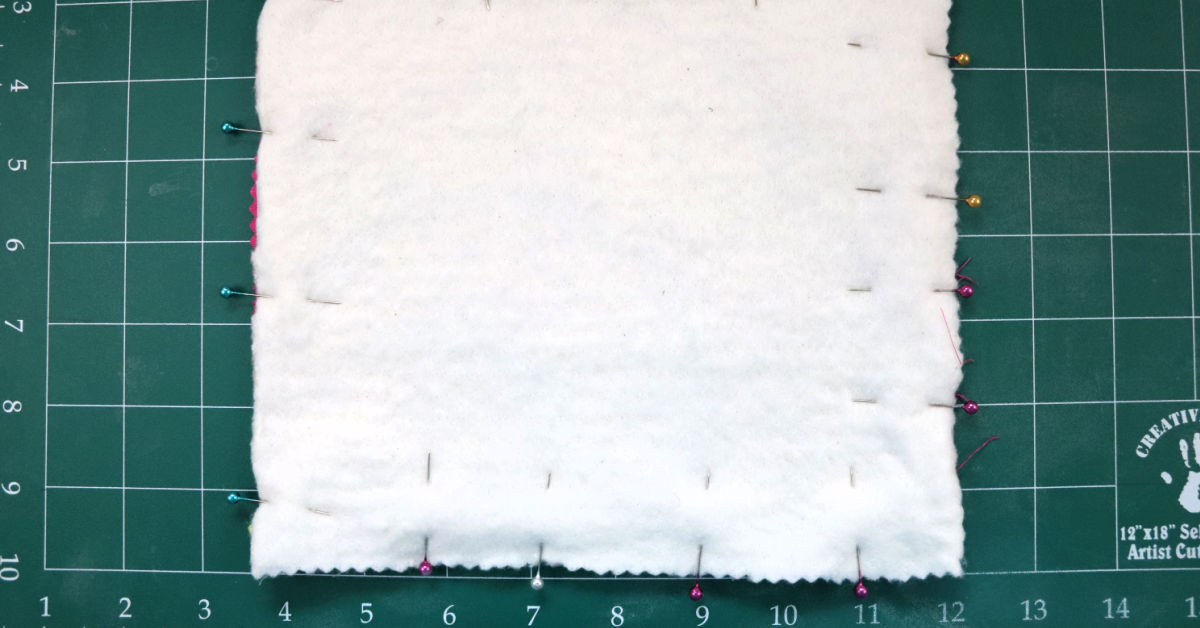
- Pin your pieces together, leaving a 4” opening.
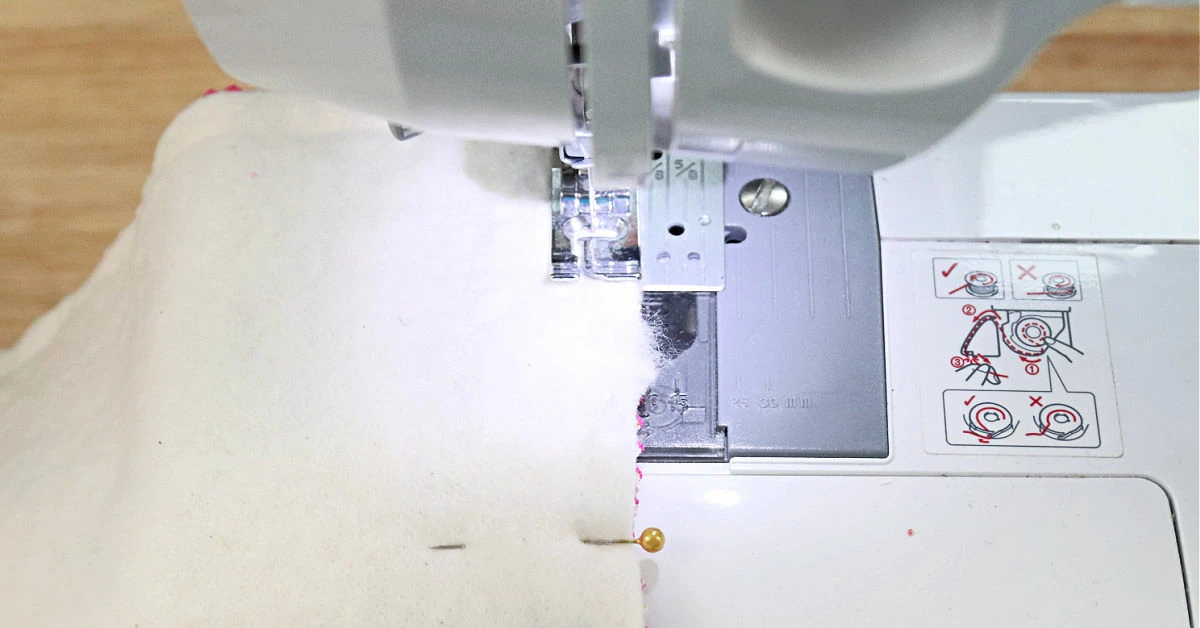
- Sew a 1/2” seam allowance around all four sides. Secure either side of the opening by going back and forth a few times. This will prevent it coming apart when you turn it. Be sure you do not sew the opening shut.
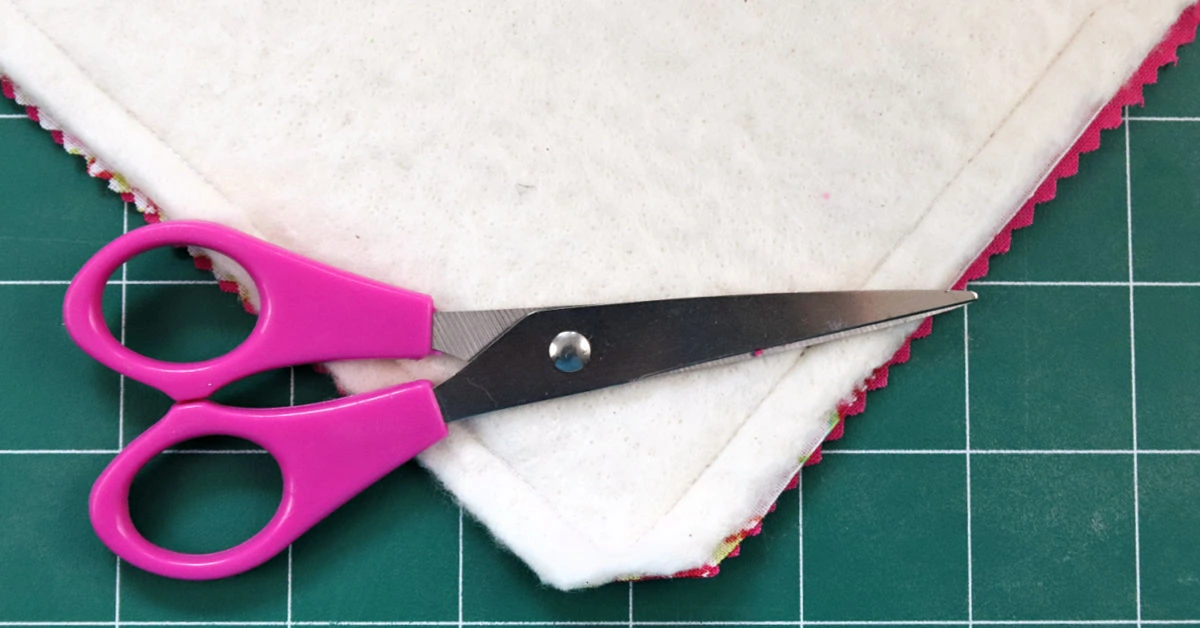
- Next, clip each corner of the pot holder, being very careful to not snip into the stitching around the edges.
- Carefully turn the pot holder right side out through the opening you left.
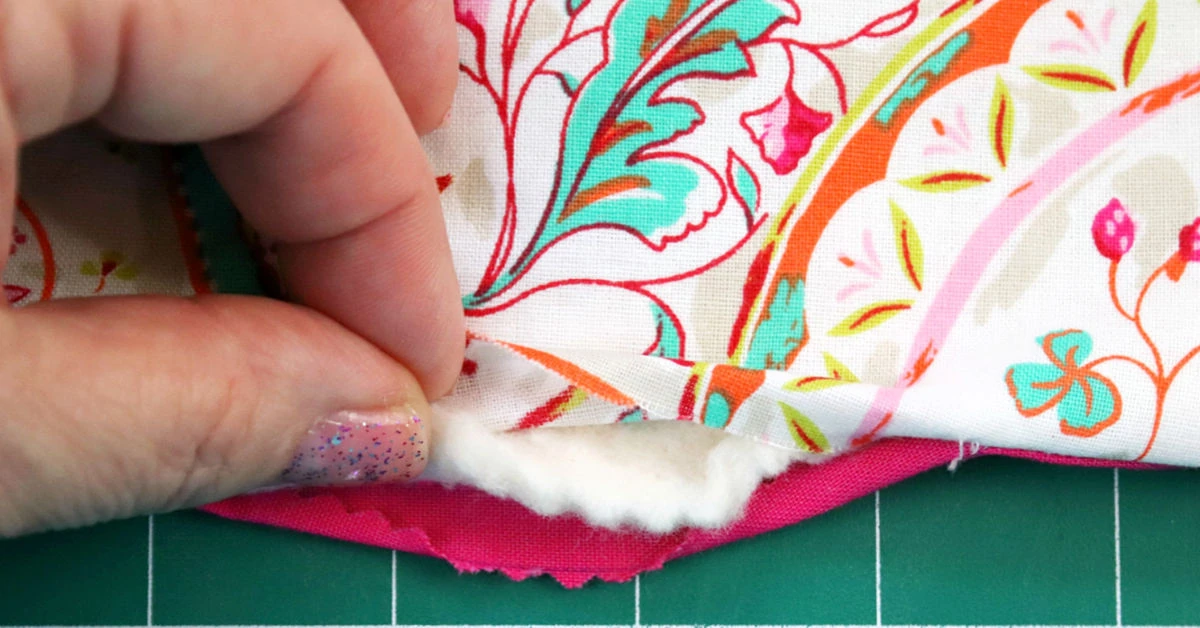
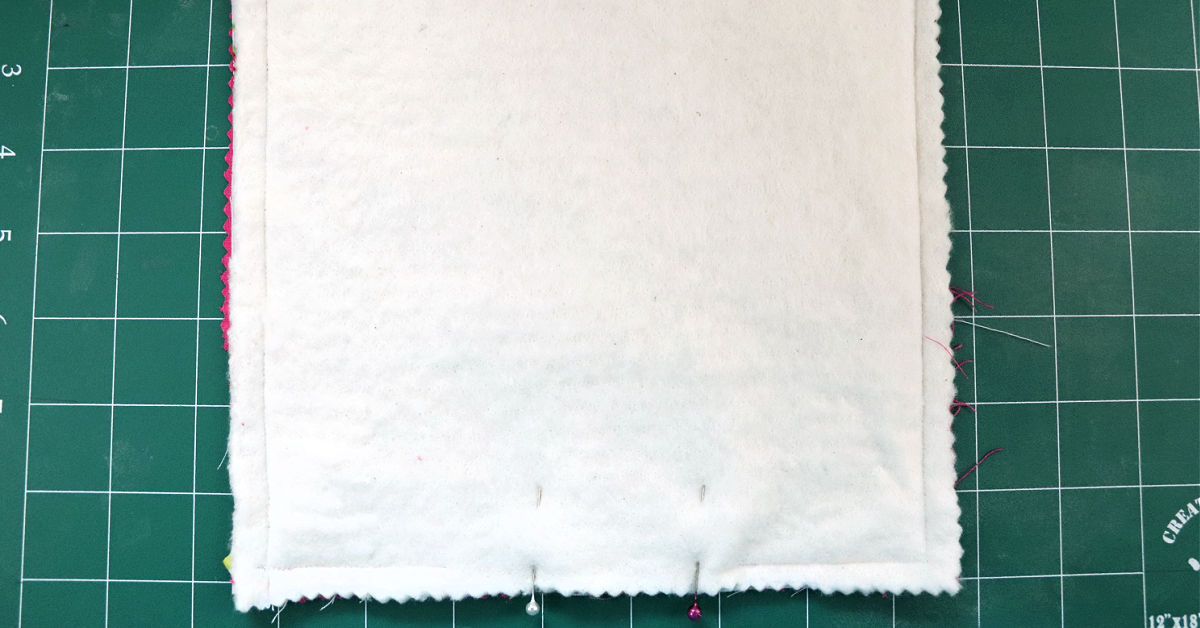
- After it's right side out, press all four sides of the pot holder with your iron. Then sew a 1/4” seam allowance around all four sides. This will also close the opening you created.

- Now you have your very own pot holder that you made! Repeat the process until you have as many pot holders as you need.
If you’re looking to learn how to sew easy projects for around the home, be sure you’re subscribed to our newsletter so you don’t miss the rest of the tutorials we have coming!