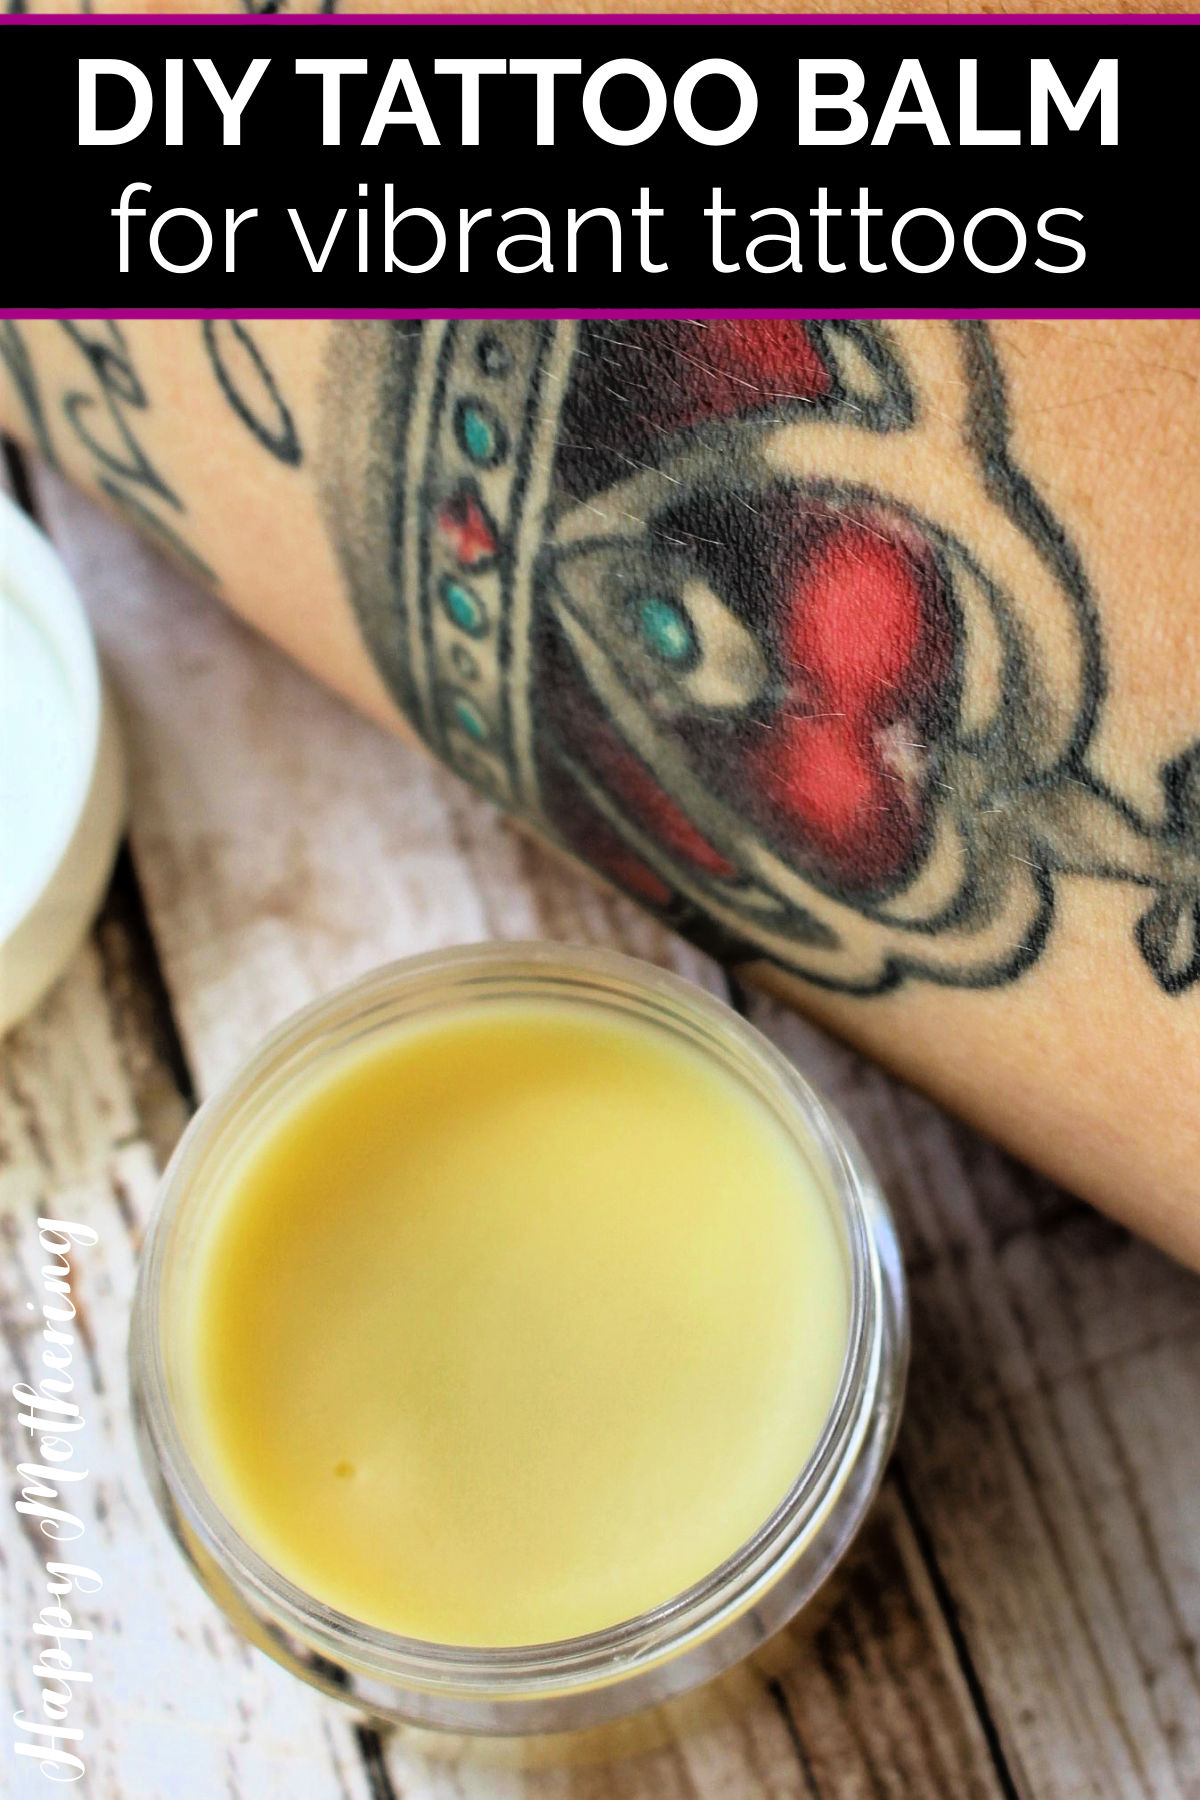
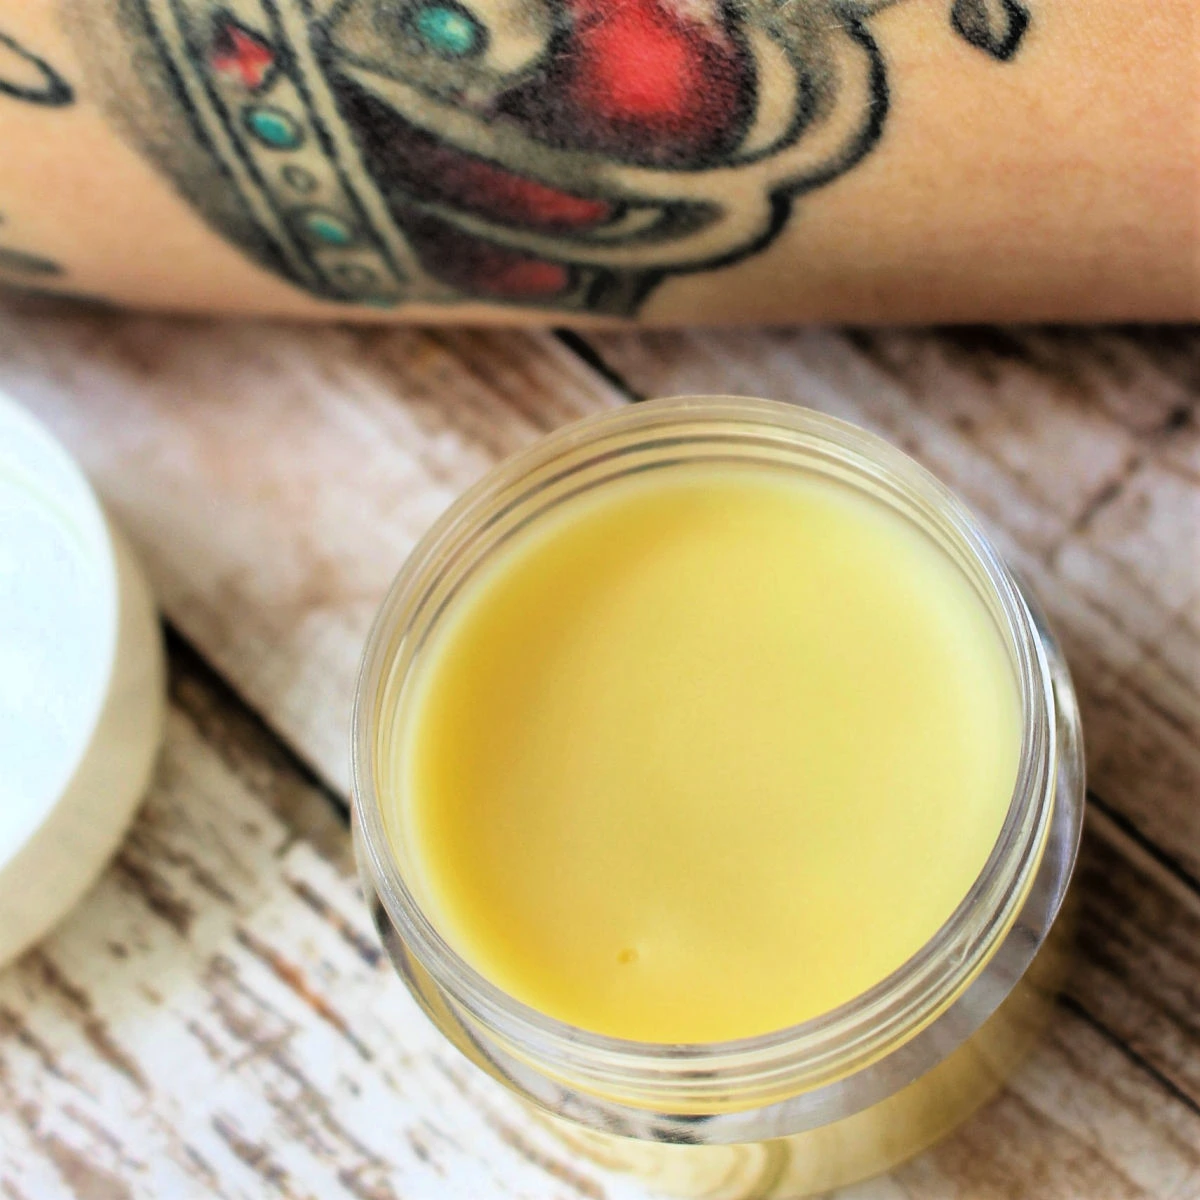
DIY Tattoo Balm Recipe with Essential Oils
Jump to Directions
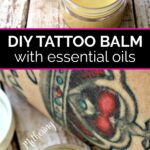
My easy DIY Tattoo Balm uses natural ingredients including essential oils to help keep new and old tattoos looking great.
Did you just get your first tattoo? New ink needs proper care from day 1 if you want to preserve the longevity and health of your tattoos. While your tattoo artist should provide you with instructions, you can also make or buy your own tattoo aftercare products.
You can often buy what you need at the tattoo shop, but it’s often something that’s not made with all-natural ingredients, like A&D ointment. If you want to use a natural tattoo balm, my recipe uses only natural ingredients and works amazingly well.
I like to use balms for these types of applications rather than a natural lotion or plain oils on their own. Balms allow the ingredients to stay in one area for long time because of the beeswax. They also help keep the oils from dissipating quickly so you don’t have to re-apply to tattooed skin as often.
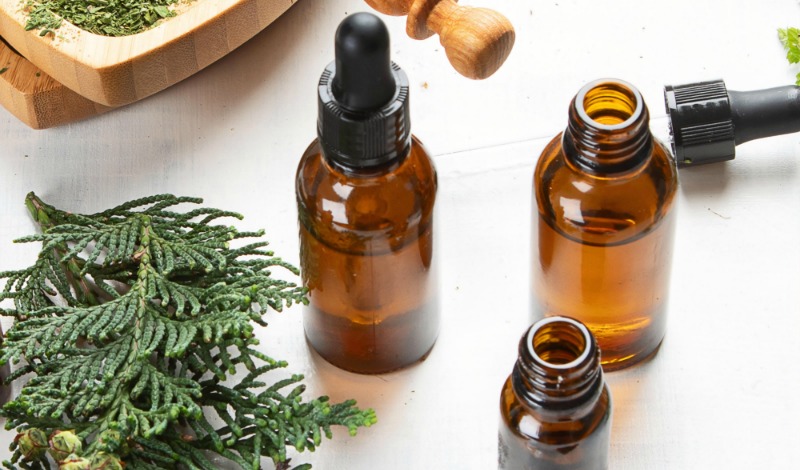
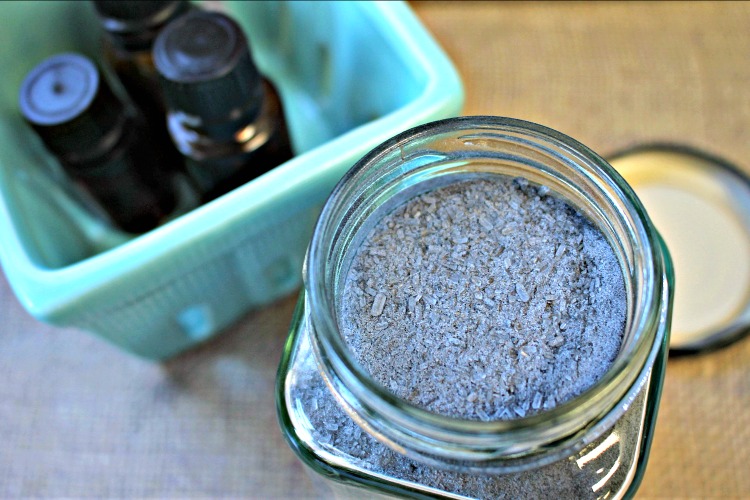
Supplies
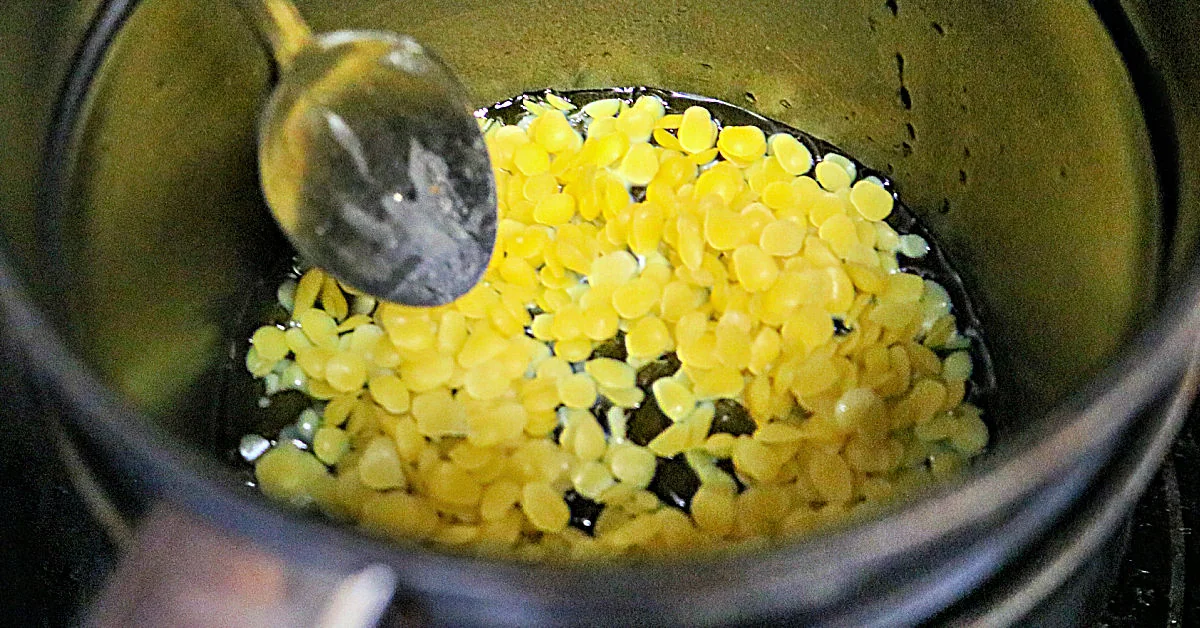
- 1 tablespoon of beeswax pastilles
- 4 tablespoons of coconut oil
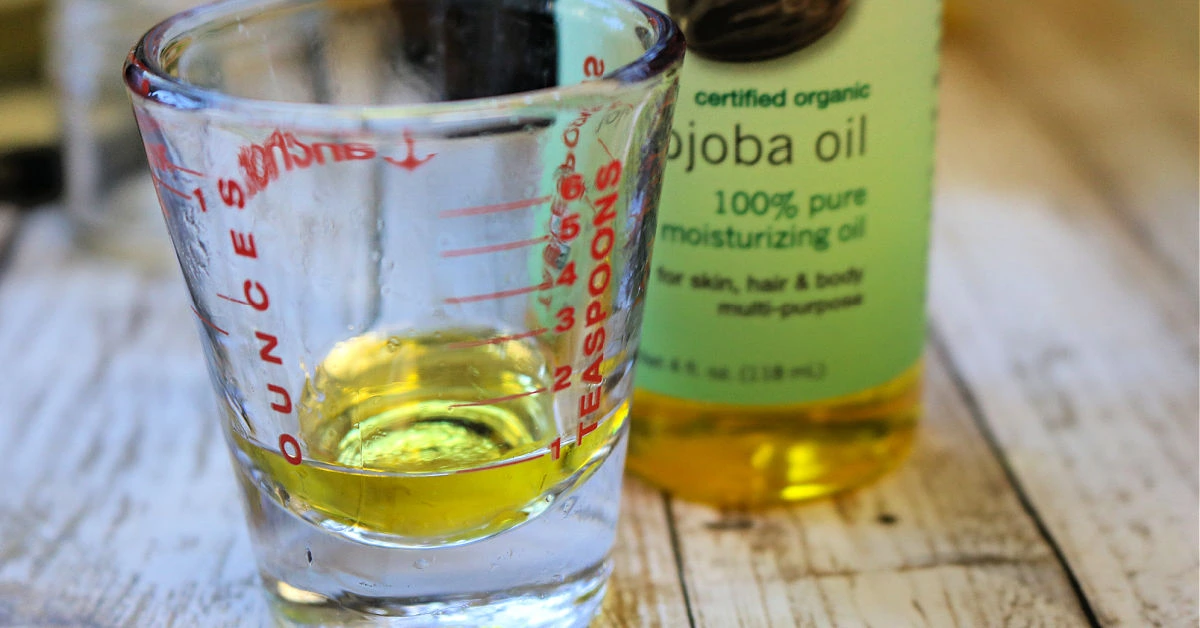
- 2 teaspoons of jojoba oil
- 8 drops of frankincense essential oil
- 8 drops of lavender essential oil
- 6 drops of geranium essential oil
- 6 drops of Helichrysum essential oil
- 4 drops of tea tree essential oil
Tools
- Measuring spoons
- Kitchen scale
- Double Boiler
- Balm containers with lids
Step-by-Step: How to Make Tattoo Balm
Follow these simple step by step instructions to learn how to make the best natural tattoo balm to keep your tattoo looking amazing for a long time.
Step 1: Melt Beeswax
Using a double boiler, fill the bottom half of the pot with water to about ⅔ full and place it over medium-low heat. Measure out 1 tablespoon of beeswax pastilles and put them into the top half of the double boiler over the water. It is best to heat it slowly on a lower temp than quickly at a high one, so you don’t scorch the wax.
Step 2: Add Coconut Oil
Once your beeswax is fully melted and there are no yellow pieces remaining, stir in 4 tablespoons of coconut oil. I prefer refined coconut oil as it has a more mellow scent than virgin coconut oil.
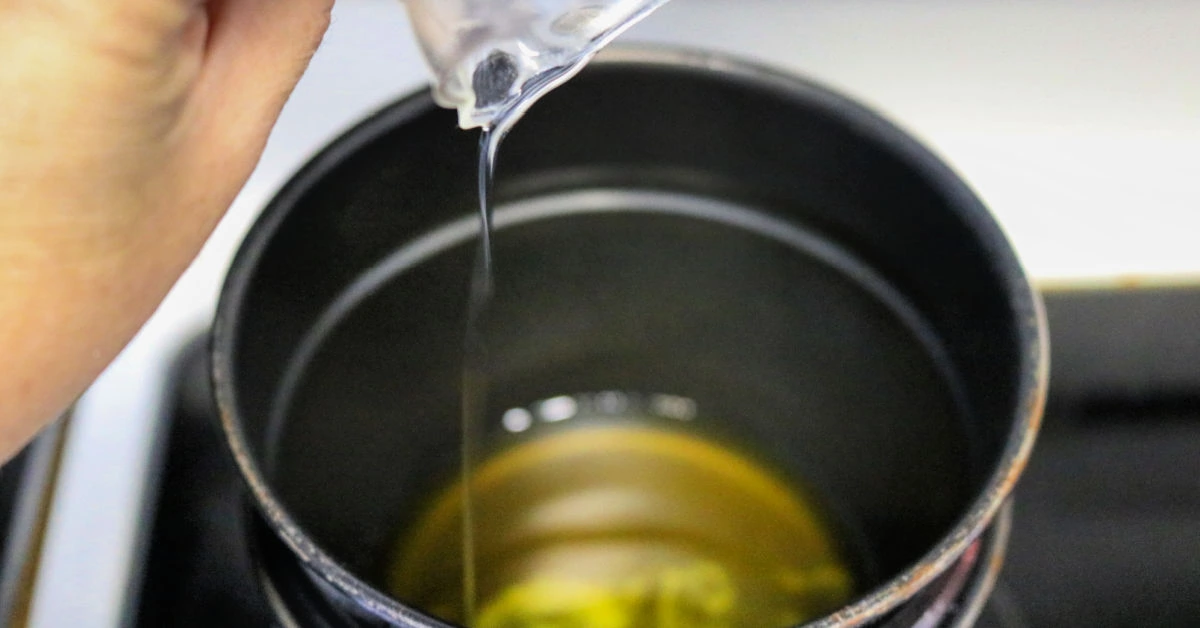
Step 3: Add Jojoba Oil
Once the beeswax and coconut oil are well combined, measure out 2 teaspoons of jojoba oil and add it to the pan as well. Stir until the wax and oils are clear and very well combined.
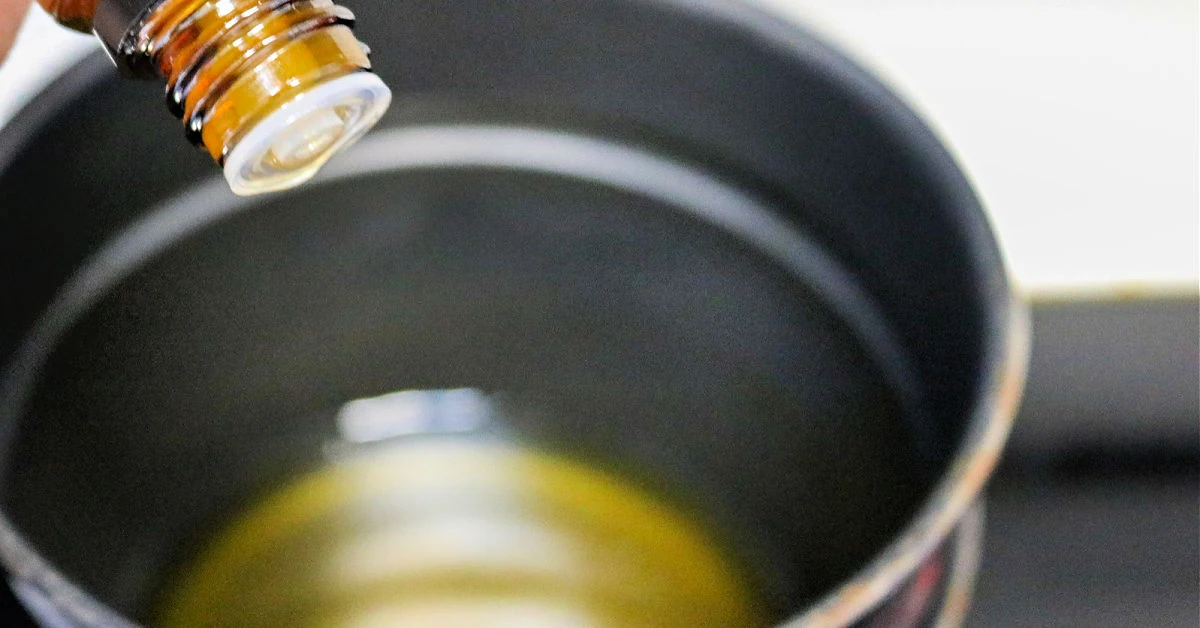
Step 4: Add Essential Oils
Once they are mixed together and clear, remove the pan from the heat then stir in 8 drops of frankincense essential oil, 8 drops lavender essential oil, 6 drops of geranium essential oil, 6 drops Helichrysum essential oil and 4 drops of tea tree essential oil. Go slowly so you don’t add too many drops. Stir in the oils well to disperse them throughout the balm base.
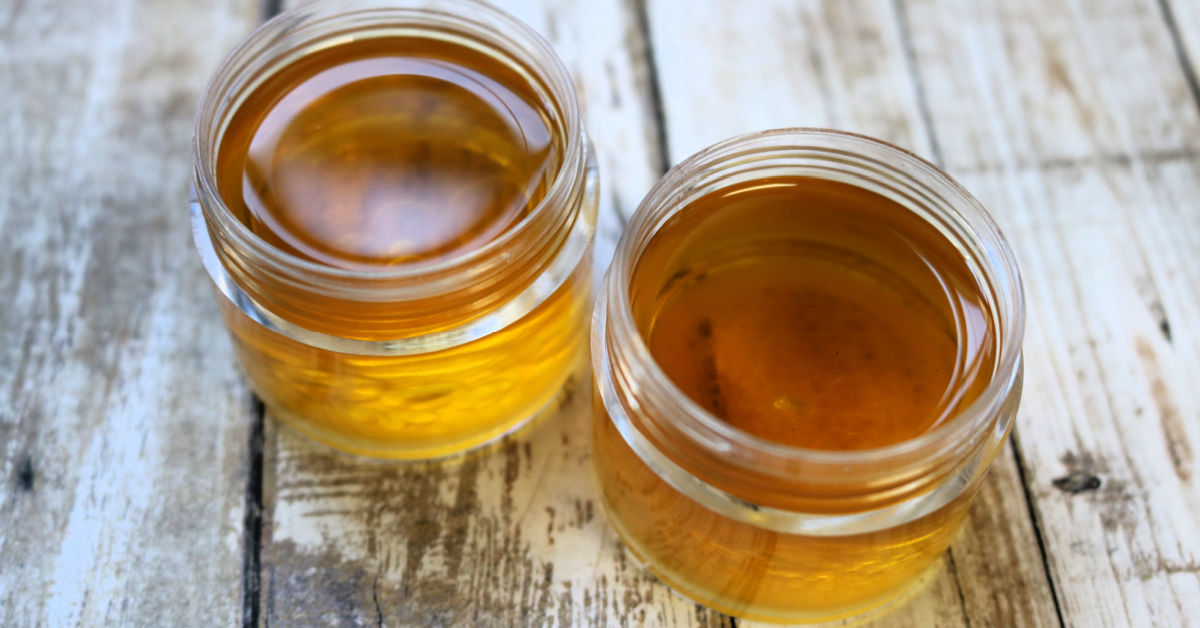
Step 5: Pour Into Containers
Now it’s time to pour the melted balm ingredients into your containers. Go slowly and leave just a small gap at the top of each container. Once all of the balm containers are filled, wipe any drips with a clean paper towel and leave them to rest on a countertop at room temperature to cool. It will take about 1-2 hours to cool off all the way, depending on the size of the containers you used.
Would you like to save this?
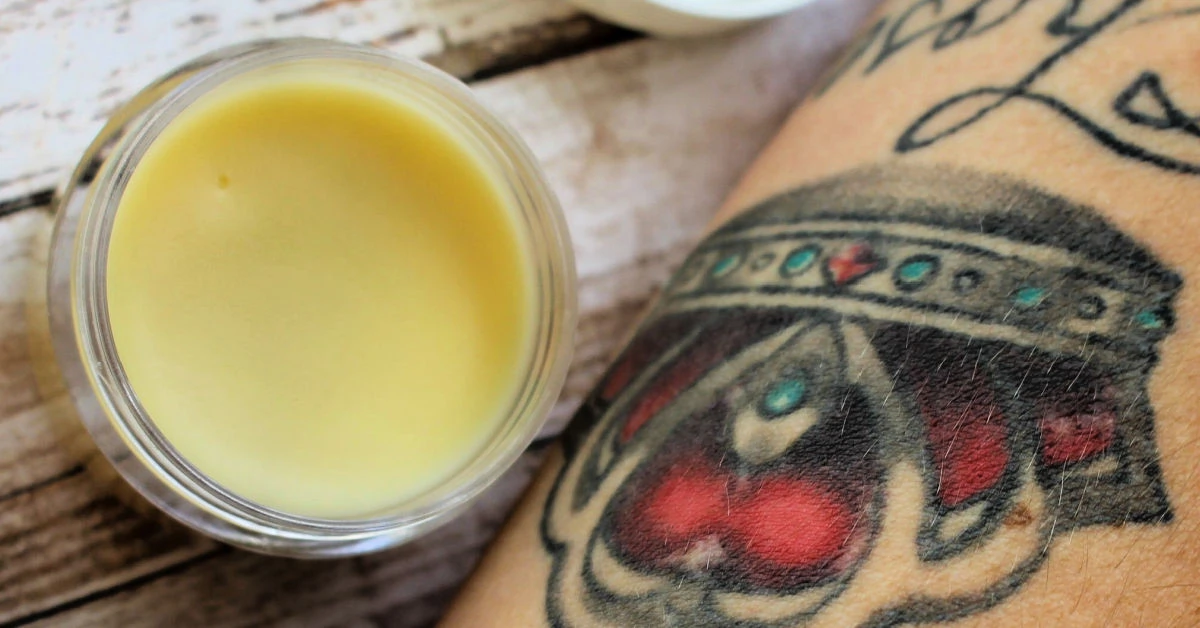
Step 6: Cool and Cap Balm
To check to see if they are fully cooled, just feel the bottom center of one of the containers. If it is warm, give it a little while longer. Once cooled, secure the lids and make labels for them if you want.

Step 7: Use Balm on Tattoos
Now you’re ready to use your very own DIY Tattoo Balm that you made with all-natural ingredients. Continue reading to learn how to use it and for more tips.
Tips for Making and Using Tattoo Balm
Answers to all of your questions about making your own tattoo balm, including tips and substitution ideas.
How to use tattoo balm
For best results, take a small amount on the tip of your finger and gently rub it on and around the outside of your tattoo during the tattoo healing process. When it’s new, you can do this a few times a day to keep it moisturized. Remember, a little goes a long way so start small.
You can also use this new tattoo balm on old tattoos to help them look brighter and fresher. For older tattoos, just use the balm occasionally for protection and to keep good care of it. It also helps preserve the vibrancy of the artwork.
Vegan option
Vegans can substitute candelilla wax in place of beeswax. Just remember that Candelilla wax is twice as firm as beeswax, so cut the amount of wax in half if you want to use candelilla wax.
Alternative to coconut oil
If you aren’t able to use coconut oil (or jojoba oil), you can use any carrier oil in its place, such as sweet almond oil, vitamin E oil or hemp seed oil. Which natural oil you choose is really a personal preference, but you can learn more about their properties in my post on the best carrier oils for essential oils.
I don’t recommend substituting shea butter or cocoa butter though. They have a higher melting point and different consistency from coconut oil. You can substitute approximately 50% of the oil with a butter, but you’ll also want to reduce the beeswax you add down to 1 ounce instead of 1.25 ounces.
Is it safe to use essential oils on a fresh tattoo?
Yes, essential oils can actually help a new tattoo heal with a lower risk of infection since it’s essentially an open wound.
Where to buy containers
I love keeping a huge stash of containers for my DIY Beauty projects. I wrote a post about the Best Containers for Homemade Beauty Products if you want to share in my knowledge.
Storage tips
The most important things to remember are to store it in an airtight container out of direct sunlight and to ensure no water or moisture gets into the container. If it starts to smell rancid or old, toss it and make a new batch.
Buy instead of DIY
If you’d rather buy than make your own, this tattoo salve has great reviews.
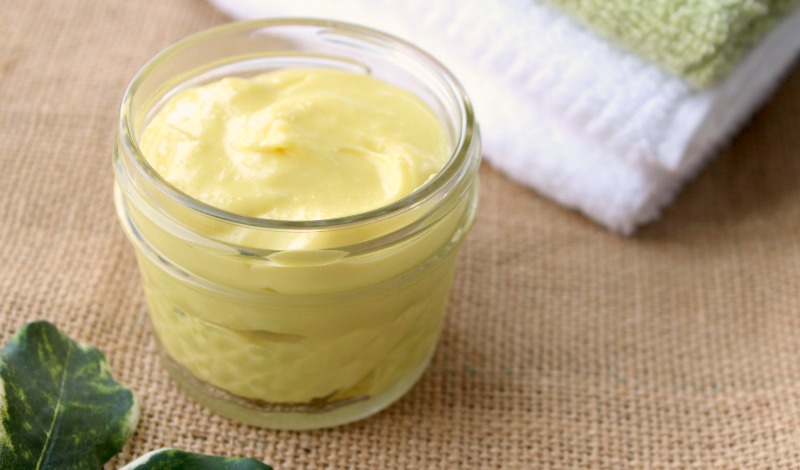
DIY Tattoo Balm
Supplies
- 1 tablespoon beeswax pastilles - (vegans can substitute candelilla wax)
- 4 tablespoons coconut oil
- 2 teaspoons jojoba oil
- 8 drops frankincense essential oil
- 8 drops lavender essential oil
- 6 drops geranium essential oil
- 6 drops Helichrysum essential oil - if you don’t have this oil, add another 2-3 drops of frankincense oil
- 4 drops tea tree essential oil
Tools
- Measuring spoons
- Kitchen scale
- Double Boiler
- Balm containers with lids
Instructions
- Add the beeswax pastilles to the top half of a double boiler over water. Heat over medium-low, stirring frequently, until the beeswax is fully melted and clear.
- Next, stir in the coconut oil and heat until melted and incorporated into the beeswax.
- Then, measure and add the jojoba oil and stir until well combined.
- Remove the pan from the heat then add the essential oils and stir until well combined.
- Pour your liquid balm into your containers slowly, leaving a small gap at the top. Let the containers rest on a countertop until they’re cooled to room temperature.
- Once cooled, place the lids on the containers to seal them.
- Now you're ready to use your new DIY Tattoo Balm!

What can you use if you are allergic to tea tree oil?
Hi Lisa, you can try rosemary, peppermint, eucalyptus or more lavender essential oil if you can’t use tea tree oil.
Hi, I made this wonderful balm and everything mixed well but it seems to have hardened too much. When trying to use it, I can’t get much of anything onto my fingers. I can dig it easily with a spoon but not my fingers even at room temp. Thoughts?
I would probably melt it back down and add more oil.
I made this and it was really hard. I melted it back down and added a lot more coconut oil and still the same thing. Any suggestions?
What do you mean by really hard? It’s not supposed to be soft…