DIY Moisturizing Dry Skin Balm
Jump to Directions
Do you suffer from dry, itchy skin? Our Soothing DIY Dry Skin Balm recipe is full of moisturizing and hydrating ingredients that soothe dry skin!
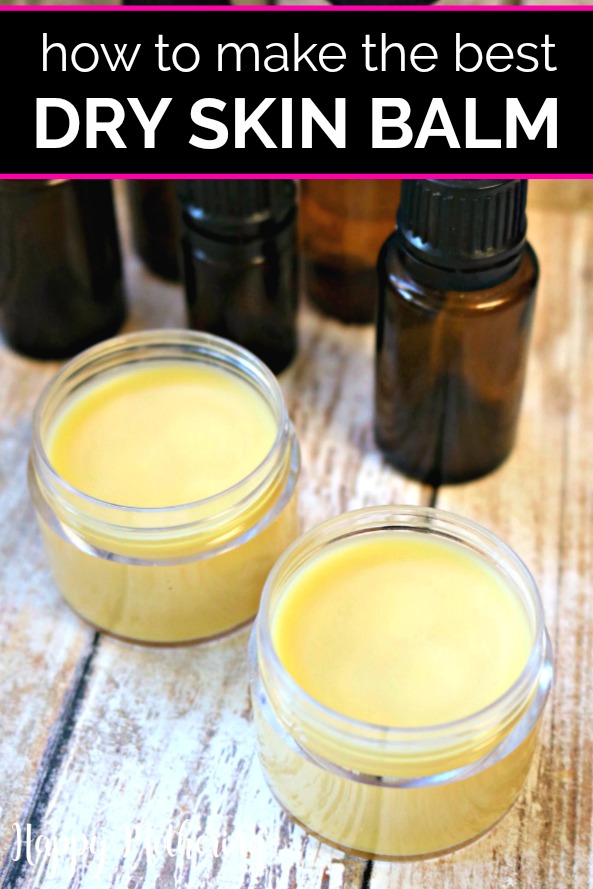
You can make your own dry skin salve at home with a combination of some good base ingredients that will help moisturize and nourish the skin, plus essential oils to make it smell great.
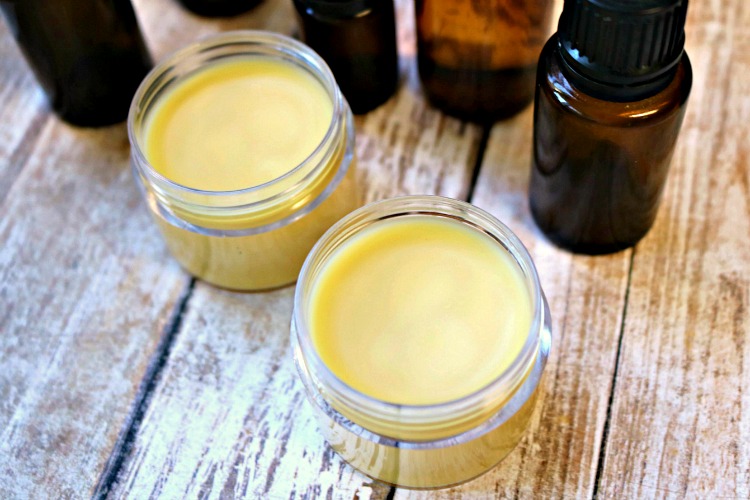
This recipe calls for five essential oils that make a powerful salve. All of them make the skin feel wonderful and will result in a fantastic scent, but more importantly, just what your skin needs for nourishment.
Would you like to save this?
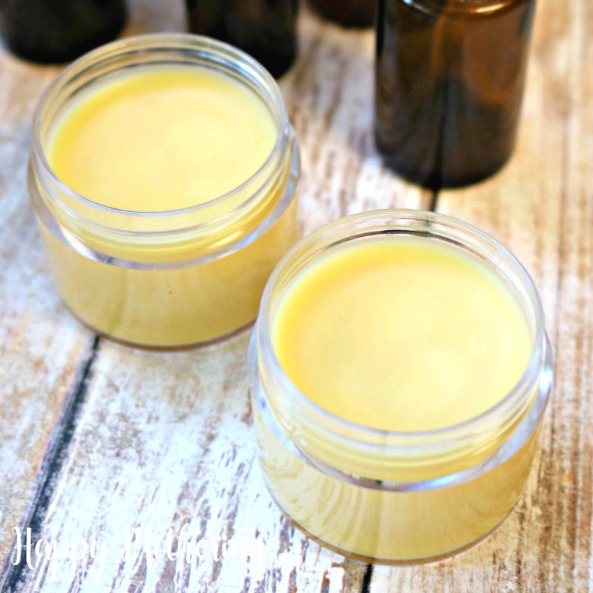
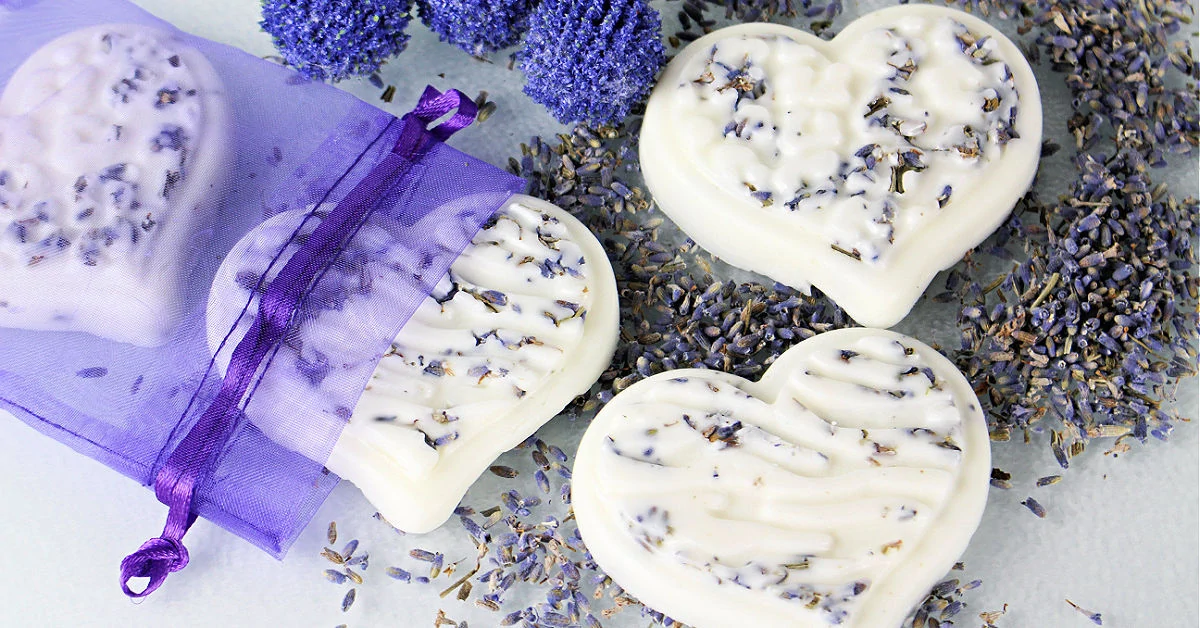
This dry skin balm has a firmer texture because of the high ratio of beeswax. If you’re looking for something a bit softer, try our Calendula Lavender Skin Salve. I find it’s easier for the kids to work with, but not as portable as this balm.
If you don’t have time to DIY, you can purchase a natural skin balm.
How to Make a Dry Skin Balm
Supplies
- 2 tablespoons beeswax pastilles - or chopped beeswax if you have a brick
- 2 tablespoons coconut oil
- 2 teaspoons jojoba oil
- 5 drops myrrh essential oil
- 5 drops frankincense essential oil
- 3 drops geranium essential oil
- 4 drops lavender essential oil
- 2 drops tea tree essential oil
Tools
- Double Boiler
- Balm containers with lids
Instructions
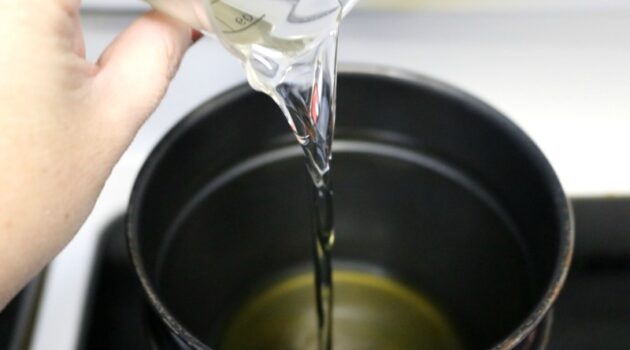
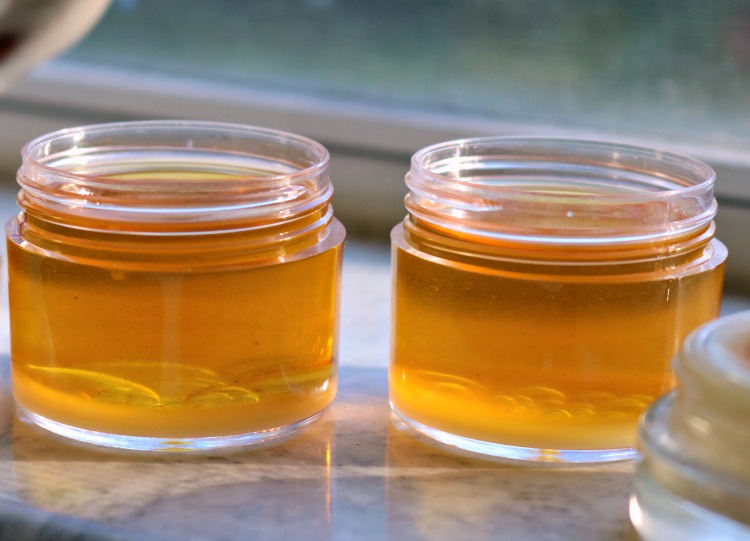
- Add the beeswax, coconut oil and jojoba oil to your double boiler over medium heat. Stir until all ingredients are melted and well combined.
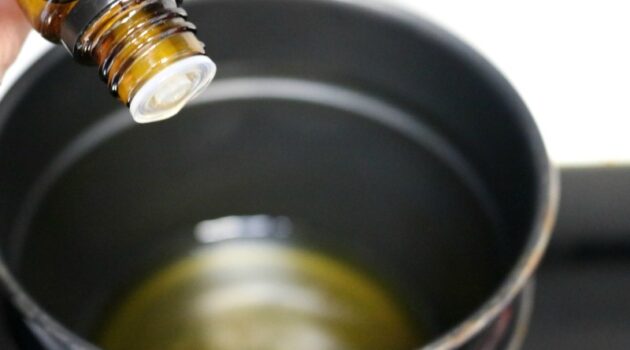
- Remove the pan from the heat and allow the mixture to cool just slightly (you don’t want it to harden!), then you can add in the essential oils. The myrrh is a thick oil, and it takes a minute to get going, so be prepared for that. The rest of the oils are very runny, so be careful to not overdo it on the essential oils.
- Pour your dry skin balm into the containers until it reaches just under the top edge.
- Let the containers sit, uncovered, at room temperature until they are completely cool. Feel the centers of the bottom of the containers to tell for sure. It may take up to an hour, depending on the size of the containers you used. You don’t want to put the lids on early, as it will cause moisture to build up inside which can cause issues with the balm down the road. Once you are sure the containers are completely cool, go ahead and put on the lids.
Notes
How To Use Dry Skin Balm
- Apply the dry skin balm to any areas that need moisture, or are flaky and dry. For itchy skin, do the same.
- You can repeat this process as needed.

Thank you for all of your balms and salves.
You’re welcome Rebecca!