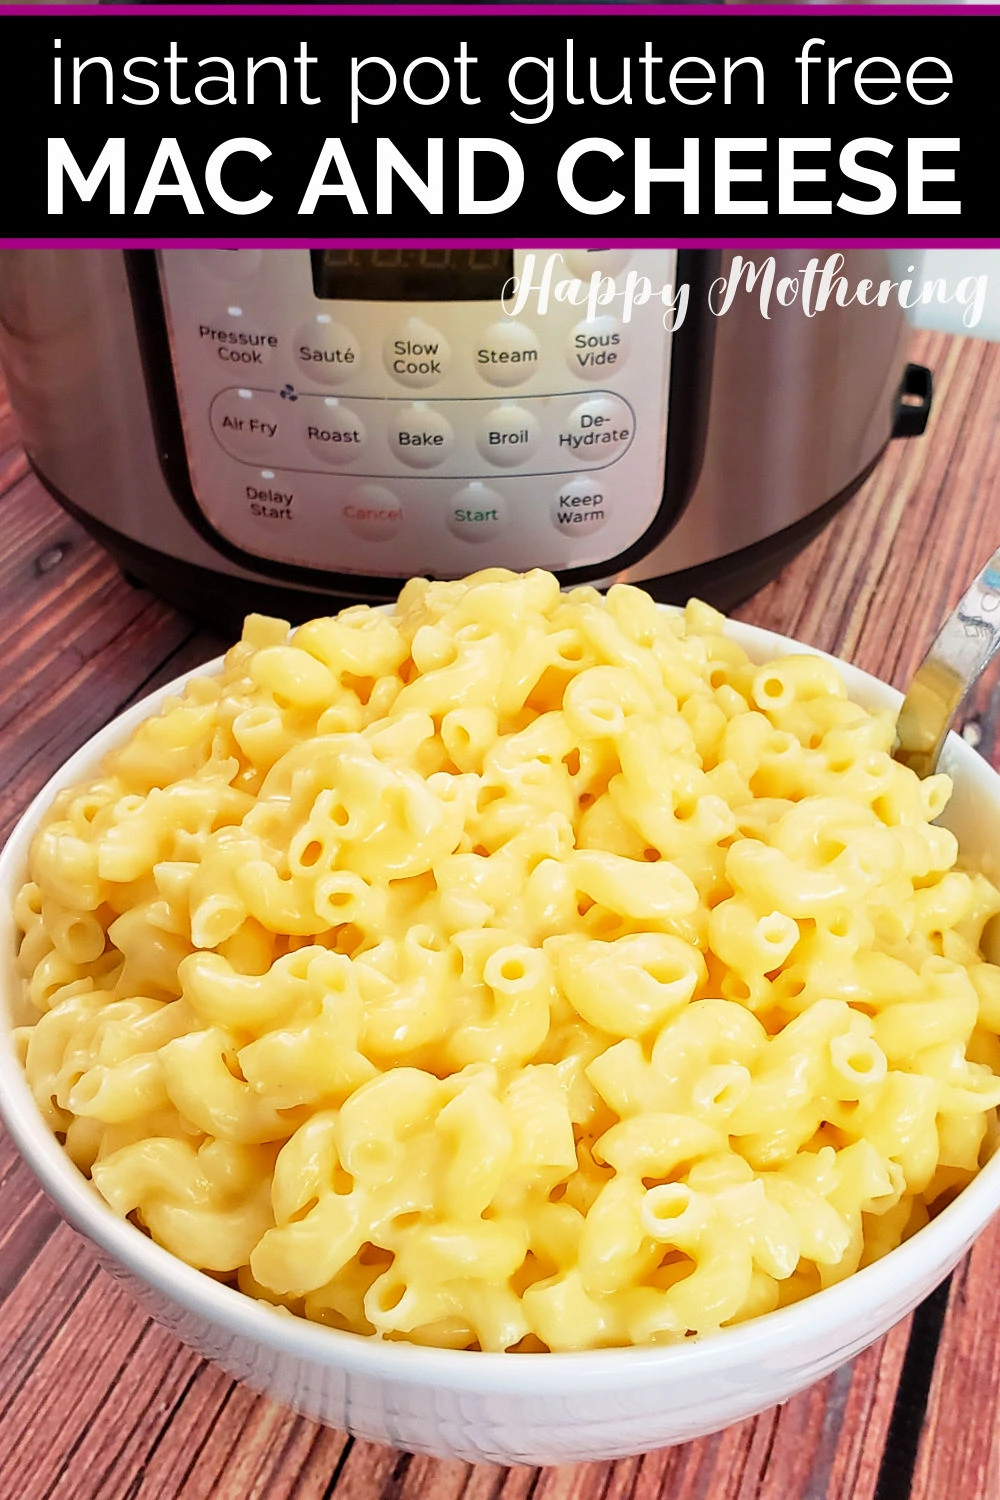
Gluten Free Instant Pot Mac and Cheese
Jump to Recipe
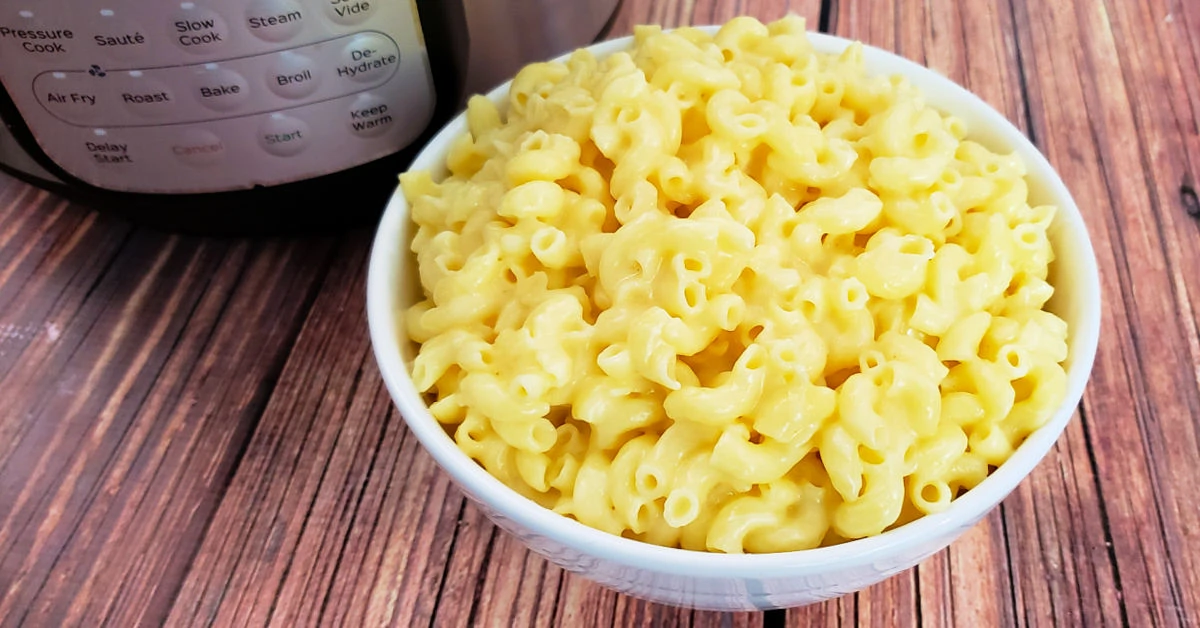
Instant Pot Gluten Free Mac and Cheese is an easy, kid-friendly side dish that can be prepared quickly for any meal.
Mac and cheese isn’t particularly hard to make on the stove top, but it’s even easier in the Instant Pot. You don’t have to watch the pot or wait for the water to boil… jump dump the ingredients in, pressure cook, then stir in the dairy and you have the best gluten free mac and cheese ever.
After making homemade Instant Pot Mac and Cheese with gluten free elbow noodles, you won’t want to make it any other way. Even your picky eater will be satisfied!
Ingredients
- 1 box of Barilla gluten free elbow noodles
- 3 ½ cups of filtered water
- 2 tablespoons of butter at room temperature
- ¾ cup of whole milk
- 3 cups of grated cheddar cheese
- Sea salt
- Black pepper
Equipment
- Measuring cups and spoons
- Mixing spoon
- Instant Pot
- Serving bowl
Step-by-Step: How to Make Instant Pot Gluten Free Mac and Cheese
Follow these simple steps to learn the easiest way to make macaroni and cheese in the Instant Pot.
Step 1: Pressure Cook Noodles
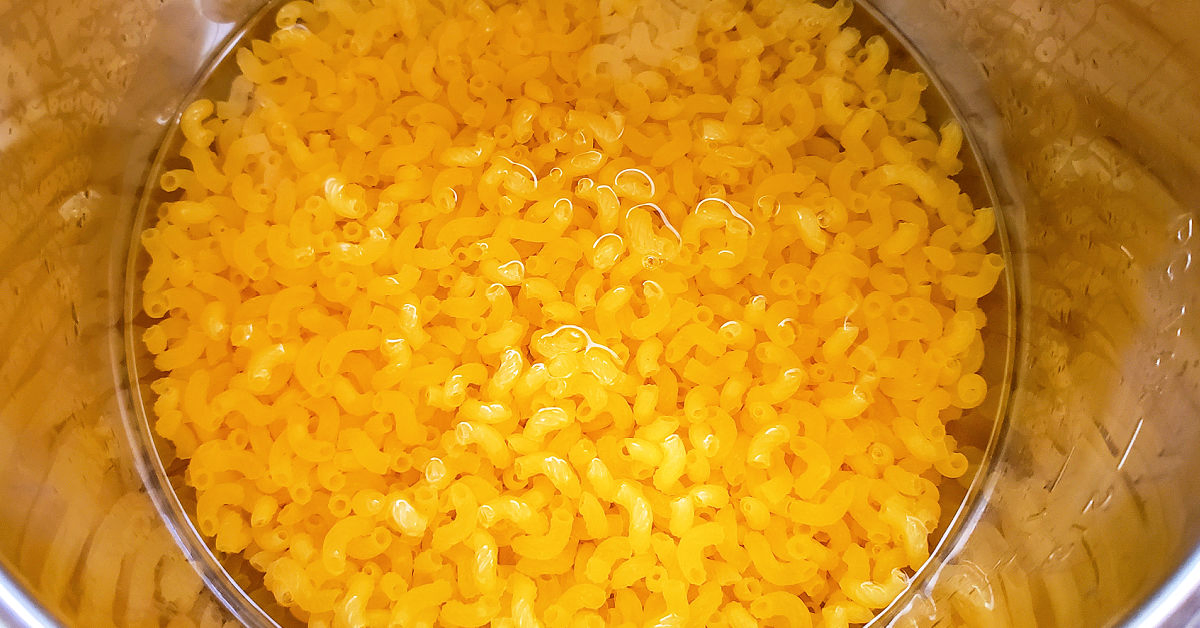
Add 3 ½ cups of water to your Instant Pot, then carefully add one box of macaroni noodles. Do not stir the noodles, but you can gently move them around to make an even layer. Place the lid on your Instant Pot and set the pressure release valve to the sealing position. Press the Pressure Cook button and set it on High Pressure for 4 minutes.
Step 2: Open Lid and Add Butter
When the noodles have finished cooking, use a Quick Release to manually release all of the pressure. Open the lid – there shouldn’t be much water left. Leave the Instant Pot on the warm setting. Add 2 tablespoons of butter to the pot and gently stir to melt it.

Step 3: Stir in Milk
Next, stir in ¾ cup of milk. The starch that’s left in the last bit of pasta water will act as a natural roux with the milk, butter and melted cheese.

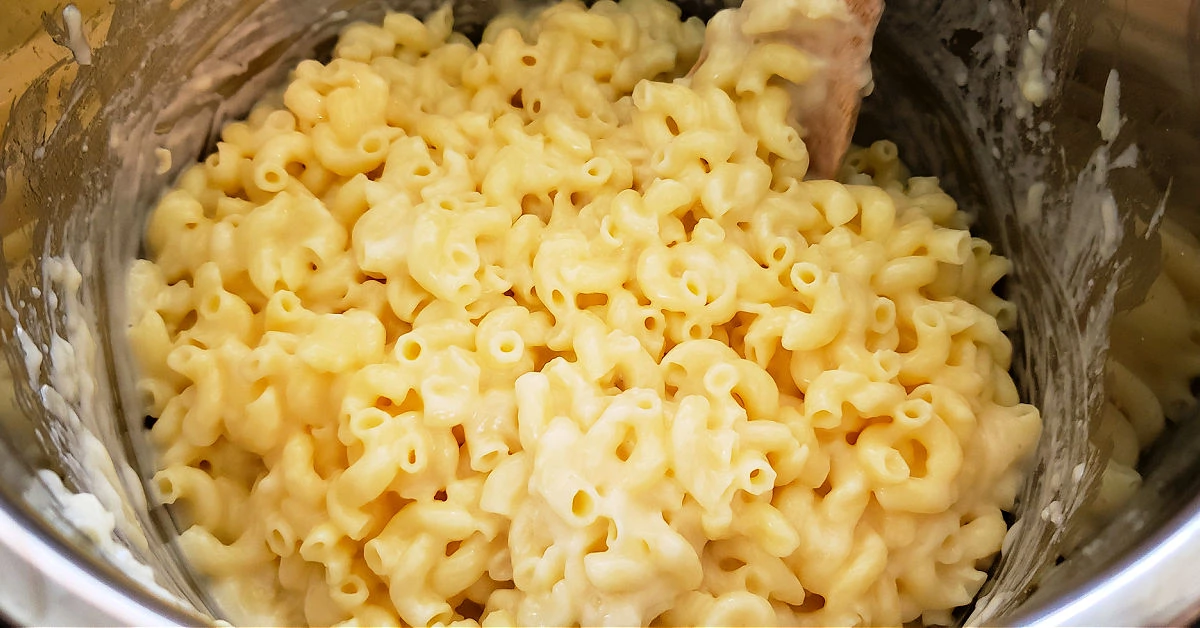
Step 4: Add Cheese and Season
Finally, add 3 cups of grated cheddar cheese to the pot in small batches, gently stirring until it’s melted and well combined. Season to taste with sea salt and freshly ground black pepper.
Step 5: Serve Mac and Cheese
Serve your gluten free Instant Pot mac and cheese as a side dish with your favorite meal.
Tips for the Best Instant Pot Mac and Cheese
Mac and cheese is the ultimate comfort food. Follow these tips for best results when making it in an electric pressure cooker like the Instant Pot.
Would you like to save this?
Can I use almond milk?
I have used almond milk to make mac and cheese in my Instant Pot, and I have to say… I don’t recommend it.
The flavor of almond milk just doesn’t go too well with cheddar! I haven’t found a milk alternative that tastes as good as regular milk, heavy cream or evaporated milk in this recipe.
Can I use pre-shredded cheese?
No, it doesn’t work the same. The pre-shredded cheese you buy in bags at the grocery store has cellulose added to keep the shreds from sticking together. This causes pre-shredded cheese to melt very differently from freshly grated cheese and it doesn’t work well with Instant Pot macaroni and cheese.
Other cheeses that taste good
There are a lot of different cheeses you can use, and a combination is often better than a single cheese. I like to add some parmesan cheese in for a pop of flavor.
Pepperjack is delicious if you want mac and cheese with a kick. Gruyere gives a really rich flavor. A fun thing to do is experiment with a new type of cheese each time to find your family’s favorite combination of cheeses!
Ways to add more flavor
Cook with chicken stock or beef bone broth instead of water. Onion powder and garlic powder can add extra flavor as well.
Cook time for al dente pasta
We prefer our pasta fully cooked vs al dente, but if you prefer the latter, reduce the cook time to 3 minutes the first time. Then you can adjust up or down by 1 minute the next time you make it if it’s not quite to your preference.
Can I double this recipe?
Yes, I have successfully doubled this recipe many times in a 6 quart and 8 quart Instant Pot.
Can I use regular elbow macaroni or another brand?
I haven’t found a brand of gluten free pasta that works in the Instant Pot as well as Barilla does. And while this recipe is written specifically for Barilla gluten free pasta, it works with regular pasta too if not everyone in your house is gluten free.
Make it a kid-friendly meal
If you’re looking for new meals to try serving with mac and cheese, check out these recipes:
Make it a main dish
If I’m having a busy day and want to make a one pot mac and cheese main dish, I like to sauté a pound of Italian sausage in my Instant Pot first, then add the water and noodles as just like I do when I make Instant Pot Gluten Free Pasta with Meat Sauce.
Pour in a couple cups of frozen peas on top and cook as indicated in the recipe above. When you open the lid, stir and you’ll have a tasty one pot dinner.
Storage tips for leftovers
While gluten free pasta doesn’t have the best texture the next day, leftovers can be stored in the refrigerator in an airtight container for 2-3 days.

Gluten Free Instant Pot Mac and Cheese Recipe
Ingredients
- 1 box Barilla gluten free elbow noodles - (about 3 cups of dry pasta)
- 3 ½ cups filtered water
- 2 tablespoons butter - room temperature
- ¾ cups whole milk
- 3 cups cheddar cheese - or your favorite cheese, grated
- Sea salt - to taste
- Black pepper - to taste
Equipment
- Measuring cups and spoons
- Mixing spoon
- Instant Pot
- Serving bowl
Instructions
- Add the water to your Instant Pot, then add the noodles in. Do not stir, but you can gently move the noodles around in an even layer. Put the lid on the Instant Pot and set it on High Pressure for 4 minutes.
- Use quick release to release all of the pressure. Open the lid and leave the Instant Pot on warm. Add the butter and stir to melt.
- Next, stir in the milk.
- Add the cheese in small batches, stirring until it's melted and mixed in evenly. Season the pasta to with sea salt and black pepper, to taste.
- Your gluten free Instant Pot mac and cheese is ready to be served as a side with your favorite meal.