DIY Exfoliating Oatmeal Soap Bars
Jump to Directions

These DIY Oatmeal Soap Bars are easy to make using natural ingredients to gently cleanse and exfoliate skin.
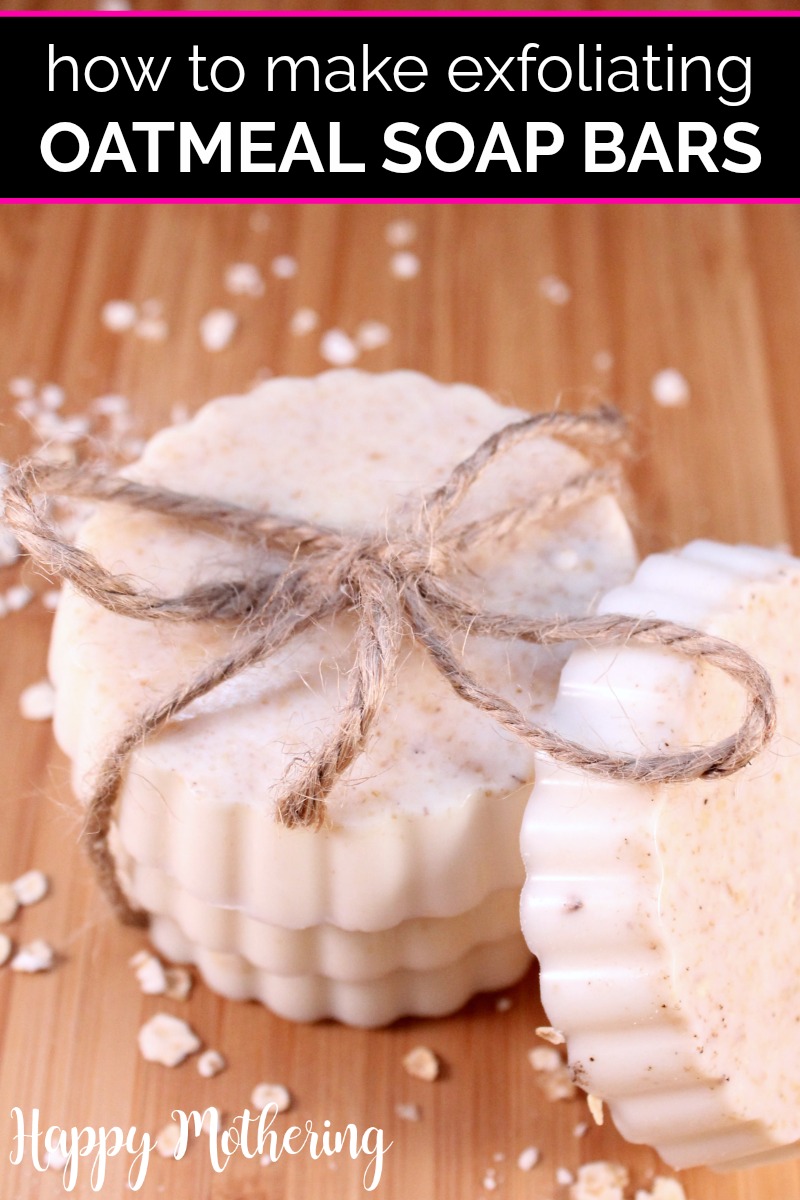
These DIY Oatmeal Exfoliating Bars are a great intro into basic soap making, but with the addition of an exfoliating ingredient – oatmeal..
Oatmeal is very soothing and gently exfoliating, so it’s safe not only for my skin, but for the whole family. It works nicely for sensitive skin too.
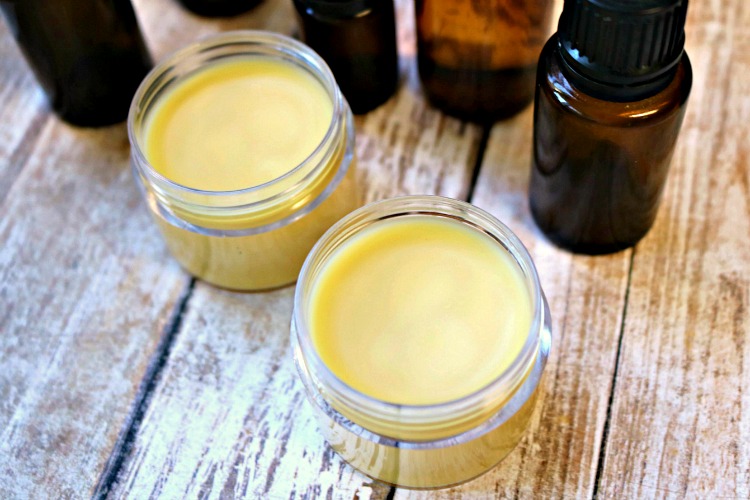
You can also add essential oils with helpful qualities like lavender, frankincense and helichrysum. This dry skin balm can work wonders after exfoliating!
Would you like to save this?
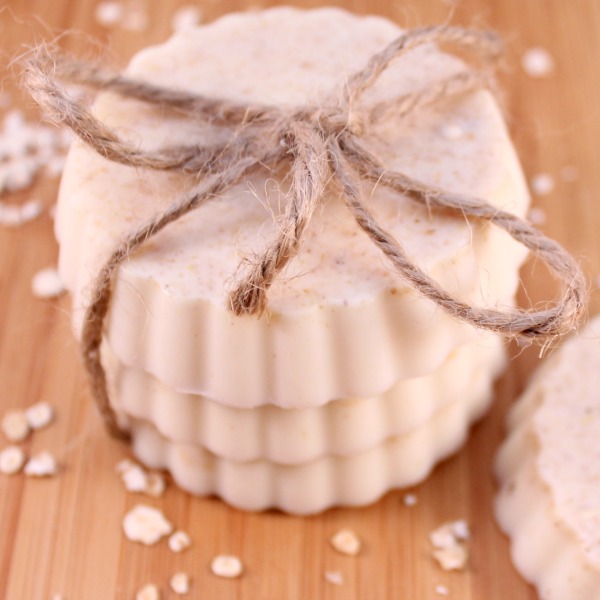
DIY Oatmeal Exfoliating Bars
Learn how to make this DIY Exfoliating Oatmeal Soap Bars recipe with a few simple ingredients.
Print (no photos)
Makes: 5 Small Soap Bars
Supplies
- ¼ cup gluten free oatmeal
- 12 ounces shea butter melt and pour soap - or your favorite type
- 10 drops essential oils - of your choice
- Rubbing alcohol
Tools
- Double Boiler
- Food processor
- Silicone mold of your choice
Instructions
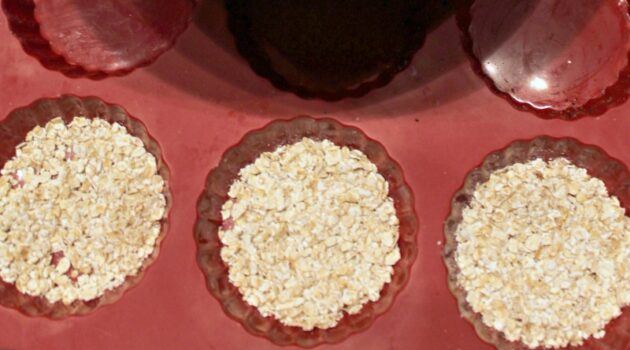
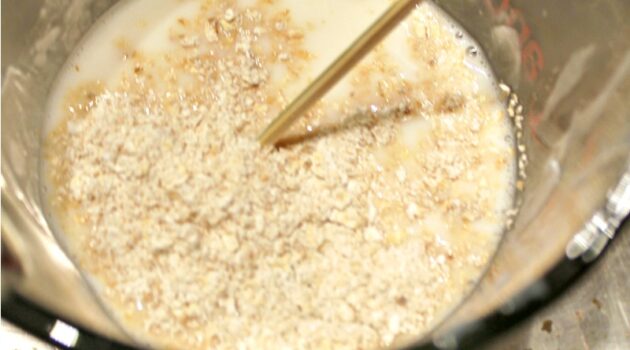
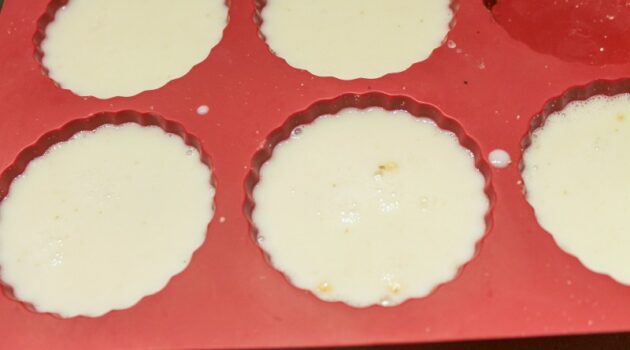
- In a food processor, grind the oatmeal into a fine powder. In a silicone mold, sprinkle the bottom of each cavity with the ground oatmeal. Set aside
- In a double boiler, cube and then melt your soap over low heat, whisking frequently until completely melted and smooth. Once the soap has melted completely, allow it to cool for 3-4 minutes, then add a few drops of essential oil at a time, until desired scent is reached. You can add as little or as much as you like, but don't add more than is considered safe.
- Pour melted soap over ground oatmeal. If any air bubbles occur at the surface, spray them with rubbing alcohol to disperse them.
- Allow your exfoliating oatmeal bars to harden in the mold for 3-4 hours before popping them out of the mold and storing them in an airtight glass container.
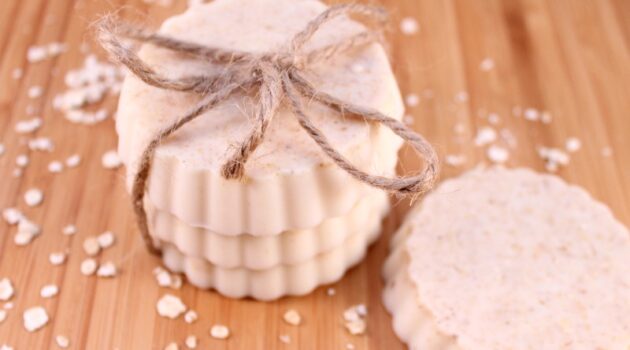

This DIY oatmeal soap recipe is such a wonderful way to pamper your skin naturally, leaving it refreshed and smooth!