Gluten Free Bread Recipe for the Bread Machine and Oven
Jump to Recipe
After creating this gluten-free bread recipe, I stopped buying it. Even the best store-bought gluten-free sandwich bread doesn’t compare!
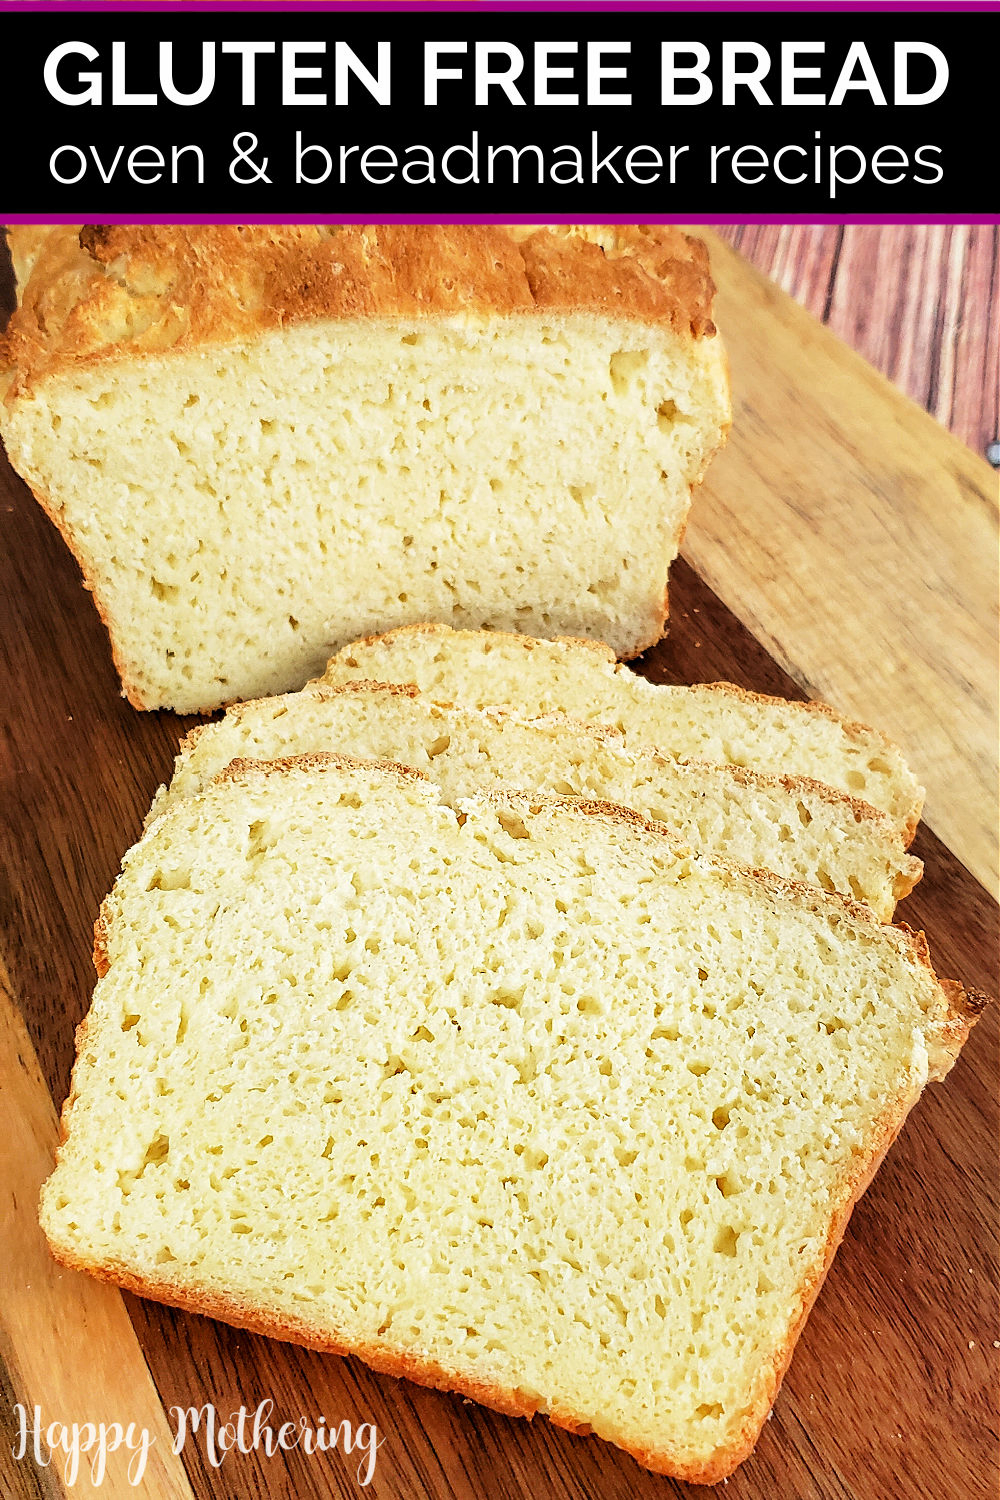
Finding a good gluten-free bread recipe that’s made with simple ingredients is a true challenge, so I decided to create my own. What I came up with is an easy gluten-free white bread recipe that can be made in a bread machine or in the oven using the same ingredients with slightly different methods.
When they taste it for the first time, people are shocked to hear it’s gluten-free because it’s so moist and fluffy. They think it’s the real thing because it doesn’t taste like what you can get from your local grocery store.
And while I personally prefer using my Zojirushi bread machine to make a loaf of gluten-free sandwich bread each week, it works incredibly well in the oven too. So get ready to enjoy some amazing fresh bread, even if you are on a gluten-free diet!
Ingredients
- 1 ⅔ cups of warm filtered water
- 3 lightly beaten eggs
- 3 tablespoons of extra virgin olive oil
- 1 tablespoon of apple cider vinegar
- 3 ⅔ cups of Cup4Cup gluten-free flour
Equipment
- Mixing bowls
- Whisk
- Measuring cups and spoons
- Bread machine (if using the bread machine method)
- Bread pan (if using the oven method)
- Tea towel (if using the oven method)
Step-by-Step: How to Make Gluten-Free Bread
Follow these easy step-by-step instructions to learn how to make the best gluten-free bread in a bread machine or oven.
Gluten-Free Bread Machine Instructions
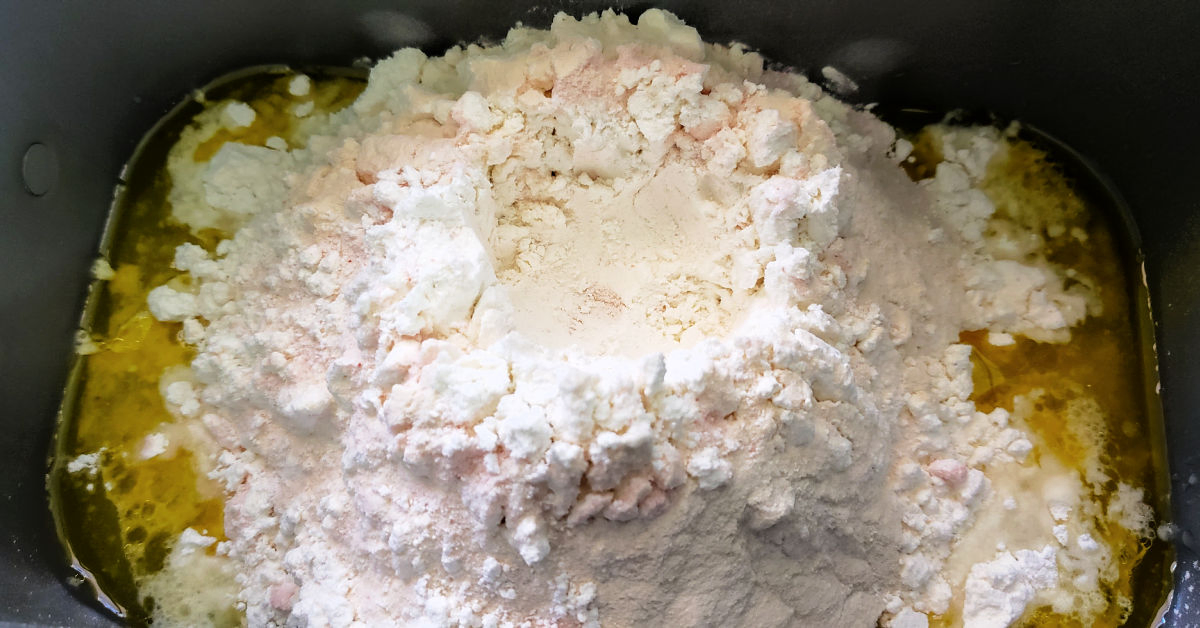
Step 1: Add Liquid Ingredients to Pan
Add 1 ⅔ cups of water, 3 lightly beaten eggs, 3 tablespoons of olive oil and 1 tablespoon of apple cider vinegar to your bread maker pan.

Step 2: Add Flour, Xanthan Gum and Salt
Next, add 3 ⅔ cups of Cup4Cup gluten-free flour into the center of the pan in a pile. Sprinkle 2 teaspoons of xanthan gum and 2 ½ teaspoons of sea salt across the flour, then make a divot in the center of the flour.
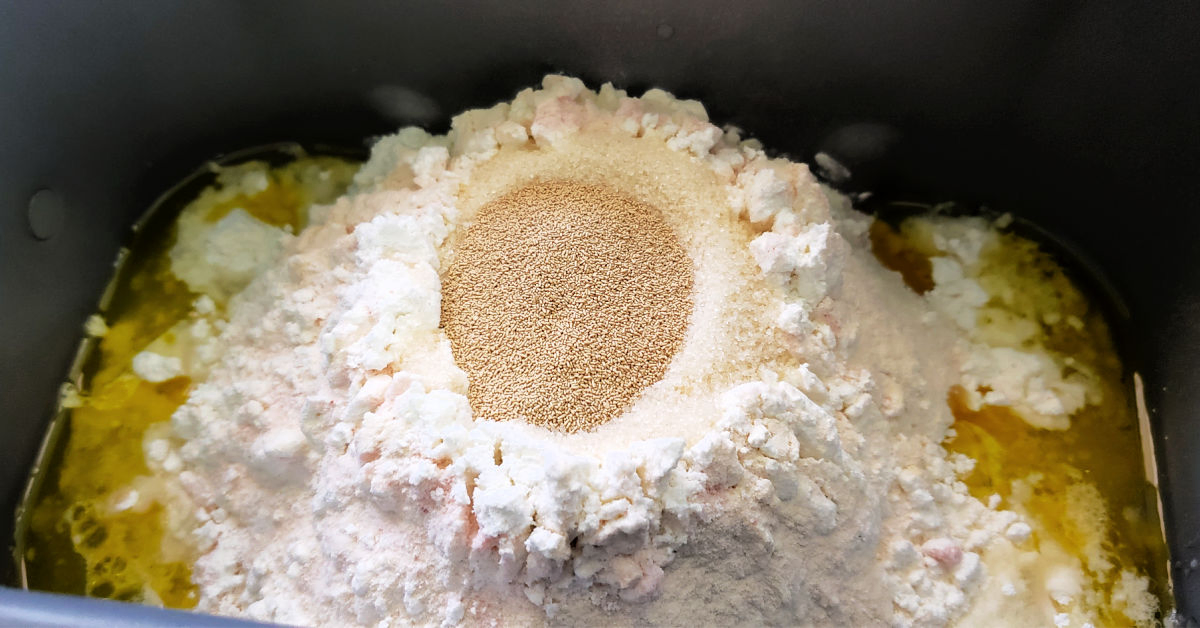
Step 3: Add Sugar and Yeast
Fill the divot with 3 tablespoons of granulated sugar and 2 ½ teaspoons active dry yeast or instant yeast, being very careful that no yeast touches the liquid. This is very important if you want the loaf to rise properly.
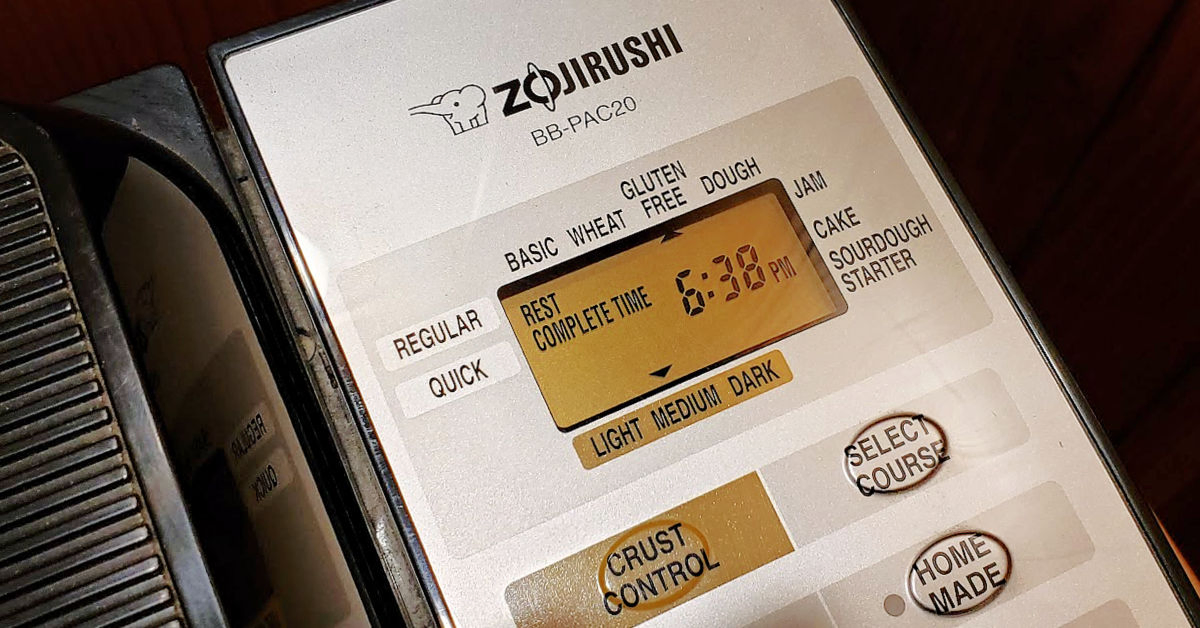
Step 4: Program Bread Machine
Carefully put the pan into your Zojirushi bread machine and turn on the gluten-free setting with a medium crust. This setting takes about 2 ½ hours on my machine. Be sure that when the bread maker beeps, you gently stir the extra flour that is stuck to the side of the pan into the dough.
Step 5: Remove Loaf
Remove the loaf from the bread machine and the pan as soon as it’s done baking. Allow it to cool completely on a cooling rack before slicing for the moistest bread.

Gluten-Free Bread Oven Directions
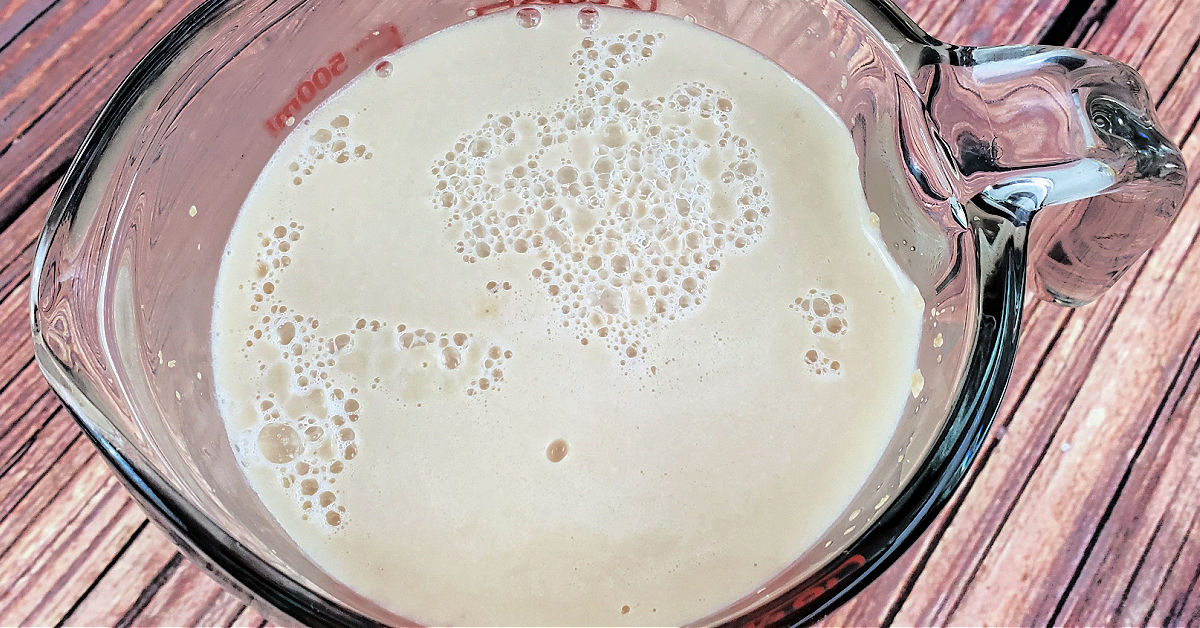
Step 1: Proof Yeast
Start by proofing your yeast. In a glass bowl or measuring cup, combine 1 ⅔ cups of filtered water, which has been warmed to 100° F, with 3 tablespoons of granulated sugar until it dissolves. Whisk in 2 ½ teaspoons of active dry or instant yeast and set aside for 10 minutes to proof.
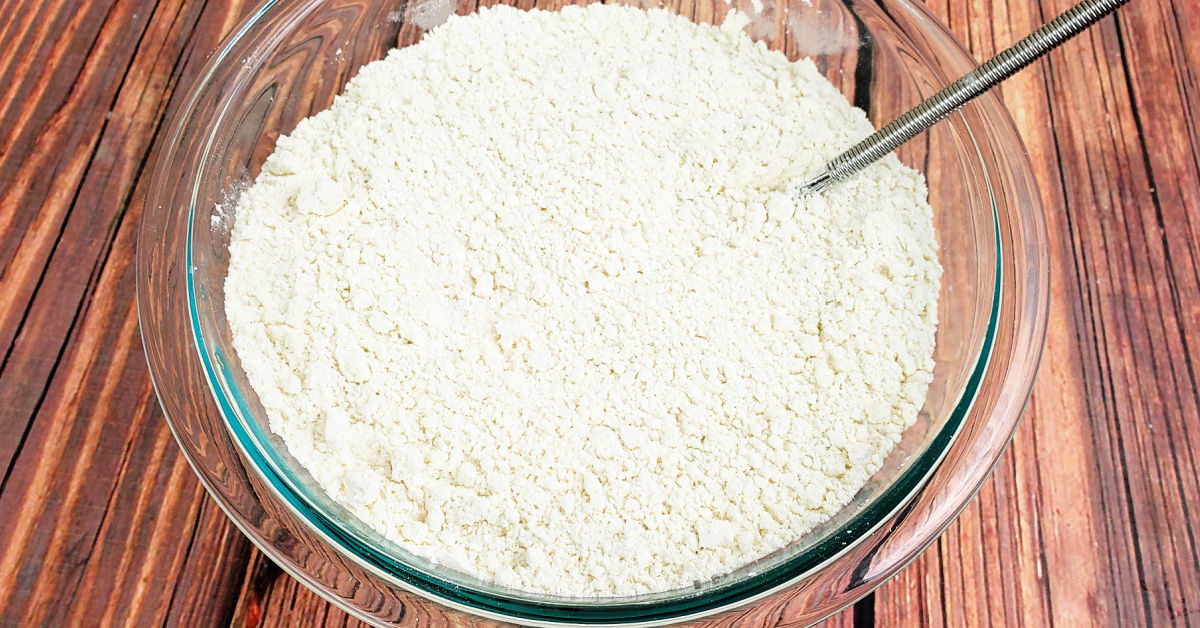
Step 2: Combine Dry Ingredients
While the yeast is proofing, whisk together the dry ingredients, including 3 ⅔ cups of Cup4Cup gluten-free flour, 2 teaspoons of xanthan gum and 2 ½ teaspoons of sea salt in a large mixing bowl. Set aside.
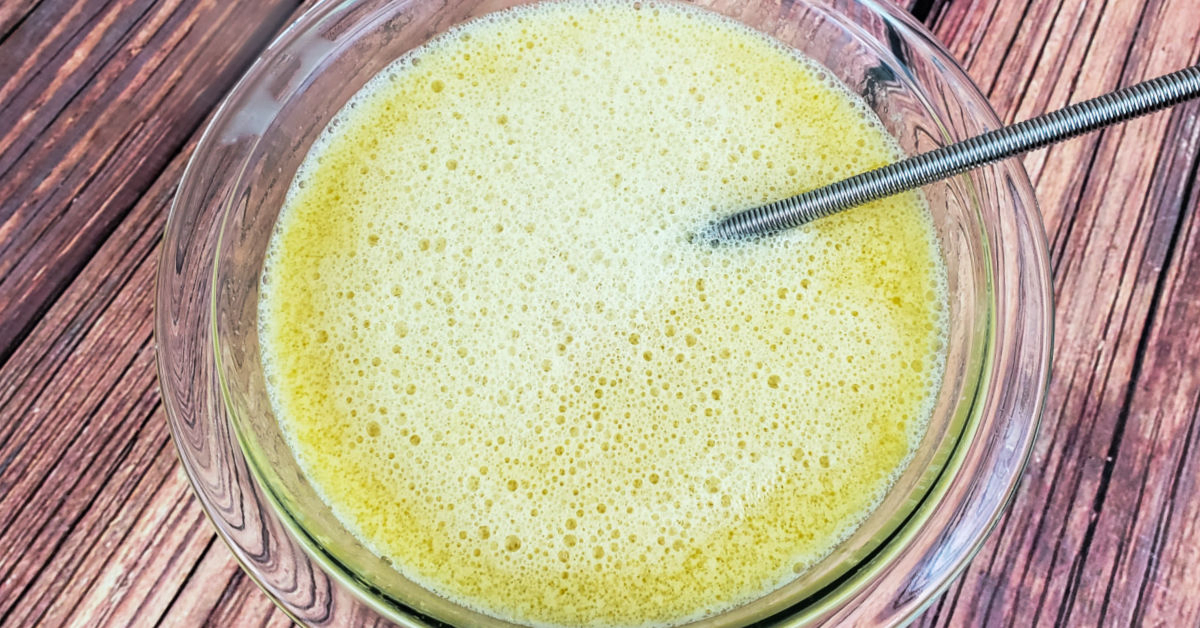
Step 3: Combine Liquid Ingredients
In a separate bowl, whisk together the 2 eggs, 1 tablespoon of apple cider vinegar and 3 tablespoons of olive oil.

Step 4: Mix Proofed Yeast Into Liquid Ingredients
Once the yeast is done proofing and is nice and foamy, whisk it into the bowl with the liquid mixture.
Step 5: Combine Wet and Dry Ingredients
Next, slowly add the dry ingredients to the bowl with the wet ingredients. Mix with a fork or wooden spoon until well combined. The gluten-free bread dough will be extremely sticky, so I don’t recommend mixing it with your hands.
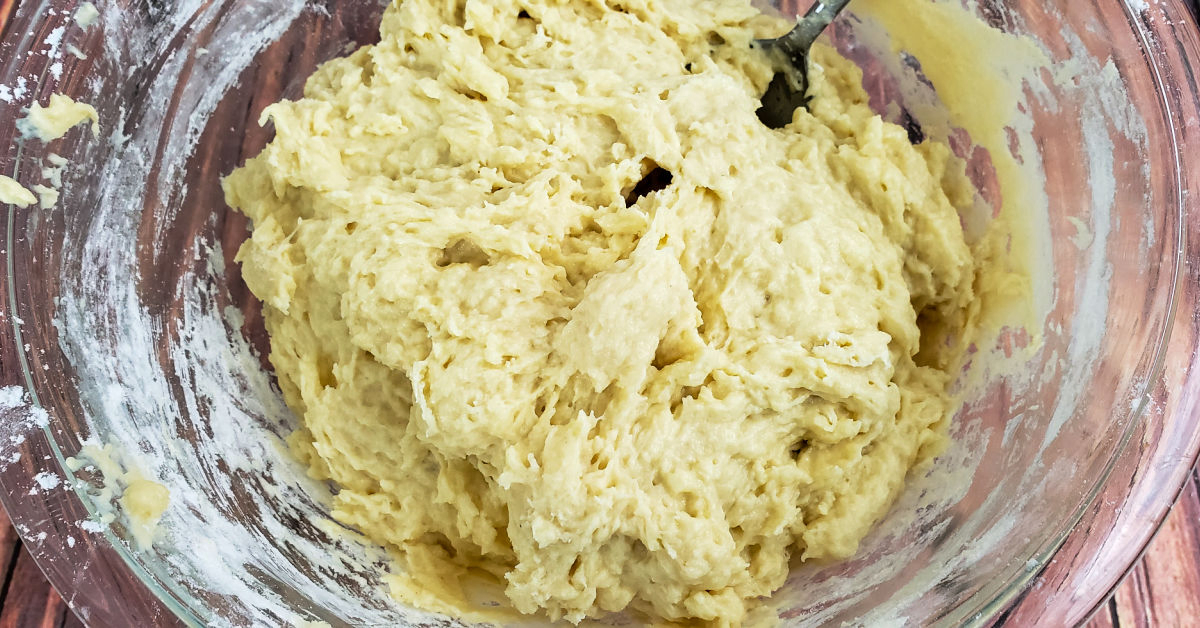
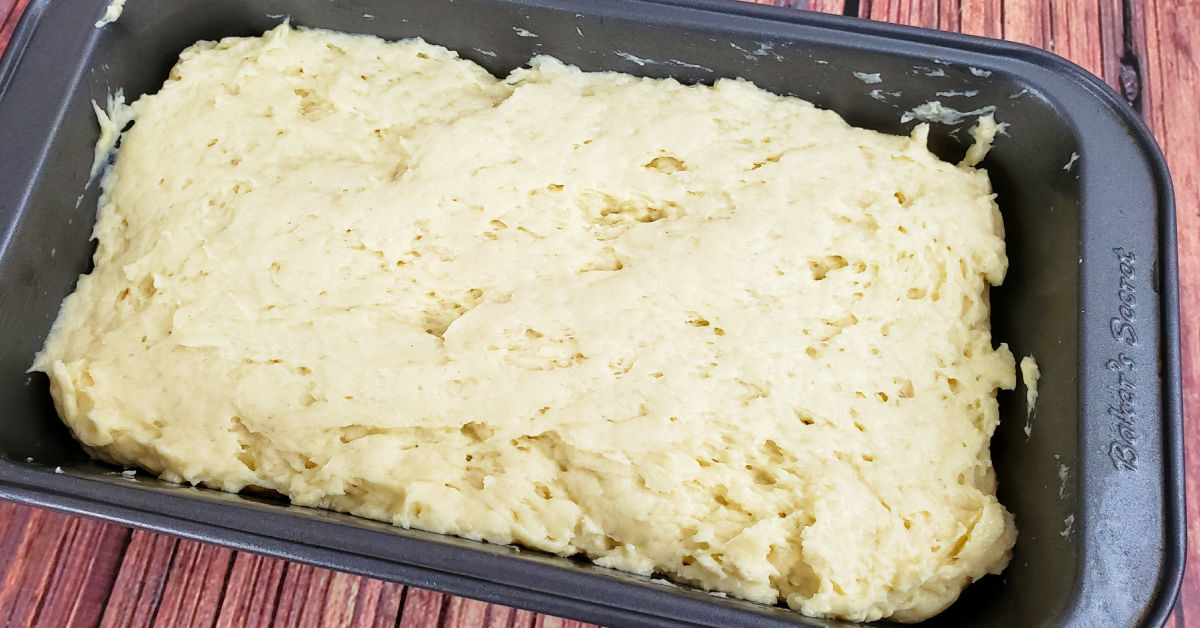
Step 6: Pour Into Loaf Pan
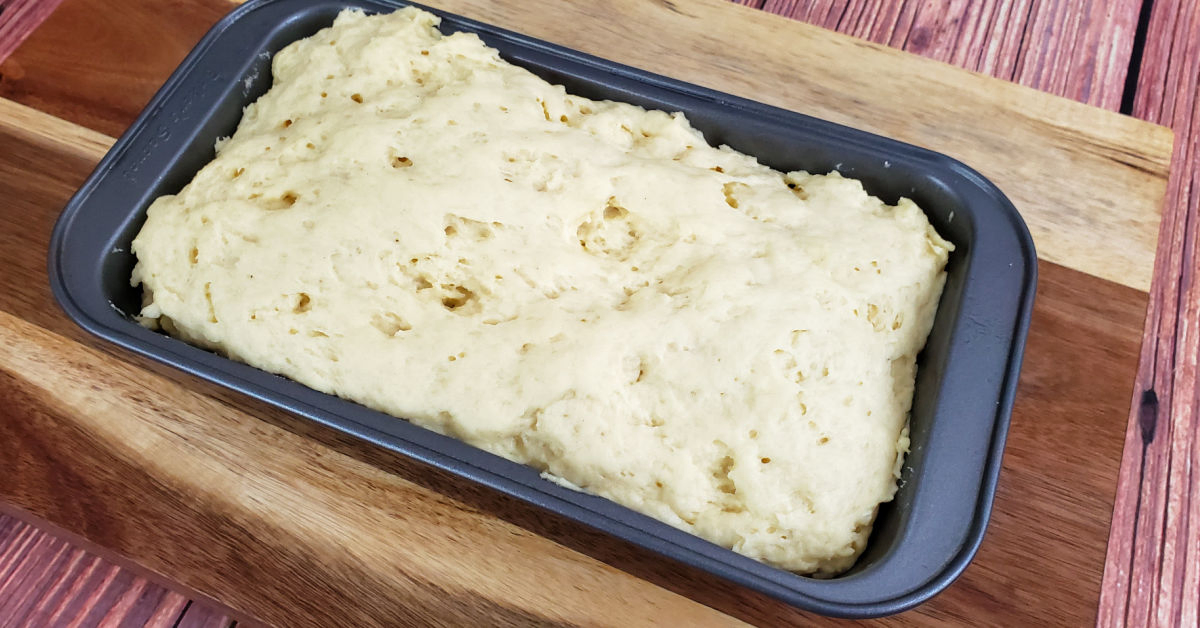
As soon as it’s combined, pour the bread batter into your loaf pan. Let the dough rise in a warm place that’s free of drafts, with the pan covered with a damp tea towel, for about 40 minutes or until it reaches the top of the pan. Yes, this gluten-free bread dough rises!
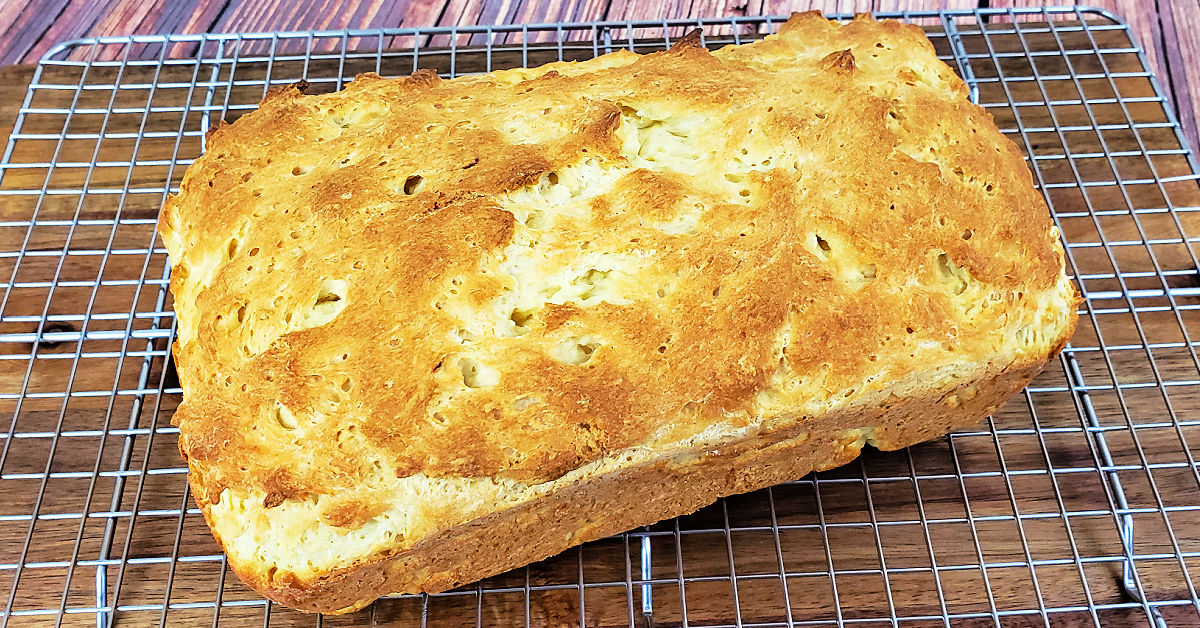
Step 7: Bake Gluten Free Bread
Once risen, bake the bread at 350° F for 40 minutes or until done. When done, it’ll be a nice golden brown and a toothpick will come out clean when inserted.
Would you like to save this?
Step 8: Cool Bread Loaf
Remove the loaf of bread from the pan and set it on a wire rack until it’s cooled all the way down to room temperature. It should come right out of the pan, unlike quick bread which usually needs to have the pan lined with parchment paper.
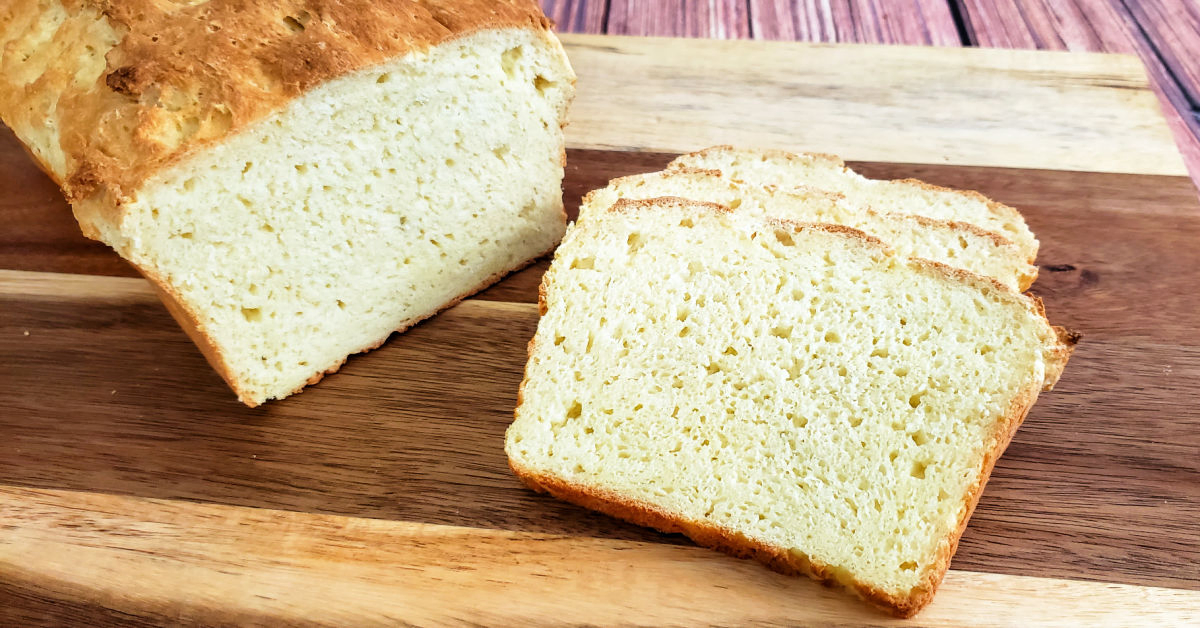
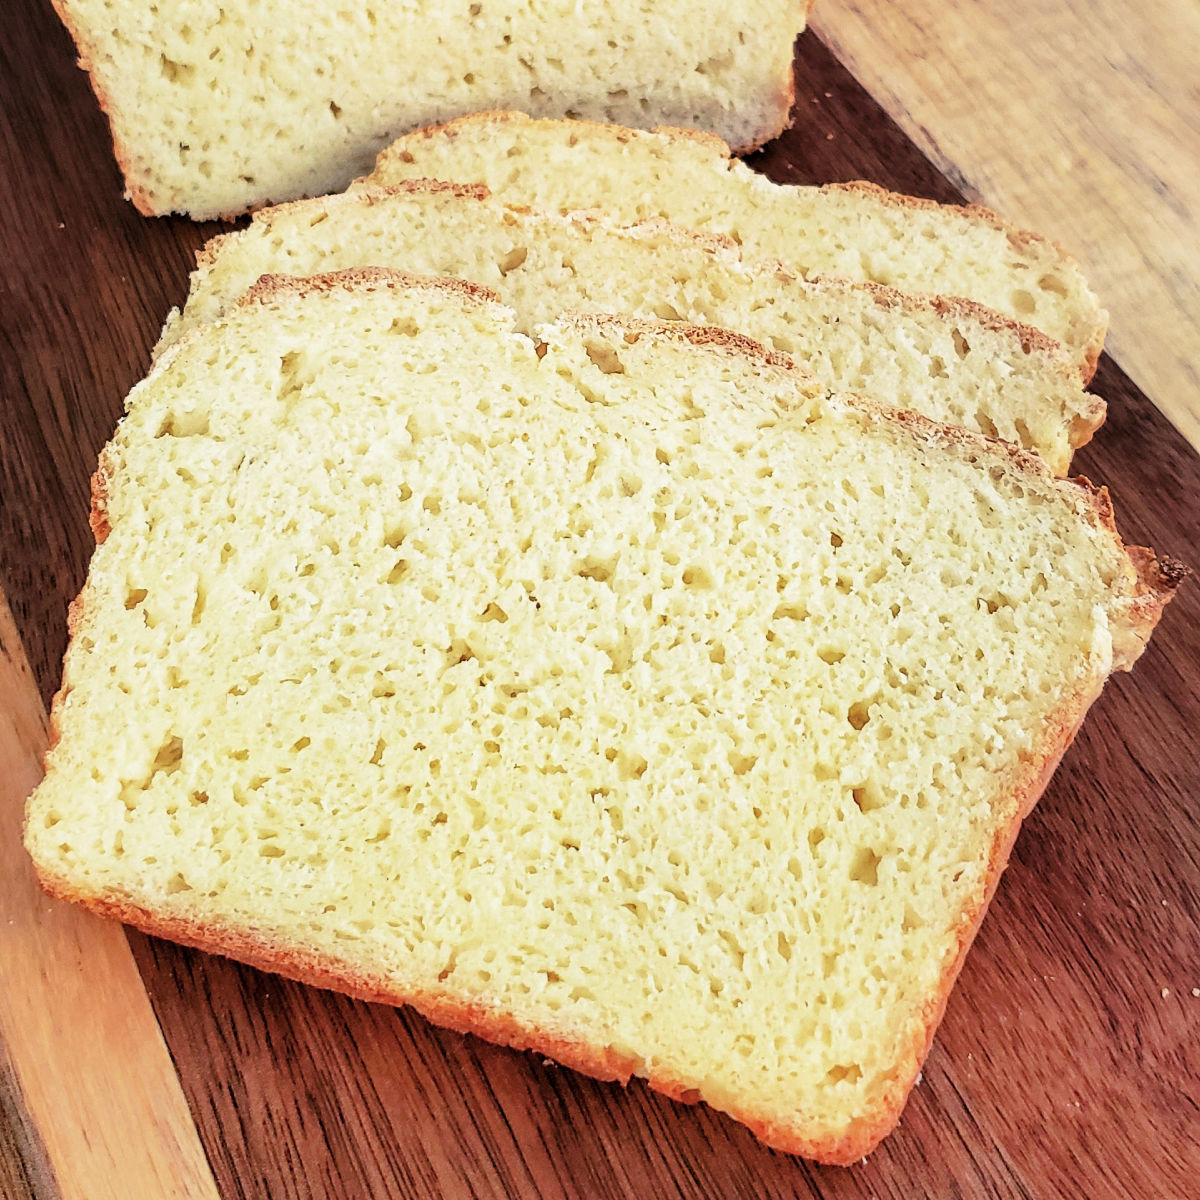
Step 9: Slice and Serve
Once it’s cool, you can slice and serve your fluffy gluten-free bread.
Tips for Making Amazing Gluten-Free Bread
Answers to all of your questions about making my homemade gluten-free bread recipe for sandwiches, including tips and substitution ideas.
Which bread machine do you use?
It’s important to choose a bread machine with a gluten-free setting. This is because gluten-free bread only needs to rise once, not twice like conventional bread.
While several bread machines now have a gluten-free setting, the only one I use and recommend is the Zojirushi Home Bakery Virtuoso (available on Amazon). I’ve had mine for about 7 years now and it’s still going strong!
Which method is better – oven or bread maker?
I personally prefer using my bread machine to make tasty gluten-free bread. It’s so much faster and easier, and I find that the bread comes out even fluffier.
I also find myself making homemade bread more often when I can use the bread machine because it takes a lot less of my time.
However, if you like crusty bread, you’ll want to use the oven method. A breadmaker can’t recreate the crust on delicious bread from the oven.
Can I use a different gluten-free flour blend?
This gluten-free bread recipe will not turn out the same if you do not use Cup4Cup gluten-free all-purpose flour blend (I buy Cup4Cup in bulk on Amazon). Many other gluten-free flour blends aren’t as absorbent, and I have not found other gluten-free flours that rise quite the same way that Cup4Cup does.
For example, Bob’s Red Mill will result in a loaf that doesn’t rise properly, tastes sour and is uncooked in the middle. Do not use Bob’s Red Mill and I also do not recommend Measure for Measure for King Arthur.
I have used Better Batter Artisan Blend to get a pretty good bread loaf from, but it didn’t rise quite as nicely as Cup4Cup does.
If your flour blend has similar ingredients to Cup4Cup (Cornstarch, White Rice Flour, Brown Rice Flour, Milk Powder, Tapioca Flour, Potato Starch, Xanthan Gum), it may work. If you try it with a different blend, be sure to let me know whether it worked or not and I will update this section for other gluten-free bakers.
Is this bread recipe dairy free too?
No. Even though you don’t see any obvious dairy-based ingredients on the ingredient list, Cup4Cup flour contains milk powder.
Do I have to add the xanthan gum?
I highly recommend adding the extra xanthan gum, even though the Cup4Cup flour blend already has some in it. I’ve experimented with different amounts and this exact recipe produces the perfect loaf of gluten-free bread. You can omit it, but the loaf will come out slightly drier.
What temperature is best for proofing yeast?
You don’t have to proof yeast when you use a bread machine, which is one of the reasons I love this method. However, proofing your yeast is critical when baking bread in the oven.
You want to warm the temperature to about 100° F. Too cool and the yeast won’t activate. Too warm, and you’ll kill the yeast. Use a thermometer for best results.
Why isn’t my bread rising?
There are 2 possibilities from my experience. The first is that your yeast is dead (yeast has a shelf life) or that the water you used was too warm or too cool.
The second is that you’re not allowing the bread to rise in a warm enough place. During the summer, it works fine on the counter if it’s covered. However, during the cooler months, I like to let my bread rise in the oven (turned off) right next to the oven light. It gives off just enough warmth to help the bread rise.
How long does this bread stay fresh?
Like most gluten-free products, this bread dries out fast and does not stay fresh for a long time. I find it’s best the day it’s baked and has a shelf life of 2-3 days.
Secrets to Gluten Free Baking
Everything you need to know about gluten-free baking in your inbox.
Best way to store gluten-free bread?
I keep it on the counter in an airtight container as I find the refrigerator dries it out quickly. If you store it in the fridge, make sure it’s wrapped tightly in plastic wrap.
Can I freeze it instead?
Yes, you can slice the fully cooled loaf, then freeze the individual slices on a cookie sheet to keep them from sticking together. Once frozen, transfer them into a freezer bag and defrost only as you use them. Use within 2 months.
Other ways to use gluten-free bread?
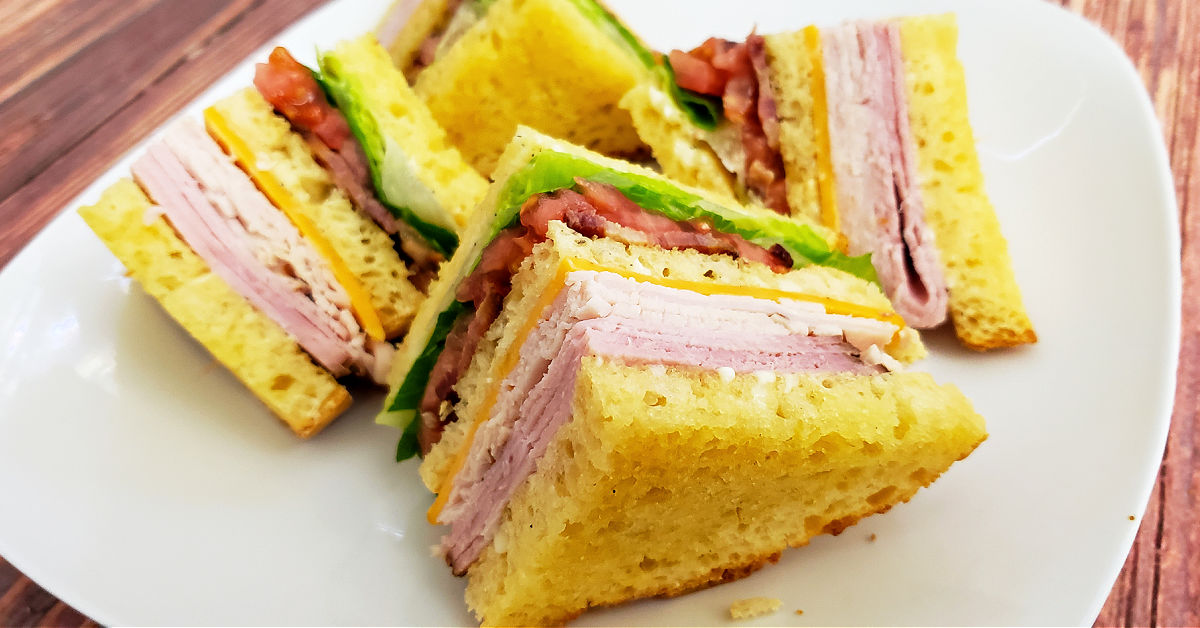
If you won’t be making too many sandwiches (like my delicious gluten free club sandwich!), here are some ideas for using up your gluten-free bread:
- Avocado toast
- French toast
- Garlic bread
- Homemade breadcrumbs (see tips for making them below)
How to make it into gluten-free breadcrumbs?
Since this bread does dry out so fast, it makes great gluten-free bread crumbs. If you won’t eat the entire loaf in 2 days, you can slice up the rest and bake it on your oven’s lowest setting until it’s completely dried out.
Once cool, crush into breadcrumbs and store in an airtight container in the fridge. Since there are no preservatives in these breadcrumbs, use them up quickly!
One of my favorite uses for homemade gluten-free breadcrumbs is my Gluten Free Meatloaf Recipe (which can be made in the oven or Instant Pot).
Gluten Free Bread Recipe
Ingredients
- 1 ⅔ cups warm filtered water
- 3 eggs - at room temperature, lightly beaten
- 3 tablespoons extra virgin olive oil - or MCT oil
- 1 tablespoon apple cider vinegar
- 3 ⅔ cups Cup4Cup gluten free flour
- 2 teaspoons xanthan gum
- 2 ½ teaspoons sea salt
- 3 tablespoons granulated sugar
- 2 ½ teaspoons active dry yeast - or instant yeast
Equipment
- Mixing bowls
- Whisk
- Measuring cups and spoons
- Bread machine (if using the bread machine recipe)
- Bread pan (if using the oven recipe)
- Tea towel (if using the oven recipe)
Instructions
Directions for Gluten-Free Bread Machine Recipe
- Add warm water, eggs, olive oil and apple cider vinegar to the bread maker pan.
- Next, add the flour into the center of the pan in a pile. Sprinkle the xanthan gum and sea salt across the flour, then make a divot in the center of the flour.
- Fill the divot with the sugar and yeast, making sure no yeast touches the liquid.
- Carefully put the pan into the bread machine. Select the gluten-free setting with a medium crust. when the bread machine beeps, gently stir any flour stuck to the side of the pan into the dough.
- Remove the loaf from the pan as soon as it’s done and let it cool completely before slicing.
Directions for Oven Baked Bread
- Combine water warmed to 100° F with sugar in a glass bowl or measuring cup until it dissolves. Whisk in the yeast and set aside for 10 minutes to proof.
- While the yeast is proofing, whisk together the dry ingredients – gluten free flour, xanthan gum and sea salt. Set aside.
- In a separate bowl, whisk together the eggs, apple cider vinegar and olive oil.
- Once the yeast is done proofing and is nice and foamy, whisk it into the bowl with the liquid mixture.
- Slowly mix the dry ingredients into the wet ingredients with a fork or wood spoon until well combined. It will be very sticky.
- Pour the dough into your loaf pan. Set it in a warm spot, covered with a damp tea towel, to rise for about 40 minutes or until it reaches the top of the pan.
- Once risen, bake at 350° F for 40 minutes or until done. When done, it’ll be golden brown and a toothpick will come out clean when inserted.
- Let the bread cool on a wire rack.
- Slice and serve your fluffy gluten-free bread.

Can you tell me what mix of flour you use please? Also, can the xantham hun be replaced by psyllium husk powder? Thanks in advance! Xx
Hi Kathryn, if you see #3 above, I cover gluten free flour choices. Cup4Cup is the only flour this recipe has been tested with. 🙂
Do you add the gum even if it’s already in the flour?
Yes, Cup4Cup already has xanthan gum in it and I add more.
Great recipe. I did it in my bread maker and it was a good consistency but overbaked (turned darkish brown). This was because I used the 2 lbs loaf setting and not the 1 1/2 lbs loaf setting. The second try it was perfectly golden brown and perfect! Thanks for sharing this recipe.
That’s great to hear – thank you for sharing your experience!
Thanks for sharing this great recipe! I have made it three times already and the results are the same every time. The bread turns out exactly as described and is great for my morning toast. I do put it in the refrigerator because I can’t eat it that fast and it is fine when toasted. It is drier than it is when first made but is still very good. As a note, I make my own gluten free flour blend using the all-purpose flour blend recipe from the magazine “Simply Gluten Free & more”. It works just fine and is dairy free. I have a Cuisinart breadmaker with a gluten free setting and it works great on the 1.5 lb loaf setting as another comment mentioned.
Thank you so much for sharing your experience Melissa! I know it will be helpful for others looking to make this gluten-free bread recipe!
Great recipe! Lovely texture of bread. The only issue for me is it’s too salty. Can this be reduced to 1 tsp without reducing the texture of the bread?
You’re probably using a different type of salt than I use, so yes, you should be able to reduce the amount of salt added and still get the same texture.
I recently picked up a Zojirushi Virtuoso and this is the best gluten free recipe that I’ve found so far.
Because I also have a dairy allergy in the house, I am using a gluten-free mix from a local baking supply store and substitute 1/3 cup of the flour in the recipe for 1/3 cup of coconut milk-substitute powder. Works great.
Thank you for sharing the dairy free modifications that worked for you!
How many grams or flour are you using? I always prefer measuring my gf flours by weight. Thanks!
I don’t weigh the flour in this recipe 🙂
My machine only makes 1 pound loaf how can I alter this to make 1 pound?
Does your machine have a gluten-free setting? I’ve only ever used my Zojirushi to make this recipe.
Hi,
Can I use your recipe to make GF Rolls for Thanksgiving instead of a loaf by shaping them into rolls before the 1st rise?
I haven’t used this batter to make rolls before. If you give it a try, let me know how it turns out!
I’m fixing to try it. Will report back later
I was nervous as I’d never made yeasted GF bread before. Followed the recipe to a tee and it came out amazing! Best GF bread ever! And really easy to make.
I’m excited to give this a try. Do you think it’s possible to swap out the granulated sugar and replace it with honey? Thank you.
Some readers have successfully swapped honey for sugar.
This is a phenomenal gluten free bread recipe. Followed the recipe except used King Arthur Gluten Free Bread Flour. I have a KBS bread machine with a gluten free setting, and have had little success until I tried this recipe. Soft inside, crusty on the outside – so much tastier than store bought. Thanks a million!
This is definitely my favorite gluten-free bread recipe and I’ve tried a handful. I’ve done it in the oven as well as my bread machine and it turns out great. We use the King Arthur bread flour. Sometimes I swap sugar for honey or use a different oil and it still works great. My kids love it for their school sandwiches. I even make mini loaves so they can have mini sandwiches if they want. I’ve made this more times than I can count making it every 1-2 weeks.
I used 1 1/3 c King Arthur 1:1 flour, 2 1/3 c oat flour, and the gluten free setting on my Zo. When it beeped, I scraped down the edges and it looked too wet, so added about 1-2 tablespoons of sorghum flour. Turned out amazing! Thanks for the recipe!
Thank you for sharing your modifications that worked!
This is literally the ONLY GF recipe that works in my machine. After 3 failed attempts this actually has risen and is now baking. Thank you so much for posting this. I didn’t have enough C4C so I mixed C4C with King Arthur GFBread flour (1-2/3 C + 2 C respectively). I have an Amazon Basics machine. Thanks again.
I made this again today exactly as the recipe is laid out for a bread machine. Last time I mixed Cup4Cup with KA GF Bread flour, as I was low on C4C after many failed attempts. This time, the results were AMAZING using Cup4Cup and Instant Yeast. The bread rose amazingly well. The color is gorgeous set at GF Medium Color 2lb loaf, and the flavor is surprisingly good! This is a gift for my husband’s coworker, and I’m super excited about how perfect this loaf turned out. Thanks again. I have it in a beautiful cotton beeswax bag ready for gifting tomorrow. Note: One thing I will say is last time I used avocado oil. This time I used olive oil and the flavor is SO much better. Also, don’t use black sea salt. It turned the bread a sickly purple color last time. Lol. This recipe is AWESOME for bread machines.