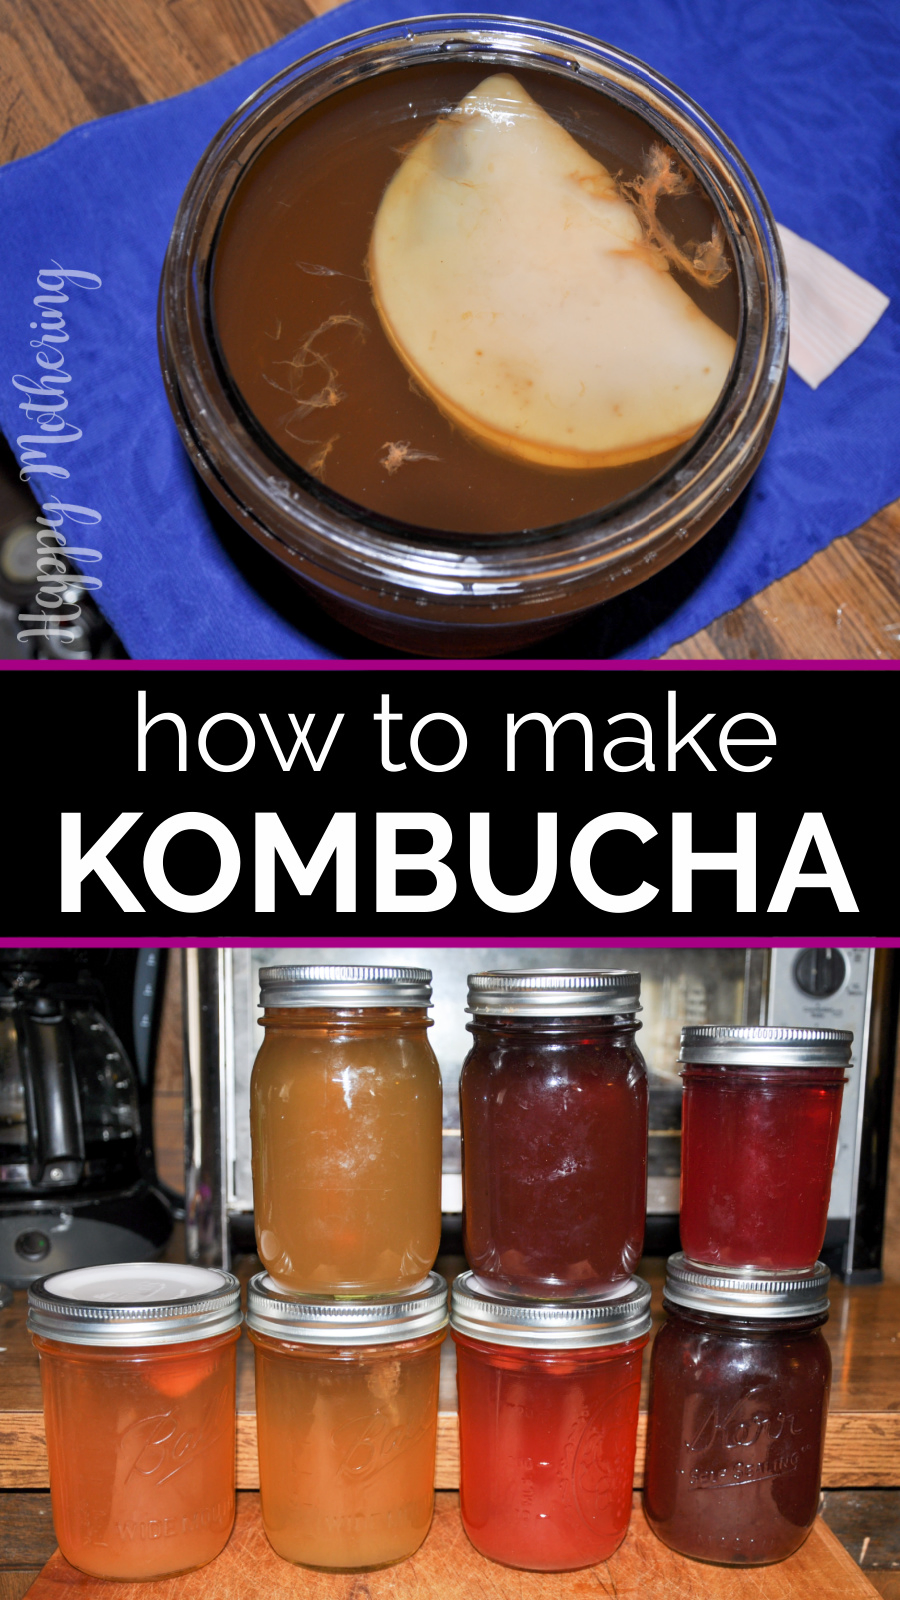
How to Make Kombucha Tea
Jump to Recipe
It’s super easy to make kombucha at home once you learn how. In this post, I’ll show you how kombucha is made using only a SCOBY, water, tea and sugar.
We’ll cover my recipe for brewing, flavoring and bottling homemade kombucha. And I’ll answer all of the questions you might have.
I use the batch brew process, which means you brew kombucha one batch at a time, because I find that it’s the easiest method for beginners. I’ll also give more information about continuous brewing further down in this post.
Kombucha Tea Recipe
Ingredients
- 1 gallon filtered water
- 2 tablespoons loose leaf tea blend - or 6 green or black tea bags
- 1 cup granulated sugar
- 1 SCOBY
- 1-2 cups strong starter liquid - (included with new SCOBY or leftover from your last batch of kombucha)
Equipment
- Measuring cups and spoons
- Tea kettle
- 1 gallon glass jar
- Thermometer
- Cloth cover
- Large rubber band
- Pint sized mason jars
Instructions
- Boil 4 cups of water, then pour it over the tea bags in a 1 gallon glass jar. Allow the tea to steep for 5-7 minutes and remove the tea bags (be sure to squeeze them to get all the tea out).
- Add 1 cup of sugar to the hot tea and stir until it’s dissolved.
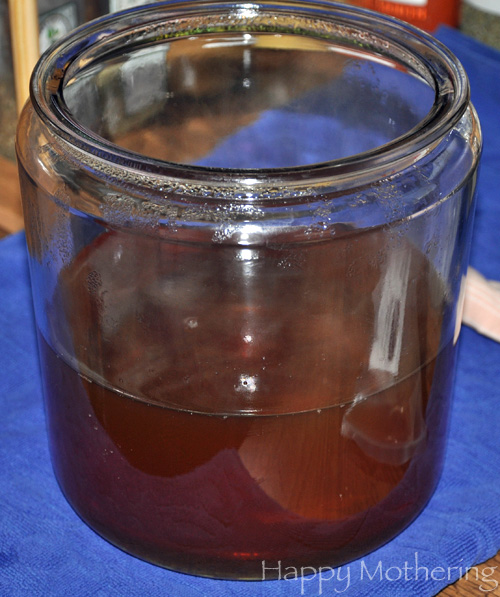
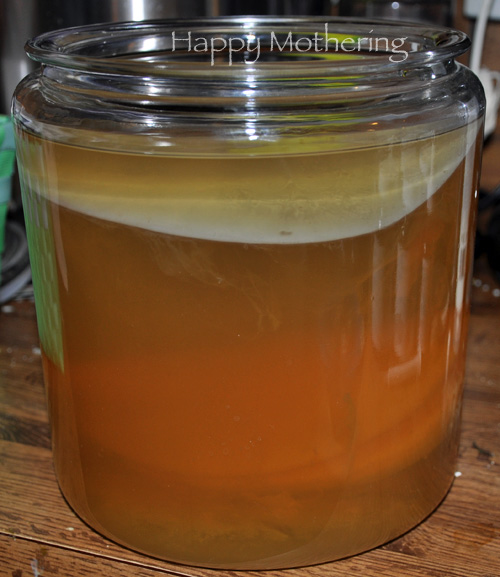
- Once that’s complete, fill the jar until it’s nearly full (leave about 2 inches at the top) with cold, filtered water to bring the temperature down. Check to see if it’s below body temperature. If it’s not, you need to allow it to continue to cool so you don’t kill the SCOBY. Once it has cooled below body temperature, add your starter liquid and the SCOBY.
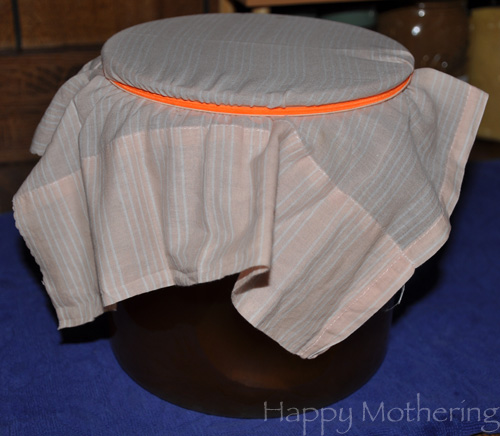
- Cover the jar with the cloth cover (do not use cheese cloth as the weave is too loose) and secure with a rubber band.
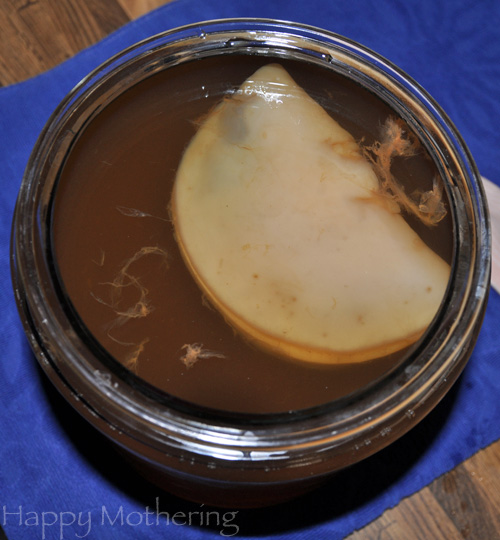
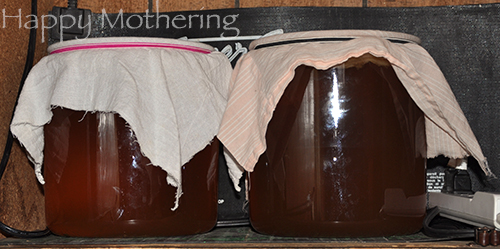
- Then put the jar somewhere warm and dark that gets good airflow for 5 days to let the magical brewing process happen.
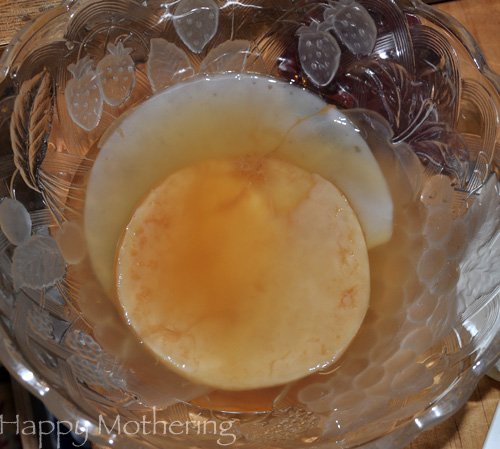
- After 5 days has gone by, get your brewing jar out or down from where it has been stored. Take a straw and insert it under the baby SCOBY and taste the homemade Kombucha. If it’s still too sweet, let it brew for a couple more days. If it’s too tart, you can reduce your brewing time with the next batch. If you’re happy with the taste, it’s time to bottle your Kombucha! Get out a glass bowl and place the Mother and Baby SCOBYs in the bowl. Add 2 cups of Kombucha from the top of the jar to the bowl, then cover and set aside.
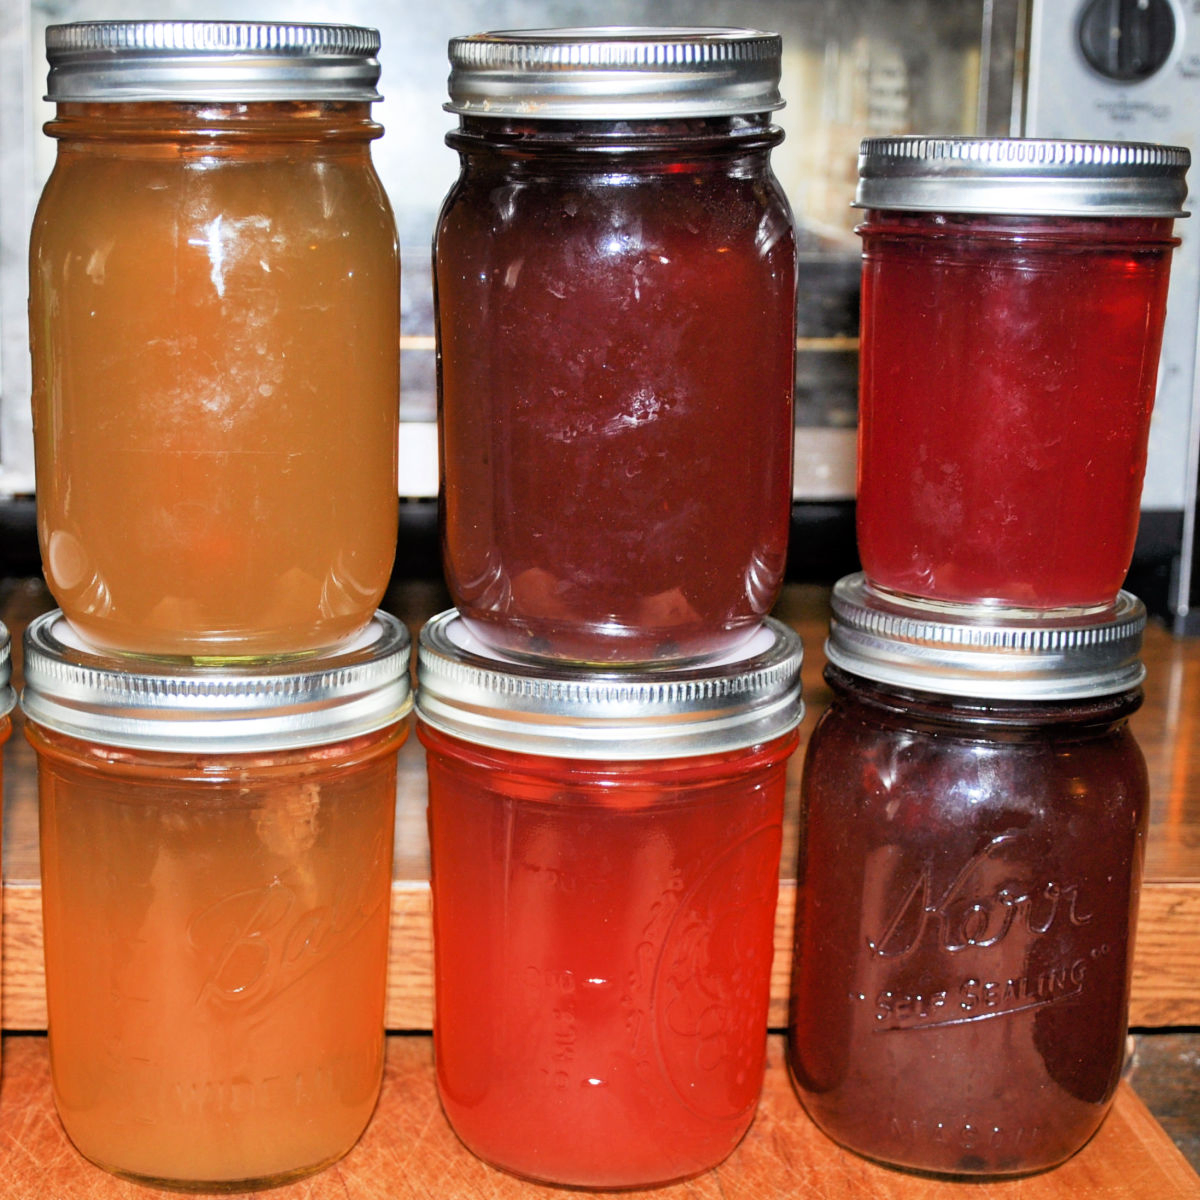
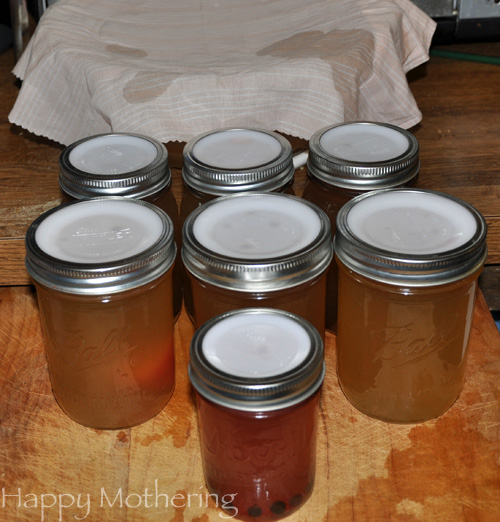
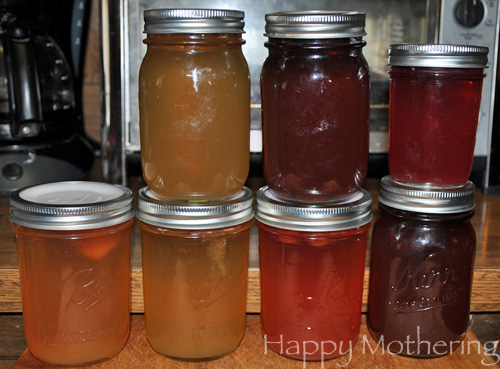
- Put your flavorings into the bottom of each of your bottles or jars. Then fill your jars almost all the way to the top with Kombucha and seal them tightly. DO NOT use a metal lid.
- After you seal them, put them in a warm, dark cabinet for 2-3 days for the second fermentation phase. Be sure to burp the jars every day so you don’t risk them exploding. After a couple days, open the jars and taste them. If they taste done, strain the solid flavoring items from the kombucha, transfer the jars to the fridge if you like your Kombucha cold like us.
- Use the SCOBYs and liquid from the bowl you set aside to brew another batch following the same instructions each time.
Notes
Nutrition Information Per Serving
Common Kombucha Brewing Questions
I’ve been brewing kombucha at home since 2012. Learn from my experience by reading the answers to these common questions.
Choosing Kombucha Brewing Supplies
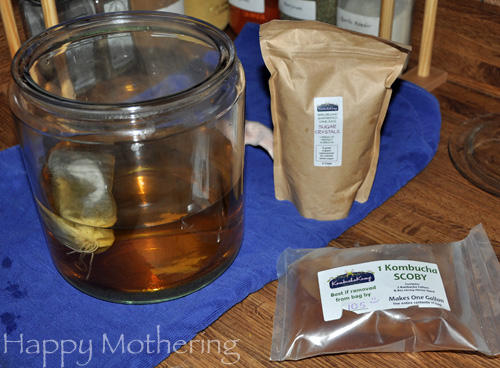
I get all of my kombucha brewing supplies from Kombucha Kamp. The easiest way to start is with a Brew Now Kit since it literally includes everything except for water (you can add a jar to the order). If you want to choose each piece individually, here are some tips.
- Glass Jar. I use these gallon glass jars for batch brewing. Your jar does not need a lid, but it does need to be glass (or ceramic). Wider jars brew faster and taller jars brew slower.
- Jar Cover. You don’t use a traditional lid when brewing kombucha because it needs airflow. You can use a piece of an old sheet or thin cloth with a rubber band or these cute kombucha covers (I use now these because they’re easier). NEVER use cheesecloth though because the weave isn’t fine enough.
- SCOBY with starter liquid. SCOBY is an acronym for Symbiotic Culture of Bacteria and Yeast (you’ll often see it referred to as a kombucha mushroom). It’s what turns your sweet tea into fermented kombucha. You can get a SCOBY from a friend who brews kombucha (baby SCOBYs grow in every batch). I prefer to get my SCOBYs from a reputable source like Kombucha Kamp.
- Tea Bags or Loose Leaf Tea. You can use any combination of teas you like – black, green and white are the most common. Kombucha Kamp has a really nice tea blend for making kombucha that I like to use. When I run out of that, I typically use bags of green tea for convenience.
- Granulated Sugar. What you want is granulated cane sugar (not honey, coconut sugar or maple syrup). Don’t worry, the sugar is food for the SCOBY so sugar the content will be greatly reduced during the brew.
- Filtered Water. Chlorine and other components of tap water can harm your SCOBY. You also don’t want to use reverse osmosis water because you want to retain the water’s natural minerals. I use a Berkey water filter.
- Heat Source (optional, but recommended). If gets cold during winter where you live, you will want a heat source for your kombucha. It thrives best in warmer temperatures. While you can use seedling mats designed for gardening, it’s better to use a kombucha heating system.
What does kombucha taste like?
Kombucha has a fizzy, slightly sweet yet tart flavor. How it tastes is really going to depend on how you flavor it in the second brew. One of the reasons I love kombucha is because you control the flavor.
How to flavor kombucha?
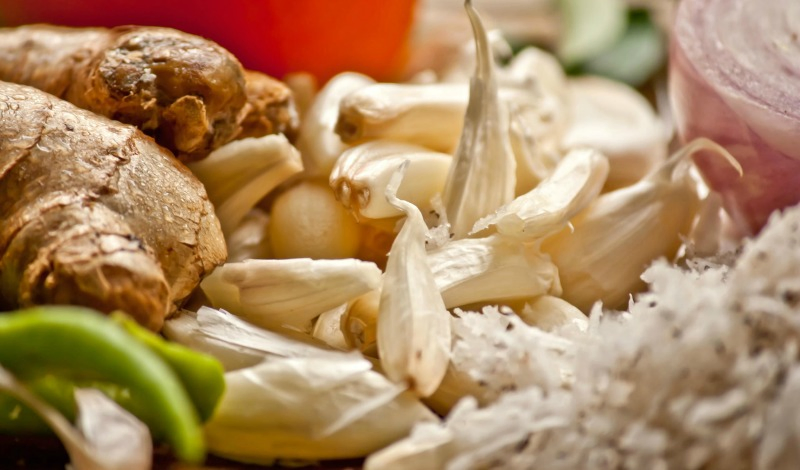
During the second brew, we add flavorings. Some of the best kombucha flavor combinations are:
- Strawberry Lemonade (strawberries and lemon slices)
- Ginger Lemon (lemon slices with fresh or dried ginger)
- Gingerberry (fresh ginger, raspberries and a lemon slice)
- Cherry Raspberry (fresh raspberries and dried cherries)
- Very Berry (frozen blueberries, strawberries and raspberries with dried cherries)
- Rose Elderberry (dried roses and elderberries)
- Goji (dried gojiberries and a dried cherry)
Kombucha Kamp also has some great Kombucha flavoring recipes.
Best temperature for brewing kombucha?
Kombucha likes warm weather. It does best at around 80° F. If it gets too much cooler than that, your kombucha will take longer to brew, it won’t be as carbonated and you risk mold growth. See above for more info about the heating system I recommend.
Ideal pH of Kombucha
It’s best for the starting pH of your kombucha to be 4.5 or less. When the fermentation process starts, the pH level will start to decline. When it’s done brewing, the pH should be 2.5 for a more tart flavor to 3.5 for a sweeter flavor.
How to make kombucha fizzy
Many commercial kombucha brands carbonate their kombucha. That said, there are some things you can do to make your kombucha fizzier at home.
- Make sure the temperature conditions you’re brewing under are warm enough. If not, add a heat source.
- Add a piece or 2 of dried fruit or ginger in the second brew. The concentrated sugar in dried fruit adds more bubbles.
- Instead of dried fruit, you can also add a teaspoon of sugar during the second brew.
Would you like to save this?
Does kombucha go bad?
You’ll see an expiration date on kombucha at the grocery store because it does go bad. Since it’s a fermented beverage, the flavor will continue to evolve over time. Kombucha that has been sitting too long will turn into vinegar, which has other uses (see below for ideas).
Does kombucha need to be refrigerated?
Yes, I always refrigerate my kombucha tea. If you don’t keep it cold, it will turn to vinegar and lose its delicious flavor.
Is there caffeine in kombucha?
Yes, because kombucha is made with black or green tea, it will contain caffeine. How much depends on which tea leaves you use. If you’re also wondering when to drink kombucha, it’s best before noon because of the caffeine.
Is kombucha alcoholic?
A hydrometer is the tool you’ll need to check alcohol levels. Kombucha should not contain more than traces of alcohol (0.5%) after the first brew. However, in the second brew when you add flavorings, sugar can reactivate yeast and increase the alcohol content.
How often should you drink kombucha?
I like to drink kombucha daily (our kids drink smaller amounts), but how much kombucha you drink a day is up to you. Start with a small amount and go from there. You can drink too much kombucha though since it does contain caffeine.
Do you shake kombucha?
Please don’t shake your kombucha before you drink it unless you want a huge mess. The carbonation will build up in the bottle just like with soda if it’s been properly brewed.
How to make a kombucha SCOBY?
I’ve never made a SCOBY myself – I’ve always bought or been gifted them. I have seen people make their own SCOBYs from unflavored store bought kombucha like in this SCOBY growing tutorial. Don’t try this with flavored kombucha.
Continuous brewing vs batch brewing
If you’ve tried batch brewing and want to switch to continuous brewing, start with a Continuous Brew System. I’ve done continuous brewing as well, and it’s nice to be able to just add more sweet tea to the system instead of having to make a completely new batch each week. These educational videos will teach you about the upkeep you’re in store for.
Brewed too much kombucha?
What is kombucha good for besides drinking? When you end up with too much try these uses for extra kombucha.
- You can make homemade gelatin with kombucha instead of juice or tea for the cold liquid portion. You don’t want to heat it or will lose many of the benefits of kombucha tea.
- You can use kombucha in place of vinegar in salad dressings. Combine it with some seasonings, olive oil, sea salt and pepper to make a really tasty vinaigrette.
- Add kombucha to your smoothie instead of fruit juice, water or milk. It gives them a nice, tangy flavor. Just be careful that the lid isn’t sealed too tight when blending or pressure could build up.
Where can I learn more?
When I have questions, I often turn to The Big Book of Kombucha. Even as a seasoned kombucha brewer, I have found it to be a tremendous resource to have on hand.

How did you calculate grams of sugar per serving? It seems very, very high.
You’re right Dugan. I should note that is the nutritional value for all ingredients used. There’s no way for me to calculate the nutritional value of the final product because each batch of home brewed kombucha will have a different amount of sugar remaining.
I’m interested in what type of mason lids you use for your second ferment and storing these smaller mason jars in the fridge? Do you have a link to where we can purchase them? And are you still thinking they do a good job?
I’m thinking of switching to mason jars (after the first gallon sized ferment) as the tall narrow ‘kombucha’ jars I’ve used for a few years don’t always allow much build up of fizzy-ness! (Even though they have a rubber gasket). Plus I have a neighbors (a large family) wanting to learn how to make kombucha and the mason jar idea may be the best and affordable way for them!?
So basically I’m am wondering about the air tight lids for mason jars— if you could let me know what you’ve found to be best.
Thank you!!
Hi Becky! Great questions. I have only ever used standard mason jars for the second ferment. For a long time, I only used the Tattler canning lids, but I also use the standard lids. You really have to watch the jars during the second ferment so too much pressure doesn’t build up. Unlike with a flip top, they’ll just explode instead of allowing the pressure out. Fortunately, that has never happened to me, but I’ve heard stories!
I’m a newbie and have just started my first batch. I appreciate your clear instructions. There are some pretty convoluted ones out there. I’m confused by something though. You say don’t use metal lids, yet your picture seems to show metal lids. Am I missing something?
Hi Barbara, good question. If you look more closely at the images, they’re plastic lids with metal rings (the Tattler canning lids). The metal doesn’t come in contact with the kombucha – it just holds the plastic lid in place. I hope that helps.
Would like to try refrigerated kombucha that’s past its’ prime in this gelatin. Will it work without heating it up?
Excited to try this.
Thank you.
Jane
It’s hard to say… it may depend on whether it has become kombucha vinegar or not.