DIY Muscle Rub for After Workouts
Jump to Directions

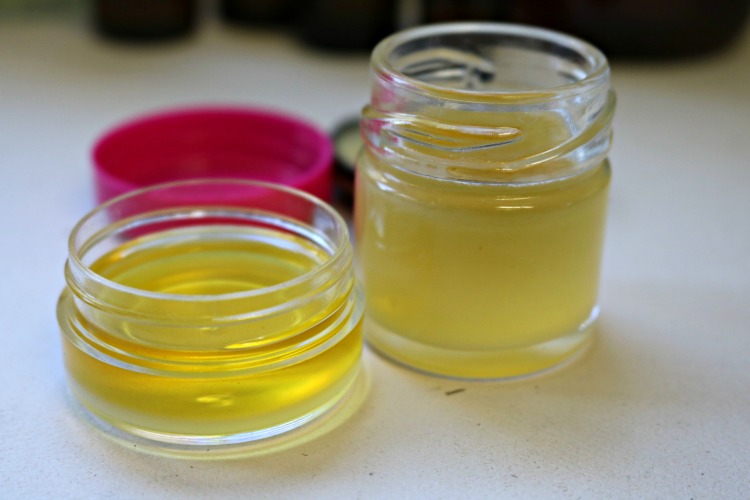
I like to have a nice essential oil balm I can rub on my muscles after exercise, after a shower or before bed. So I make my own from natural ingredients.
I use a combination of frankincense with a trio of mint oils in this DIY muscle rub. I just love how frankincense and mint smell together and they feel really nice too.
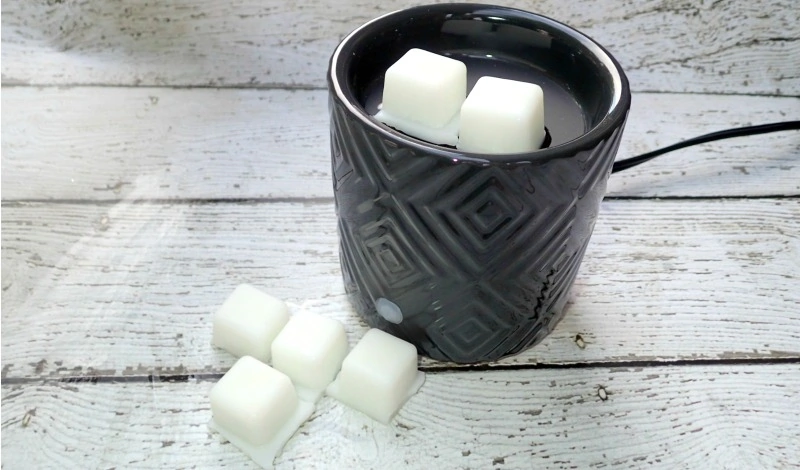
The great thing about using a balm instead of just the diluted essential oil itself is that is stays put on the area much longer so you don’t have to reapply it so often.
Supplies
- ¼ cup of coconut oil
- ¼ cup of sweet almond oil
- 2 tablespoons of beeswax pastilles
- 15 drops of spearmint essential oil
- 15 drops of wintergreen essential oil
- 15 drops of peppermint essential oil
- 15 drops of frankincense essential oil
Tools
- Measuring cups and spoons
- Double Boiler
- Five 1-ounce balm containers
Step-by-Step: How to Make a Muscle Rub
Follow these simple steps to make your own homemade muscle rub to use after workouts.
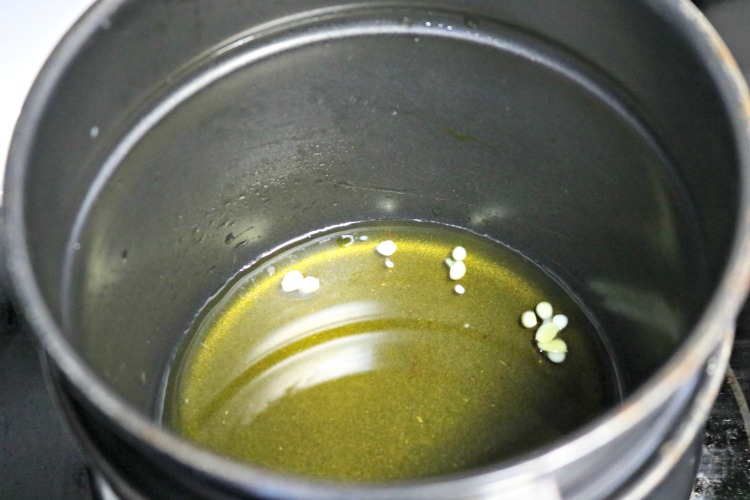
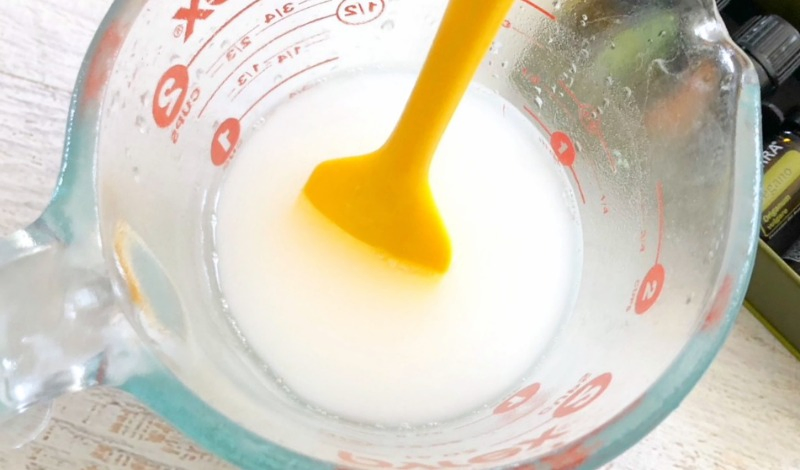
Step 1: Melt Beeswax and Oils.
Fill the bottom half of your double boiler with water. Then measure out 2 tablespoons of beeswax, ¼ cup of coconut oil and ¼ cup of sweet almond oil and add them to the top half of your double boiler. Melt the ingredients, stirring frequently, over medium heat.
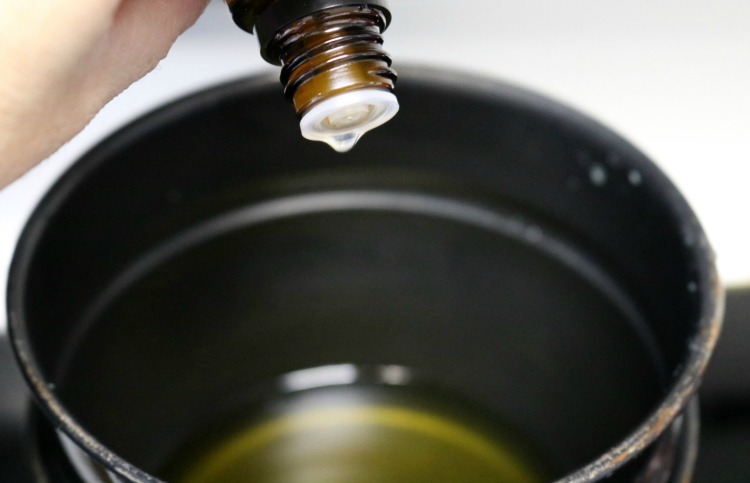
Step 2: Add Essential Oils.
After the oil and wax mixture is melted and clear, turn off the heat then add 15 drops each of peppermint wintergreen, spearmint and frankincense essential oils.
You’ll find that each of these oils is a thin consistency, so go slowly when adding your drops! Now stir the mix all together until it’s well combined.
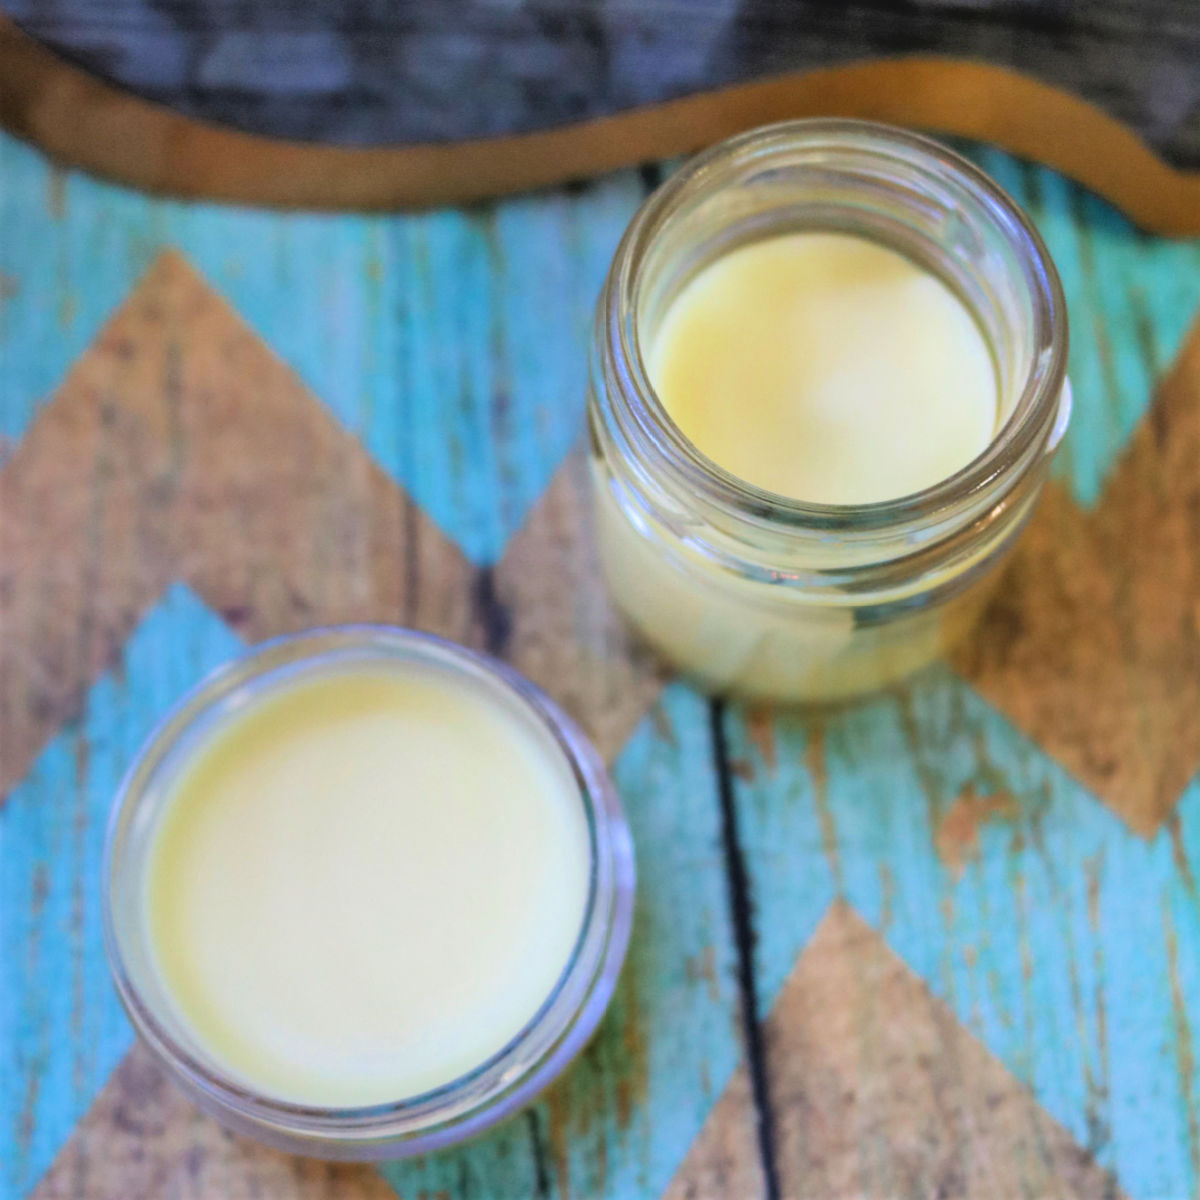
Step 3: Fill Containers.
Quickly, but carefully, fill your containers with the melted balm mixture just below the rim and leave off the lids for now so that they can cool.
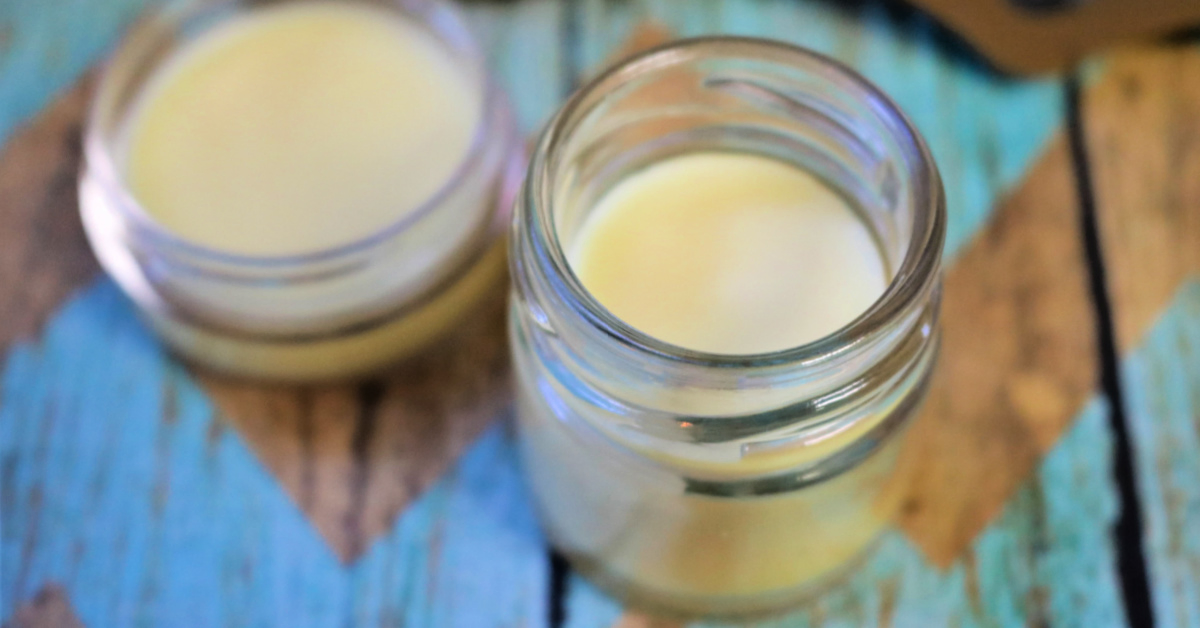
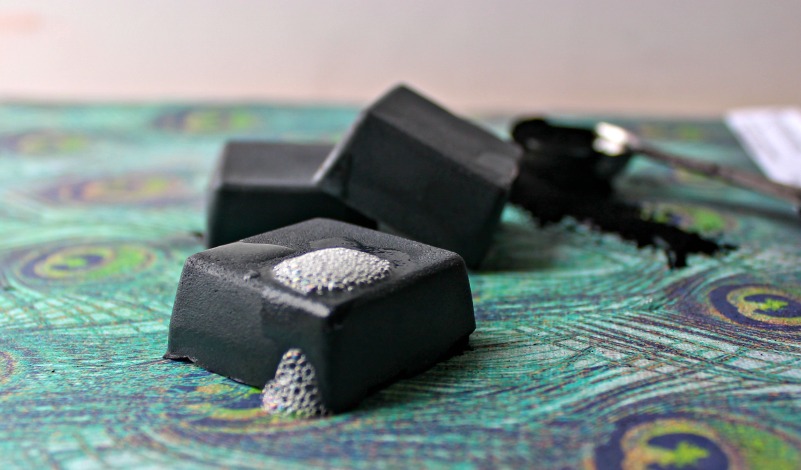
Step 4: Cool Balm then Cap.
Let the balms cool at room temperature until they are fully cooled off and solidified. Feel the bottom center of the containers after about 30 to 45 minutes to test them.
Once they are totally cooled off, you can put the lids on. Do not put the lids on before it’s cool or you’ll end up with condensation.
Tips for Making & Using Sore Muscle Relief Balm
If you’re new to making essential oil balms, these tips will answer your questions about ingredients, substitutions and more.
1. How To Use Your Muscle Rub
- Take a pea-sized amount of your essential oil balm and massage it into any area that is sore or uncomfortable.
- Reapply as often as needed.
Would you like to save this?
2. Benefits of the base ingredients?
If you haven’t tried them before, balms are an effective method for applying essential oils to your skin. They stay put longer than if you use diluted essential oils straight on your skin. The beeswax helps it stay even longer than a roller bottle.
3. What oils can be substituted for sweet almond and coconut oil?
You can use any carrier oil when making homemade balms. Some popular options besides sweet almond oil and coconut oil are are olive oil, jojoba oil and grapeseed oil.
Read my blog post on using carrier oils for help deciding which ones are ideal for your needs.
4. Which essential oils are best?
This recipe calls for 4 essential oils: spearmint, wintergreen, peppermint and frankincense.
Lately, I have been buying my essential oils from Rocky Mountain Oils for a few reasons:
- The scent lasts longer than other brands I’ve tried.
- Wide selection, including my favorite essential oils plus unique blends.
- No need to join or pay for a membership (but you can earn rewards)!
If you plan to make DIY beauty products on a regular basis, check out the Rocky Mountain Oils Essentials Kit if you want just a few oils to get started.
You can use my free guide to choosing the right essential oils for your homemade beauty products to learn new ways to use them in your creations.
5. What’s the dilution ratio of this recipe?
As written, this essential oil balm recipe has a 2% dilution ratio. If you cut the drops in half, you’ll have a 1% dilution ratio.
Learn more about diluting essential oils for safety.
6. Where to buy beeswax?
It’s important to make sure you choose a high quality, natural beeswax if you plan to use it on your skin. I like to buy my beeswax from Mountain Rose Herbs since it’s high quality and has no “extra” ingredients added to it.
I use it to make all of my homemade beauty products and in my DIY beeswax candles.
7. Vegan substitutions for beeswax?
Carnauba wax is one vegan wax substitute that’s about 20% firmer than beeswax. Since this recipe calls 2 tablespoons of beeswax pastilles, you’d use about 4 ¾ teaspoons or 1 ½ tablespoons of carnauba wax.
Emulsifying wax is another vegan option and it’s typically used in the same ratios as beeswax. Our DIY Basil Face Cream also uses emulsifying wax.
8. What size of containers is best?
My preference is using 1-ounce containers to make muscle rub. That way I can keep one on my nightstand, in my purse, in the car and in the bathroom. That way, there’s always a container within reach.
How to Make a Muscle Rub
Supplies
- ¼ cup coconut oil
- ¼ cup sweet almond oil
- 2 tablespoons beeswax pastilles
- 15 drops spearmint essential oil
- 15 drops wintergreen essential oil
- 15 drops peppermint essential oil
- 15 drops frankincense essential oil
Tools
- Measuring cups and spoons
- Double Boiler
- Five 1-ounce balm containers
Instructions
- Add the beeswax, coconut oil and sweet almond oil your double boiler on medium heat, and stir frequently until melted.
- Remove from heat and add in the essential oils.
- Fill your containers to just below the rim.
- Let the balms cool at room temperature with the lids off until they are fully cooled off and solidified. It normally takes about 30 to 45 minutes. Once they fully cooled, put the lids on.


Love this recipe idea. Definitely going to try it out as I’m getting back into my workout routine next week after taking time off postpartum. I have a feeling my muscles will need some help! 🙂 Thanks for the info!
Thank you! Good luck getting back into your workout routine. I hope it goes well. 🙂
This was so easy, everything worked out, I was surprised! Thank you for the recipe, I finally gathered everything I needed. The balm, set up fine, that was my main concern. It turned out great. Thing is nobody has any discomfort, so I don’t know if it works! Next I hope to find skin lotions I can make! –
I’m so glad to hear it came out for you! Have you tried making body butter? It’s an easier skin moisturizer to start with than lotion: DIY Body Butter
I have lots of pain I could try it on for you!! Where did you get spearmint and wintergreen essential oils?
Hello, would this recipe still keep its consistency if I wanted to add other essential oils in addition to the 2 listed here? I wanted to use 4 different types of essential oils in the recipe. Thank you for sharing! 🙂
Hi Gabriel, since drops of essential oil are so small, it shouldn’t be an issue to add a couple more of your favorites as far as consistency goes. Just make sure you’re keeping a safe dilution ratio. 🙂
Need this after working out this week.