Jump to Directions
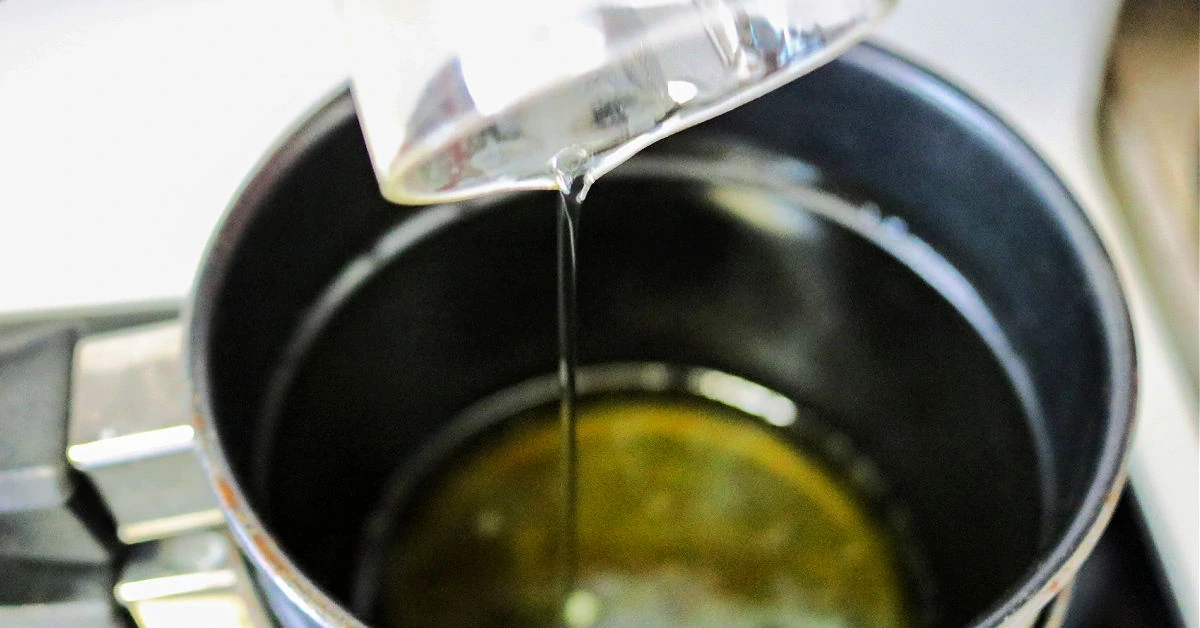
Learning how to make your own natural headache balm is an easy way to get quick relief for head tension when you need it.
Our homemade recipe uses only natural ingredients like beeswax, nourishing oils and a powerful combination of essential oils to help with all kinds of headaches.
I like to make this recipe in small batches because a little really goes a long way, so it lasts a long time.
- Supplies
- Tools
- By the Numbers: How to Make Headache Balm.
- Tips for Making & Using Headache Balm
- 1. How to Use Headache Balm.
- 2. What types of headaches is this good for?
- 3. Benefits of the base ingredients?
- 4. What size of containers is best?
- 5. What substitutions can be made?
- 6. What’s the dilution ratio of this recipe?
- 7. How to store headache balm?
- 8. What's the best essential oil brand?
- 9. Best place to buy beeswax?
- 10. Where to buy headache balm instead?
- 11. Other recipes for headache relief?
- Easy Headache Balm Recipe
- Popular DIY Beauty Recipes
Supplies
- ¼ cup of coconut oil
- ¼ cup of sweet almond oil
- 2 tablespoons of beeswax pastilles
- 15 drops of frankincense essential oil
- 15 drops of peppermint essential oil
- 10 drops of spearmint essential oil
- 10 drops of lavender essential oil
- 10 drops of basil essential oil
Tools
- Double Boiler
- Small containers with lids
- Measuring spoons
- Mixing spoon
By the Numbers: How to Make Headache Balm.
Follow these simple step-by-step directions to learn how to make your own headache balm at home.
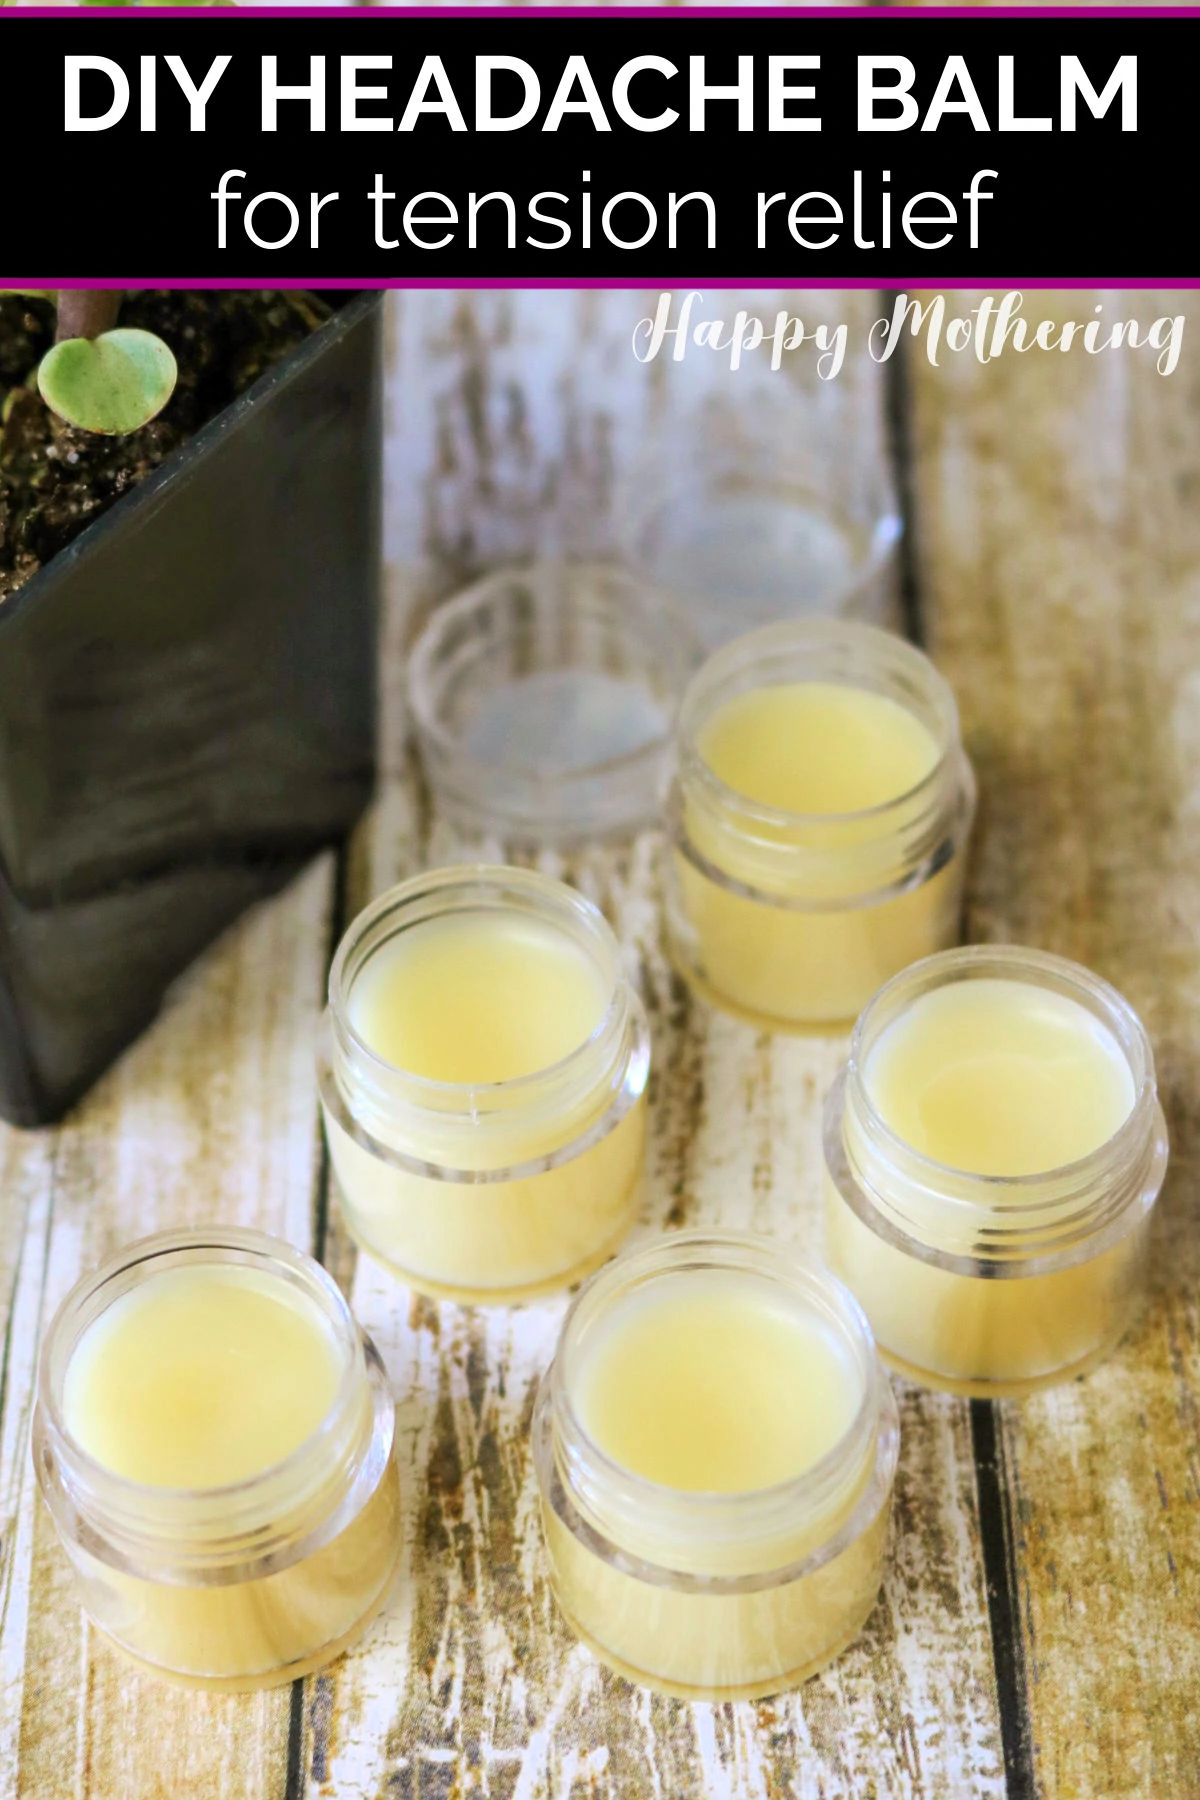
Step 1: Prepare Your Balm Containers.
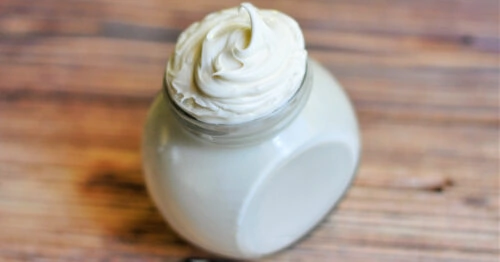
The first step is to line all of your balm containers up on your counter with the lids off. You want to pick a place where you won’t need to move them to cool after pouring the balm into them.
While I used half-ounce containers in the pictures, you can really choose any size containers you want.
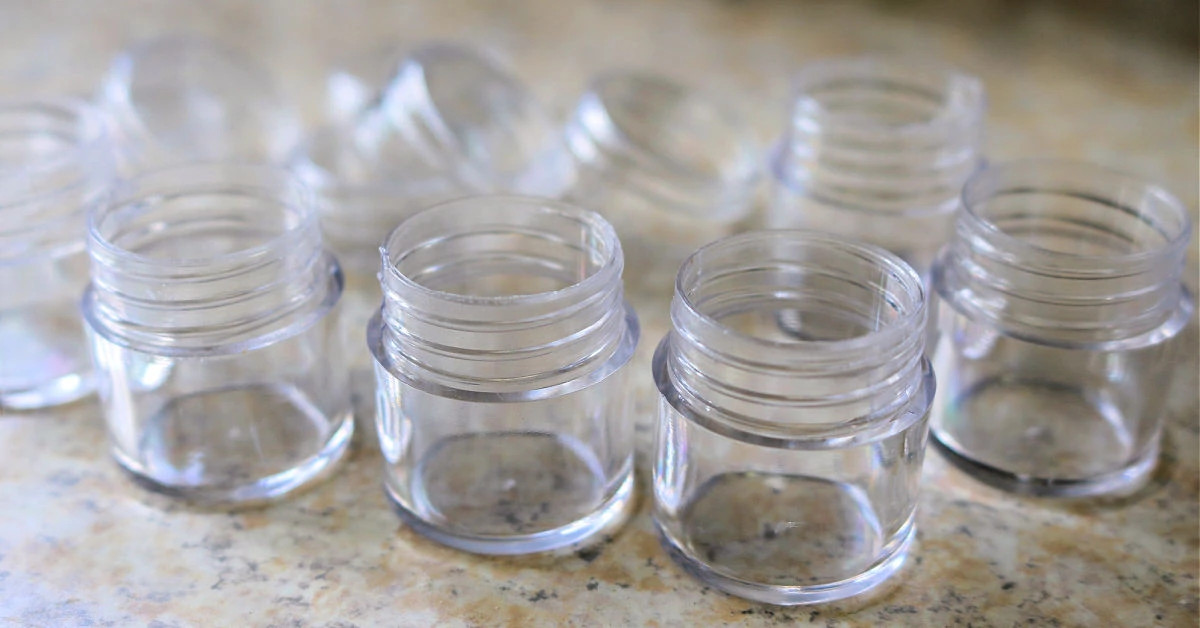
Step 2: Melt the Oil and Beeswax.
Once your containers are all set up, it’s time to melt the oil and beeswax. Add water to the bottom half of your double boiler (you don’t want it touching the top pan) and turn your stove onto medium-low heat.
Measure out ¼ cup of sweet almond oil, ¼ cup of coconut oil and 2 tablespoons of beeswax and add it to the top half of your double boiler pan. As soon as it starts to melt, you’ll want to stir it frequently, so it melts evenly without scorching.
Remove your double boiler from the heat and allow your balm base to cool slightly (but not harden).
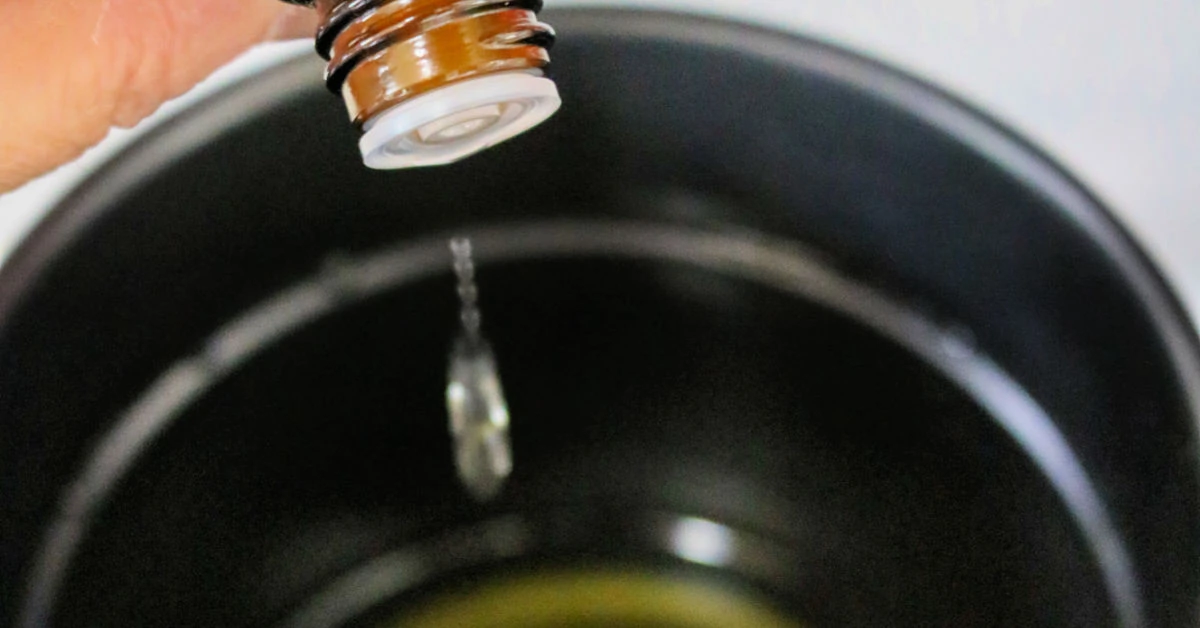
Step 3: Add Essential Oils.
Once the mixture has cooled slightly, it’s time to add in your essential oils. You’ll want to add 15 drops of frankincense oil; 15 drops of peppermint oil; 10 drops of spearmint oil; 10 drops of lavender oil and 10 drops of basil oil to the base ingredients.
Be careful not to over pour them, as most of these oils are runny in texture. Stir well.
Step 4: Fill Your Containers.
Pour your headache balm into the containers you prepared before we got started. Be sure to pour slowly and carefully, filling your containers just a bit below the top edge of the jar. Repeat this process until you’ve filled all of your chosen containers.
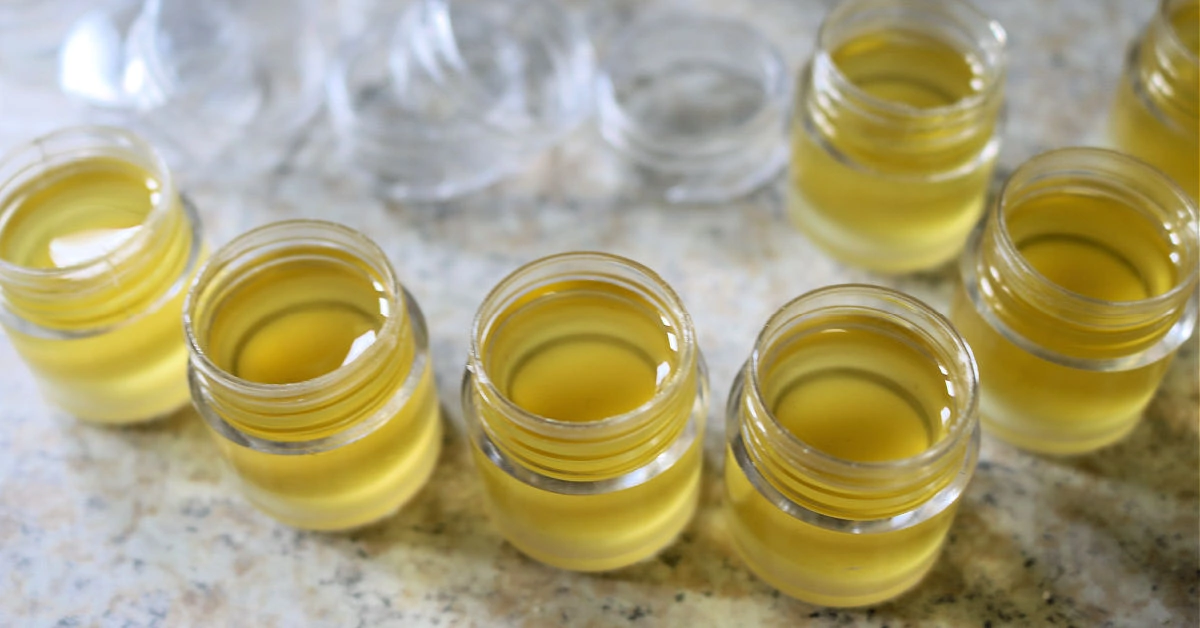
Tip: While you’re filling containers, you can keep the heat on the pan very low in case you need it to soften up the balm. It does set up quickly and sometimes while pouring you may need to put the pan back on the warm water for a few minutes to re-melt the mixture if you don’t move quickly enough.
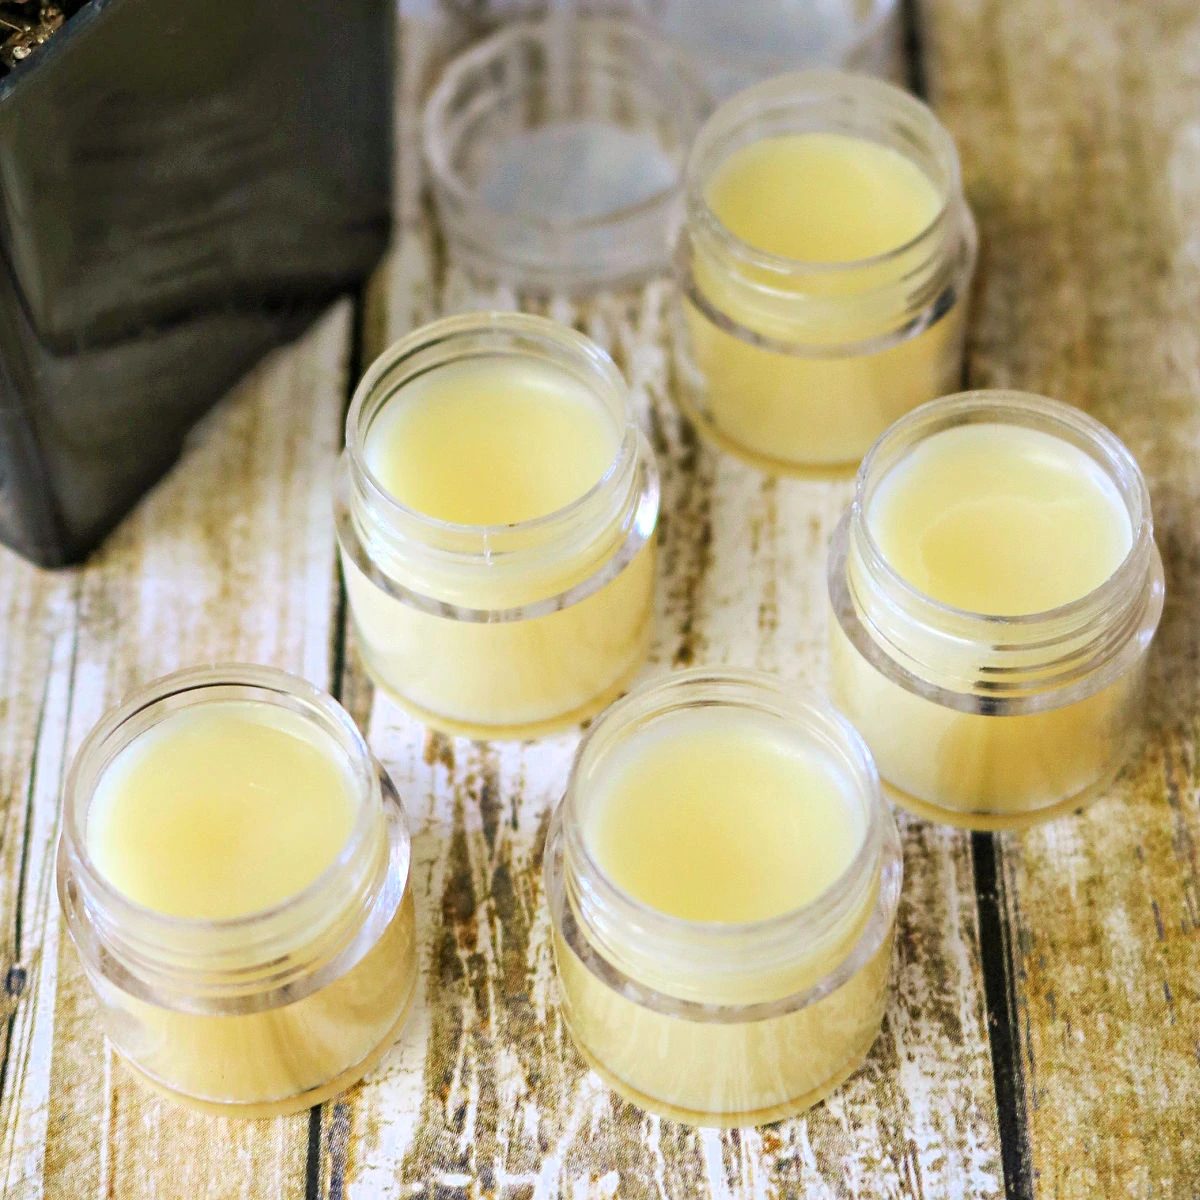
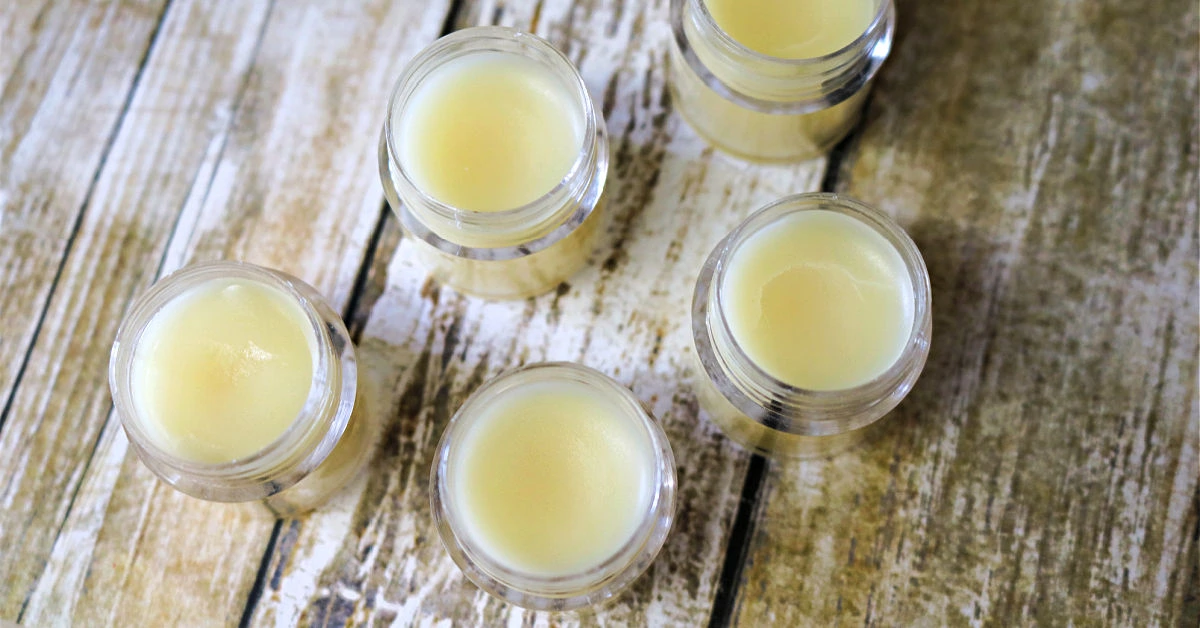
Step 5: Cool Your Headache Balm.
All you have to do now is allow your headache relief balm to cool completely. For the small half-ounce containers, this usually takes 30-45 minutes, but this will take longer for larger containers.
To tell if they’re totally cooled, feel the bottom center of each jar to see if it’s completely cooled. If they’re all cool, you can place the lids on them and they’re ready to use for natural headache relief.

Tips for Making & Using Headache Balm
1. How to Use Headache Balm.
- Apply a small amount over the back of your neck or any area of muscle tension or stress, and massage in all the way.
- Rub headache balm into temples and down the hair line at the first sign of a headache.
- Layer with essential oils of peppermint, lavender and/or frankincense for more tension relief.
2. What types of headaches is this good for?
You can use this home remedy for mild headaches of all types including tension headaches, sinus headaches, allergy headaches and more.
3. Benefits of the base ingredients?
Balms can be a very effective way to apply essential oils to your body. They work well because you not only get the benefits of the base ingredients in addition to the essential oils, but they stay put on your body longer than if you used just the essential oil straight on the skin. The beeswax helps it stay even longer than a roller bottle.
4. What size of containers is best?
I like to use half-ounce containers so I can keep one in my purse, on my nightstand, in the car and in the bathroom. That way, there’s always a container of homemade headache balm within reach and I still have plenty to gift.
5. What substitutions can be made?
a. Sweet almond oil substitutions?
You can substitute pretty much any carrier oil for the sweet almond oil. Some of the many great choices include extra virgin olive oil, jojoba oil, castor oil, avocado oil, grapeseed oil, fractionated coconut oil, sunflower oil and apricot kernel oil.
Learn more about why you’d choose each of these oils as a substitution in my Guide to Carrier Oils.
b. Coconut oil substitutions?
You can use any of the same oils in place of coconut oil as you can with sweet almond oil. In addition, you can also substitute cocoa butter or shea butter.
c. Essential oils substitutions?
Our unique blend of essential oils is designed to bring immediate relief to head tension and aches. I don’t recommend leaving out any of the oils, but if you don’t have one on hand, the rest should still provide pretty good pain relief.
d. Vegan substitutions for beeswax?
One vegan wax alternative to try is carnauba wax, which is about 20% firmer than beeswax. Since this recipe calls 2 tablespoons of beeswax pastilles, you’d use about 4 ¾ teaspoons or 1 ½ tablespoons of carnauba wax.
Another vegan option is emulsifying wax, which is usually used in the same ratios as beeswax.
e. Can menthol crystals be added?
I personally don’t work with menthol, and I wouldn’t put such a powerful ingredient near my eye area.
6. What’s the dilution ratio of this recipe?
This recipe has a 2% essential oil dilution ratio. Cut the drops in half for a 1% dilution ratio. Learn more about diluting essential oils for safety.
7. How to store headache balm?
It’s best to store each container of balm in a cool, dry place. If there’s too much heat, it will melt. You can keep a small jar in the fridge during the summer months for an extra cooling sensation.
Most homemade balms will last for 3-6 months. Their shelf life is dependent upon the expiration date of the coconut and sweet almond oils as well as their exposure to sunlight and water.
8. What’s the best essential oil brand?
I’ve used about a dozen different essential oil brands over the years, and my current favorite is Rocky Mountain Oils. They have super high quality essential oils that have long-lasting scents to them and you don’t need a membership to order.
They also have an essential oil blend that’s specifically formulated for headaches. You can substitute 60 drops of this blend in place of the individual oils in this recipe.
9. Best place to buy beeswax?
Not all beeswax is created equal. You want to make sure you’re using a high quality, natural beeswax when you’re using it on your skin.
Both beeswax pastilles and wax grated from a bar work for this recipe. I prefer to buy beeswax from Mountain Rose Herbs because I know it’s high quality and doesn’t have any “extra” ingredients added.
I use it in all of my beauty products as well as my homemade beeswax candles.
10. Where to buy headache balm instead?
If you don’t have all of the supplies on hand to make this natural remedy for headaches, you can also purchase a headache balm. I love to shop for products like this Headache Balm on Etsy. Some other popular store bought brands are Wild Thera and Tiger Balm.
11. Other recipes for headache relief?
If you like this balm, be sure to check out my tutorial for making DIY Tension Relief Bath Bombs.
Easy Headache Balm Recipe
Supplies
- ¼ cup coconut oil
- ¼ cup sweet almond oil
- 2 tablespoons beeswax pastilles
- 15 drops frankincense essential oil
- 15 drops peppermint essential oil
- 10 drops spearmint essential oil
- 10 drops lavender essential oil
- 10 drops basil essential oil
Tools
- Double Boiler
- Small containers with lids (to hold about 5 ounces of balm)
- Measuring spoons
- Mixing spoon
- Labels and marker if desired
Instructions
- Start by lining up your containers with the lids removed, so it’s easy to pour your headache balm into them once it’s done. Half-ounce containers are pictured.

- Fill the bottom half of your double boiler with water and turn your stove on medium-low heat. Place the beeswax, sweet almond oil and coconut oil in the top half of the double boiler. Heat until melted, stirring frequently.
- Remove the pan from the heat and allow it to cool slightly (but not harden). Then, add in your essential oils and stir to combine.
- Pour your headache balm into containers slowly, filling a bit below the top edge. Repeat until all of your containers are full.
- Now, leave the containers at room temperature on your counter to cool fully. This will take about 30 to 45 minutes. Feel the bottom center to see if it has cooled all the way. If it has, you can place the lids on them and your headache and tension relief balm is ready to use.
Popular DIY Beauty Recipes
DIY Honey Face Wash
DIY Lip Scrub with Whipped Sugar
How to Make Foaming Hand Soap
DIY Pop Rocks Fizzing Bath Salts
DIY Whipped Face Cream
Nice. Suggestion: Can we use Camphor in this balm and how much can be use if its ok to add.
I have not worked with camphor and I’m not sure I’d want it in a product that may go near my eyes. If you do want to add it because you won’t be using this balm near your eyes, the dilution of camphor needs to be less than 11%.
This looks so good! What a great natural remedy to have ready for when those conditions come along!
Thank you! I hope you find it useful!
What can I use in place of coconut oil? My friend is allergic to coconut. I’ve read you can substitute grape seed oil but will the bees wax be enough to set this balm?
You can substitute your favorite carrier oil – be sure to check out my post on the Best Carrier Oils for Essential Oils to learn about the properties and benefits of each option.
Thanks for sharing! Does it keep long?
You’re welcome. Balms usually have a pretty good shelf life as long as they’re not exposed to water or other contaminants. The carrier oils will go bad before the essential oils, and you can usually smell that.
Hi. Can I leave out a couple of the essential oils and us a little more of the others? I don’t have the basil or frankincense. Thank you.
Hi Leanne, yes, it’s not necessary to use all of the essential oils listed, but the scent will be different.
Thank you so much. Going to try some.
I really need to try this one. Thanks!
You’re welcome – enjoy!
Great Natural remedy. Lots of information. Thank you.
My daughter has an allergy to tree nuts can I omit the almond oil? She has hormonal headaches that get out of hand and make her nauseas at the same time.
Hi Andrea, you can substitute pretty much any carrier oil in place of almond oil. If you need help choosing one, read my post on how to dilute essential oils with carrier oils.
Can you substitute babassu oil in place of the coconut oil? I have a coconut allergy but am fine with babassu.
Thank you for sharing.
I’ve never used babassu oil myself, but you should be able to use any skin-safe carrier oil in place of coconut oil.
I need this right now. I’ll have to get this made.
I hope it works well for you!
I am so happy I f I und this recipe. Dealing with a lot of stress at work right now and I am pretty prone to tension headaches. I made this up tonight and I have to say it works wonderfully! Thank you so much for sharing! This will make the next few stress filled work weeks much more bearable!!
I’m so glad to hear it’s helping you Courtney!
I need to make this.
Would this work well in lip balm tubes? Or would it be too soft?
You can add a bit more beeswax to make it firm enough.
I need to make this for my mom.
I need to make this. Fighting a headache from working out.