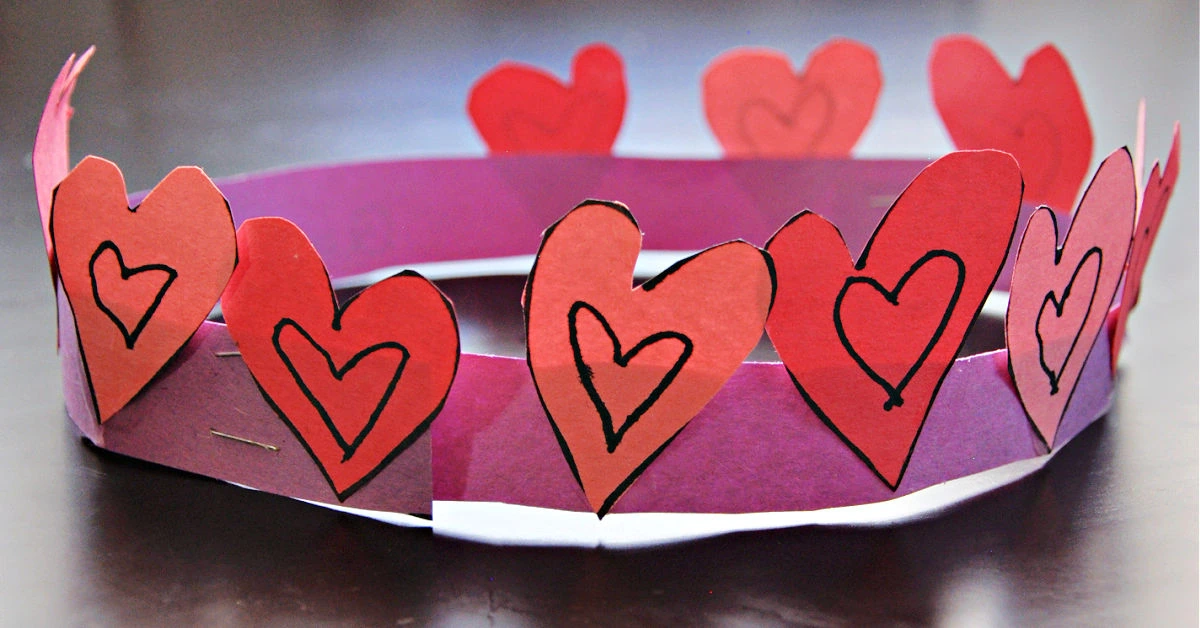
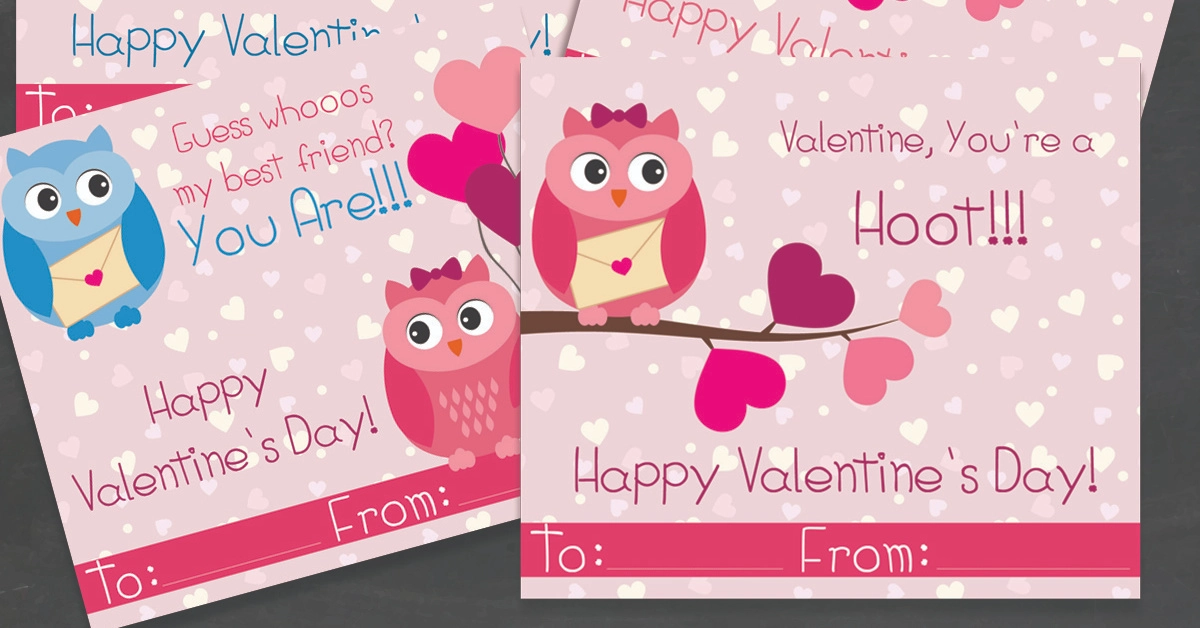
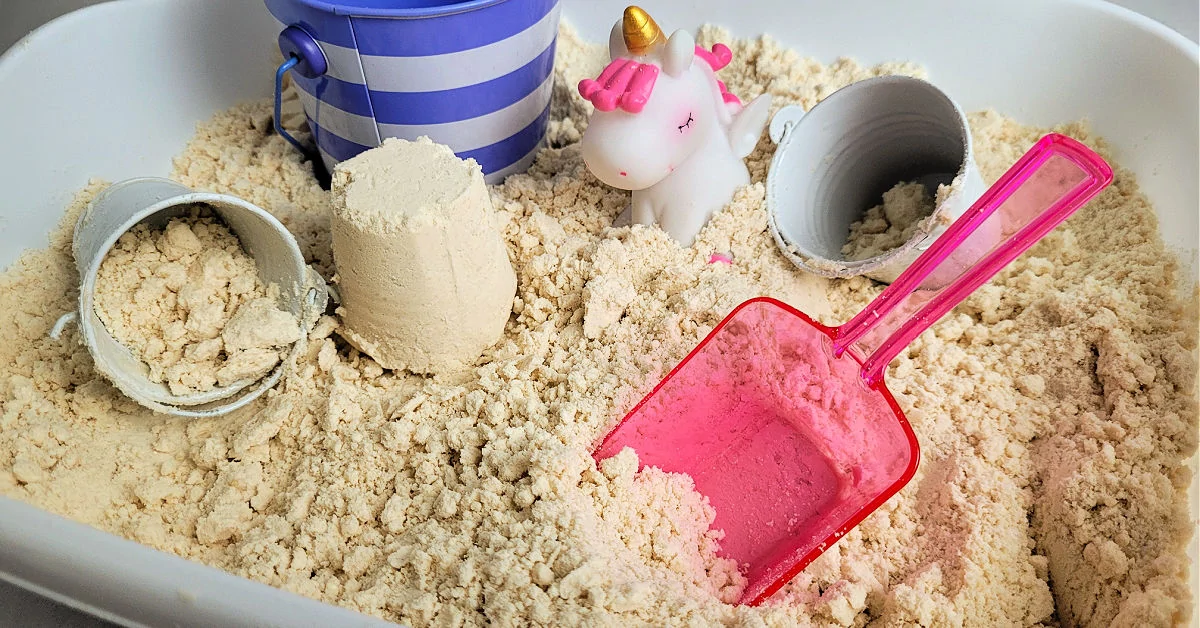
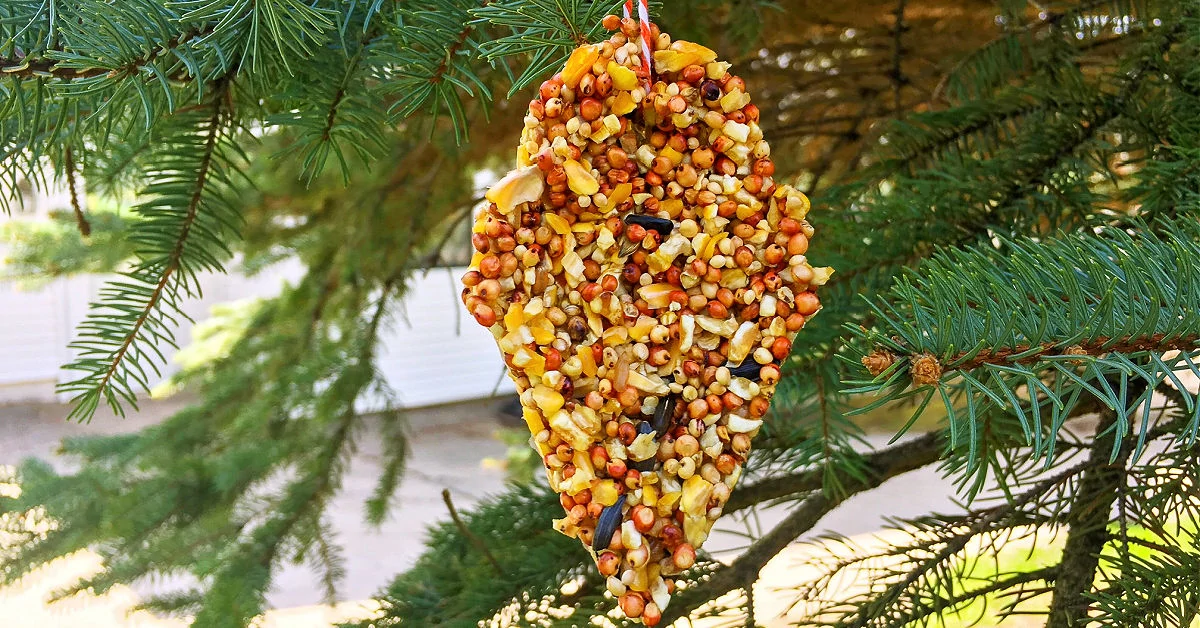
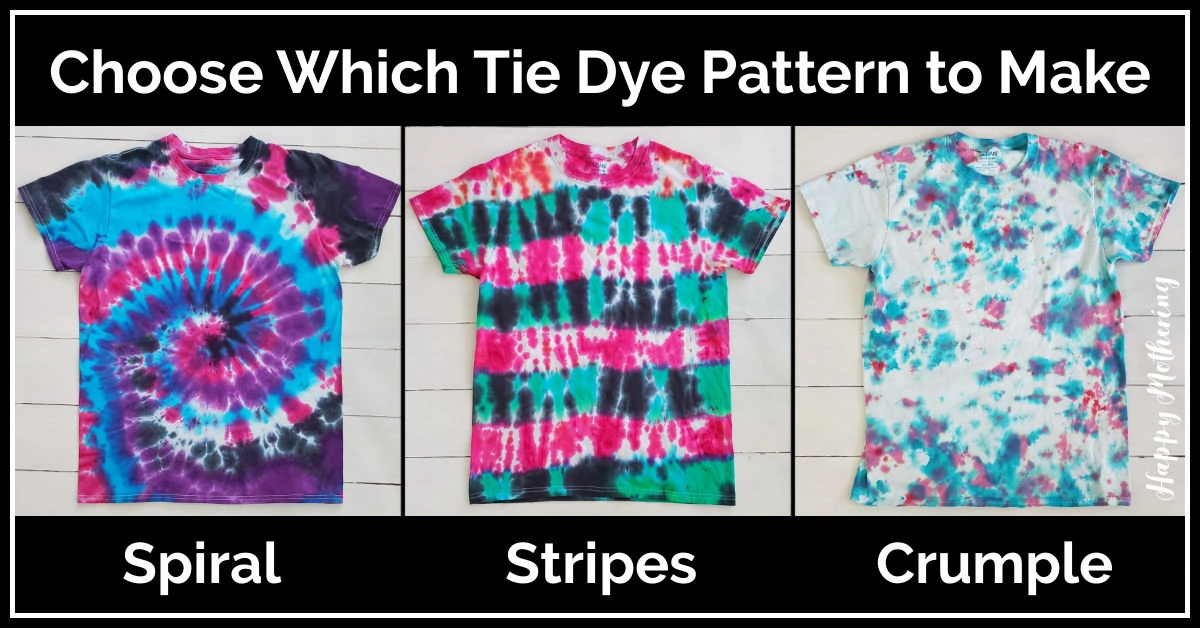
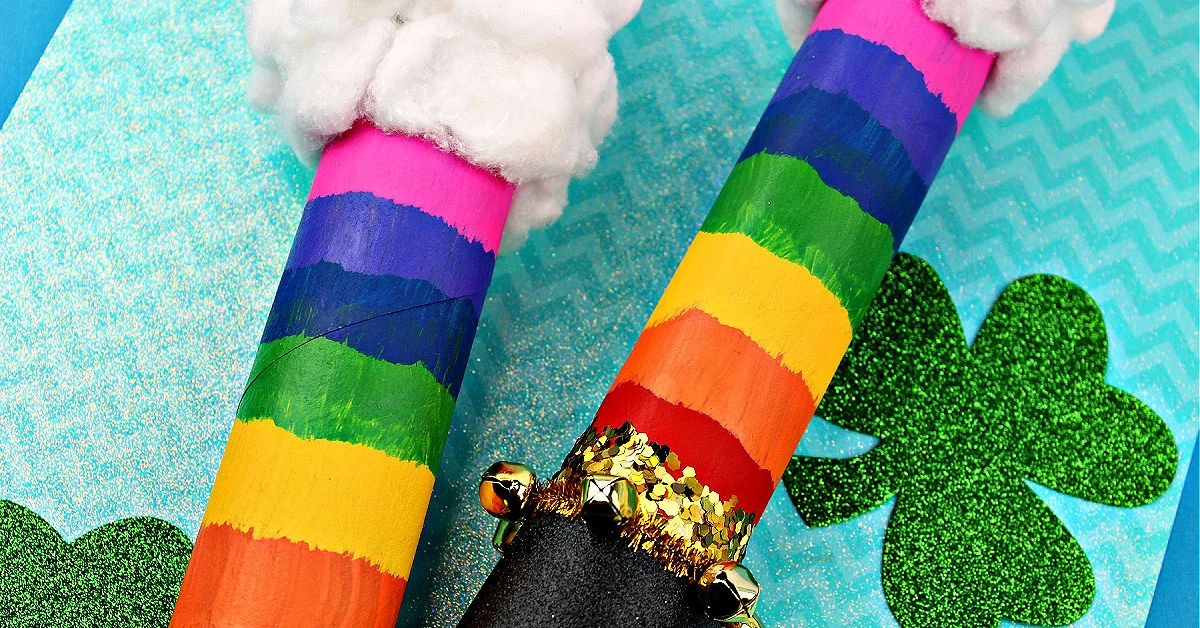
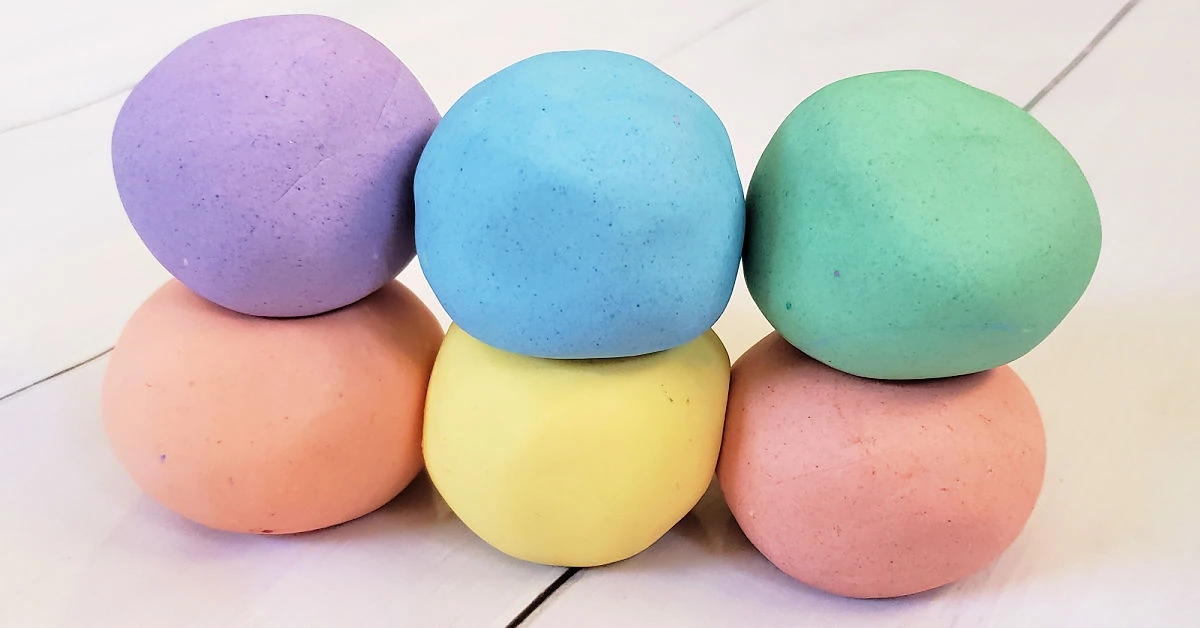
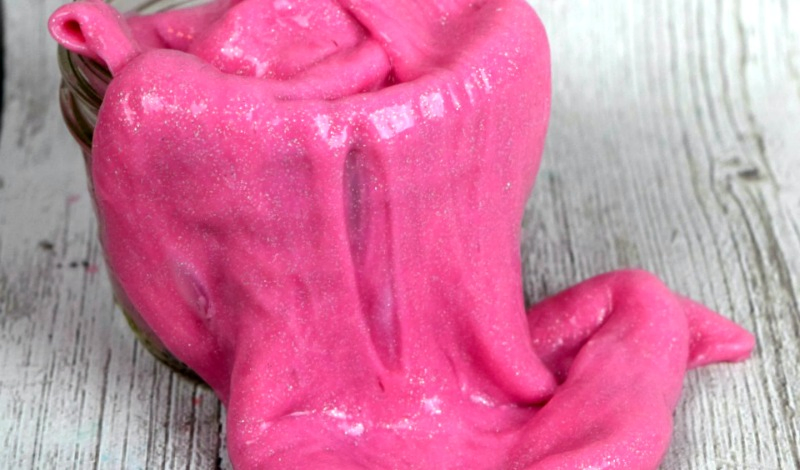
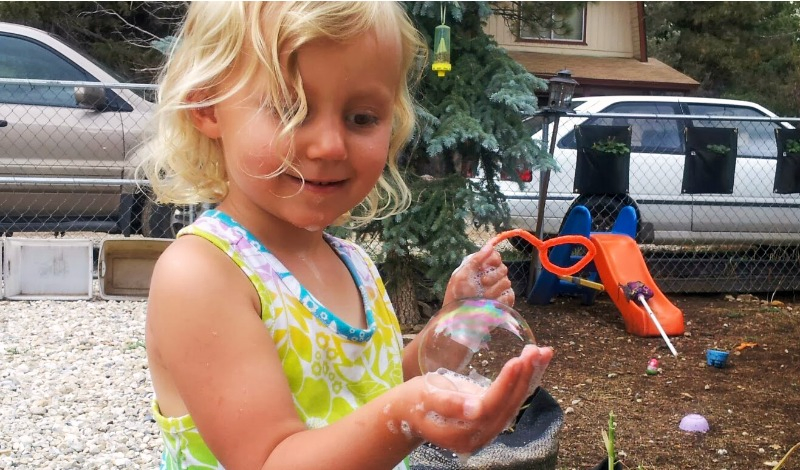
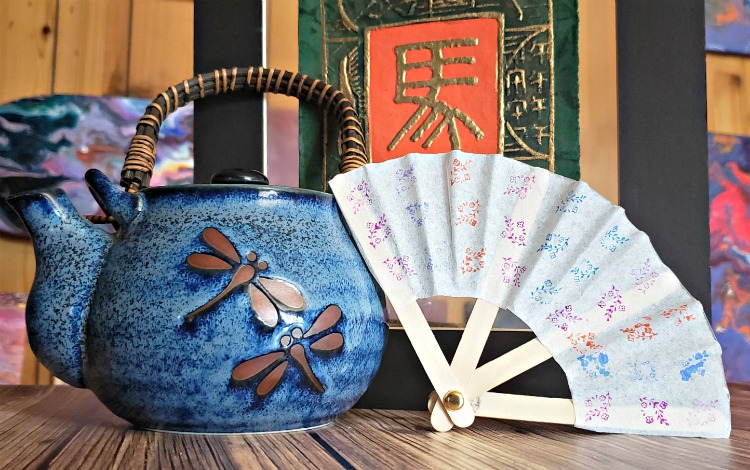
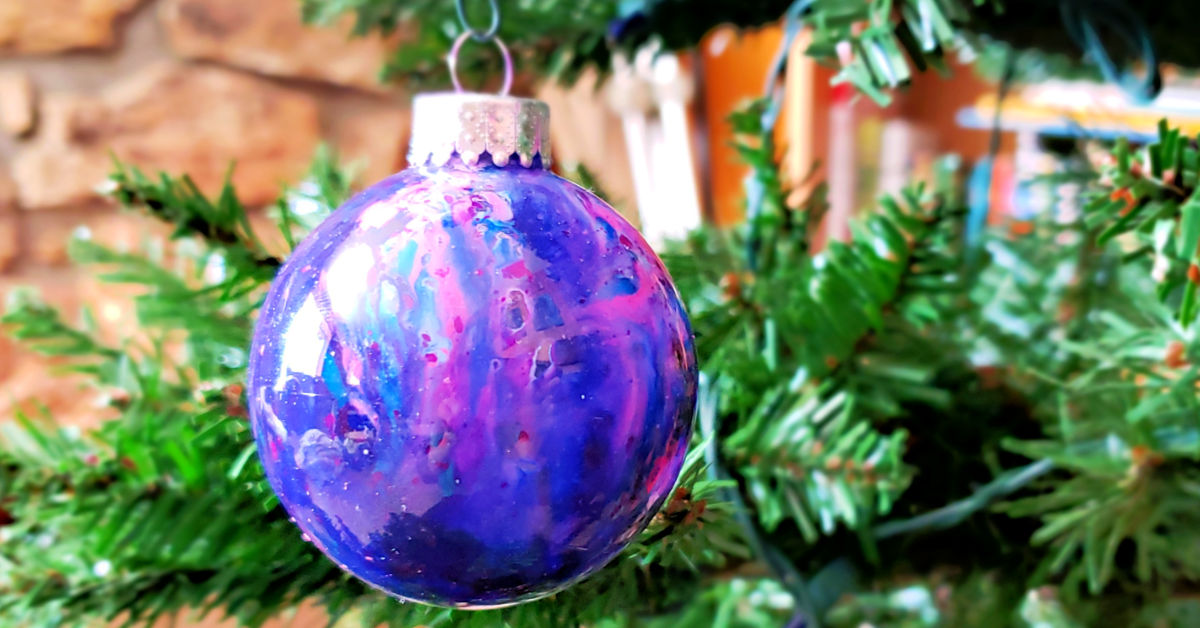
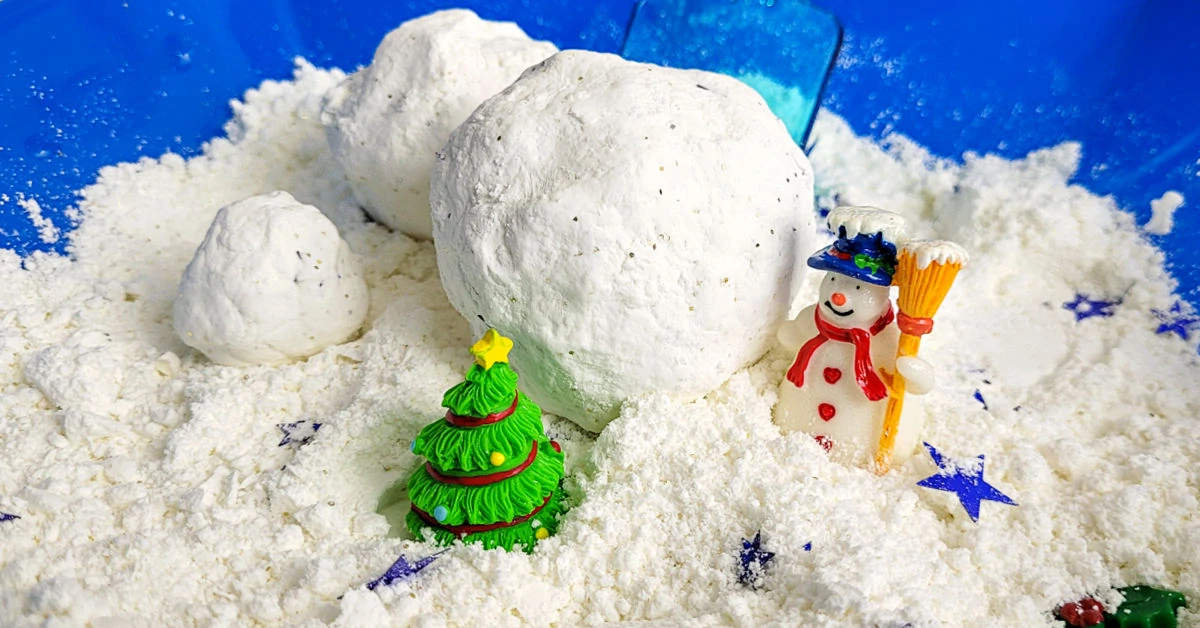
Jump to Directions
Thank you to Amazon for sponsoring this cute DIY Needle and Thread Halloween Boxtume tutorial. Keep reading to learn how to make this creative upcycled costume from Amazon boxes. It’s an easy, affordable and unique last minute costume idea.
It’s no secret that I’m an Amazon fanatic. They have saved me so many times since we’ve moved up into the mountains! Being able to have the things I need delivered to my home quickly rather than having to drive down the mountain every time I need to shop saves me so much time and money.
So when our last shipment arrived, my girls and I were talking about what we could make out of the boxes since we had so many of them. Because boxes are the best part, right? At least to kids anyhow. 😉
They are always making houses and cars and so many other creative things out of boxes. So, with Halloween coming up, we figured it could be fun to make a box costume – or “boxtume” as it’s being dubbed by Amazon.
We decided to make a DIY Needle and Thread Boxtume. Both Zoë and Kaylee are taking sewing classes right now (life skills are so important!), so we thought it would be fun to make our costume around that theme.
And what we came up with is pretty darn cute if I do say so myself. Of course I think the model helps a bit too.
DIY Needle and Thread Halloween Costume
Supplies
- Amazon Smile Boxes
- Chunky white yarn - or your favorite color
- Kraft paper tape - you could also use clear packing tape if that’s all you have on hand
- Clear tacky glue
- Stapler and staples
- Flyswatter
Tools
- Scissors
Instructions
- Start by taking your Amazon Prime box and rolling it tightly to create a round shape.
- Allow the box to uncoil a bit, then measure the box around your child (or whoever you’re making the costume for). You want to make the shape of a thread spool, which is a simple cylinder.
- Trim the cardboard with your scissors as needed. Use the Kraft paper tape to seal all of the cracks and holes to make your cylinder smooth.
- I used a second smaller box to brace the inside of the tube.
- Now have your child try on the costume, and measure out enough of the yarn to create suspenders to hold the costume on. I used staples to adhere them. Once you're happy with that, staple one end of the yarn to the box, leaving a couple inches from the edge. Tie a knot in the yarn so it stays in place (trim the tail and use a bit of glue to keep it from unraveling).
- Wrap the chunky yarn around the box as if it were the thread. Take your time and do it neatly. Every few rows, I recommend using the clear craft glue to adhere the yarn to the box. It’ll help you keep a neater appearance as your wind the yarn.
- Glue and staple the other end of the yarn to the box.
- Now you need to create your needle. I used an old fly swatter. Just remove the swatting part from the metal. Shape the metal like a needle, tie a couple feet of yarn to the end and you’re all set!
- Now you have a simple DIY Halloween costume that you made in about an hour – for a very reasonable price.