Jump to Directions

Homemade moon sand is one of my favorite sensory activities to keep kids busy. All you need are two simple ingredients to make your own moon sand with a moldable texture that little hands love.

In my attempts to keep the girls busy over the summer when they were younger, we made Moon Sand from 2 simple household ingredients: flour and oil. It’s a really fun outdoor activity that’s perfect for play time.
The reason I say outdoors is because Moon Sand is so much messier than real sand. My girls always had to change their clothes afterwards.
If the weather isn’t great and it’s raining or snowing, you can set up an old sheet in the kitchen and let your kids pretend they’re playing with beach sand to make cleanup a bit easier. The best part is they’ll have a great time with sensory play and you’ll get some free time.
Ingredients and Supplies
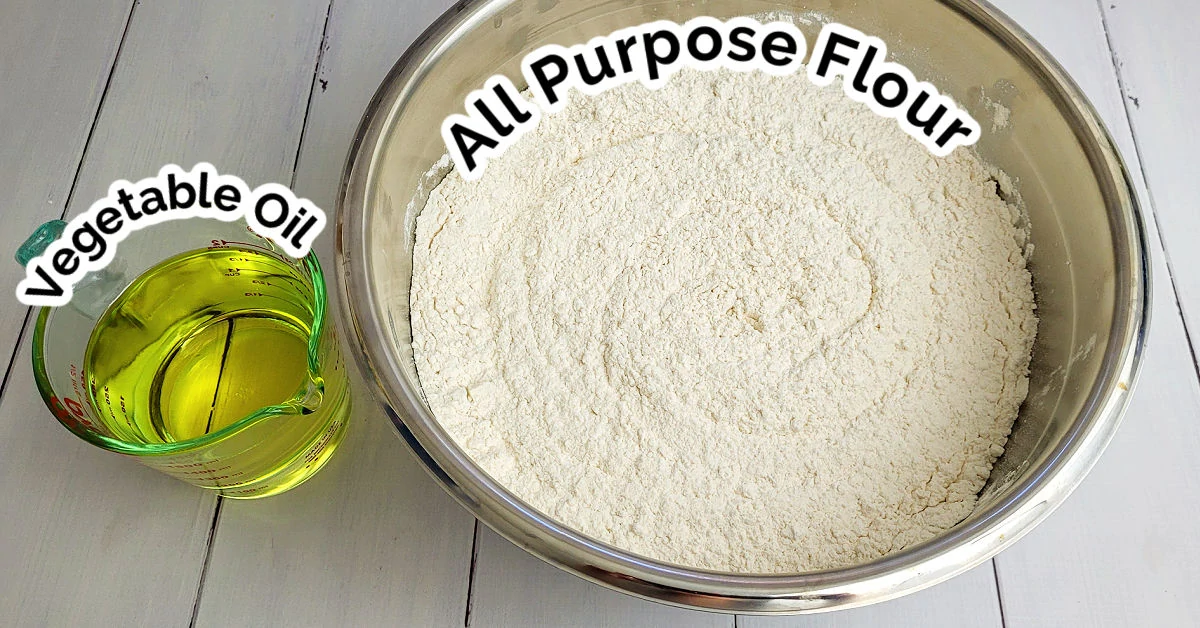
- 8 cups of flour
- 1 cup of oil
- Large mixing bowl
- Measuring cups
- Dough blender
- Tub or bin
By the Numbers: How to Make Moon Sand
Follow these simple step-by-step instructions to learn how to make this easy moon sand recipe for children of any age.
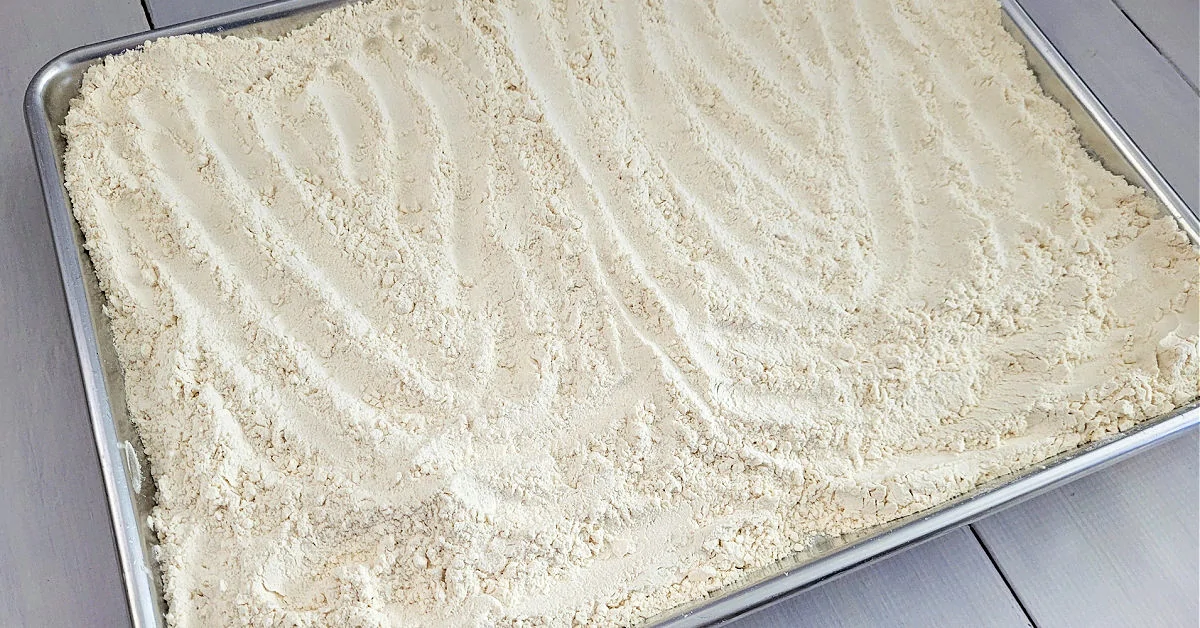
Step 1: Bake Flour
Pre-heat your oven to 350°F. While it’s preheating, spread the flour out on baking sheet… 8 cups fits perfectly on a half-sheet cake pan. When the oven reaches temperature, place the pan in the oven and bake for 5 minutes to kill any potentially harmful bacteria. Remove the pan from the oven and allow it to cool completely before making your moon sand.
Note: Raw flour is not edible, so if you want your moon sand to be taste-safe for your little ones, you’ll need to bake the flour first. If your kids don’t put things in their mouth, you can skip this step if you want to.
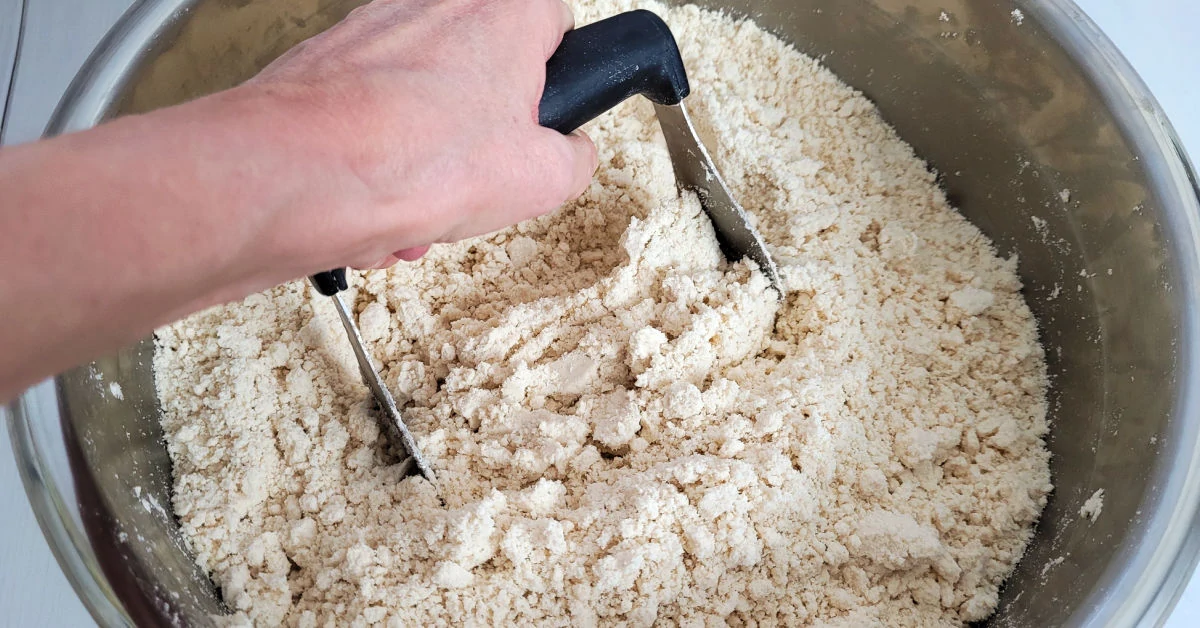
Step 2: Combine Flour and Oil
Put all 8 cups of the flour you baked into a large mixing bowl. Add 1 cup of vegetable oil and use a dough blender to combine the mixture. It will take quite a while, usually around 10 minutes or so.
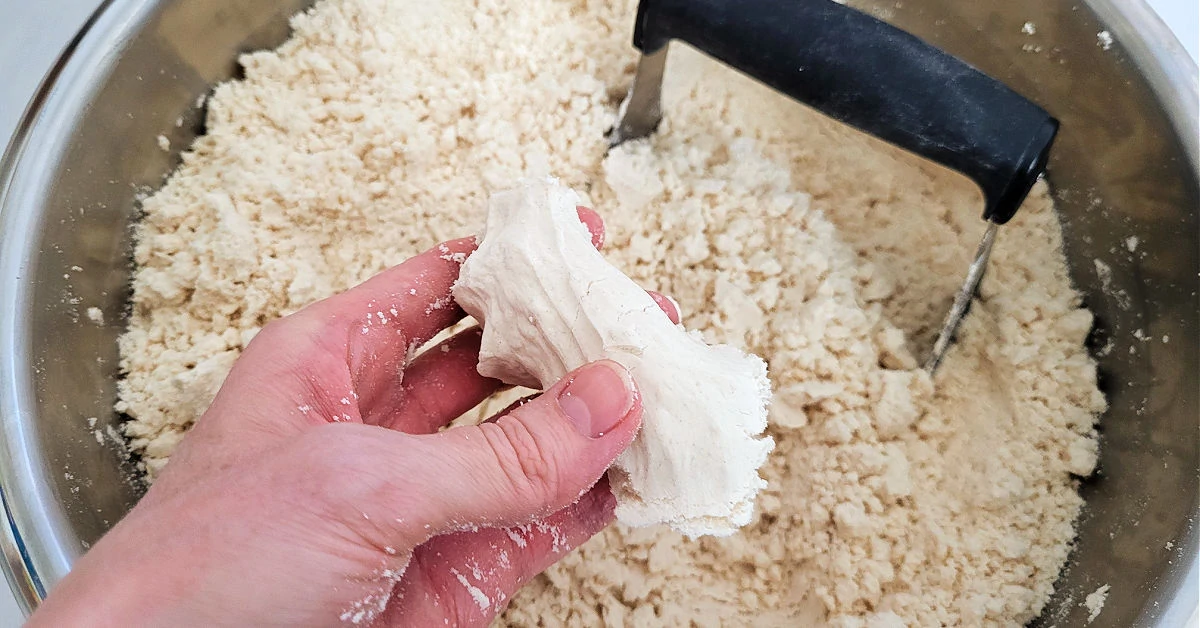
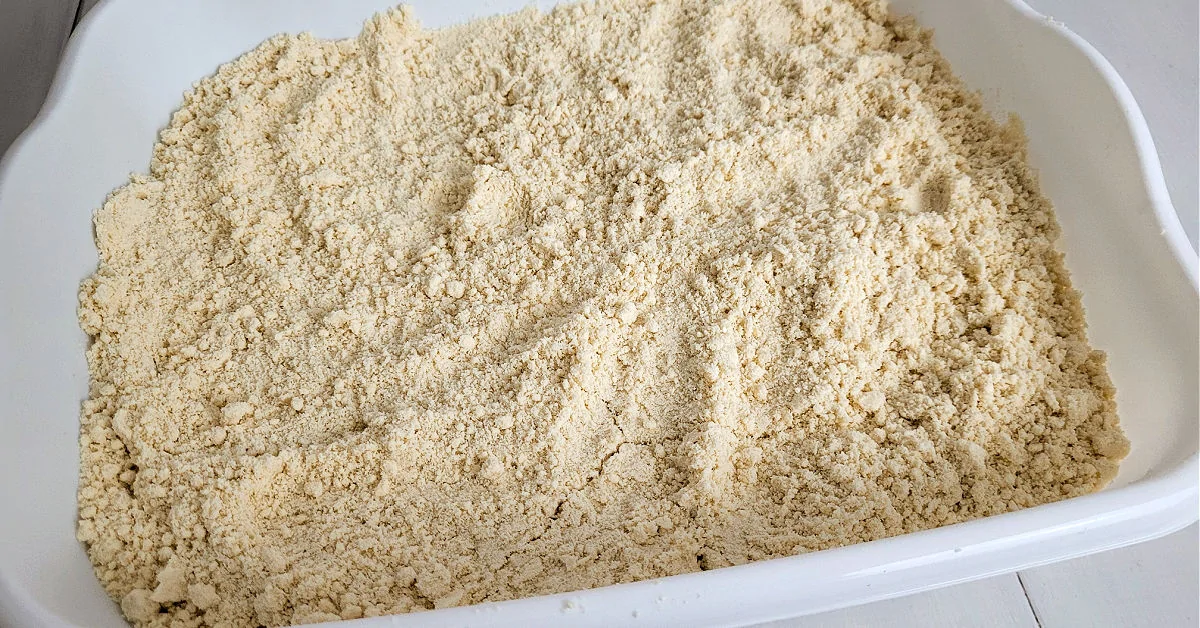
Step 3: Check the Consistency
When everything is completely and evenly incorporated, the sand should hold its form when you squeeze it, and easily break back up into sand.
If your mixture is too wet, add more flour. If it’s too dry and crumbles easily, add more oil. Make adjustments until it reaches the proper consistency.
Step 4: Put Moon Sand Into Tub
When you have a good consistency, transfer the moon sand mixture to a large container, tub or sand table.
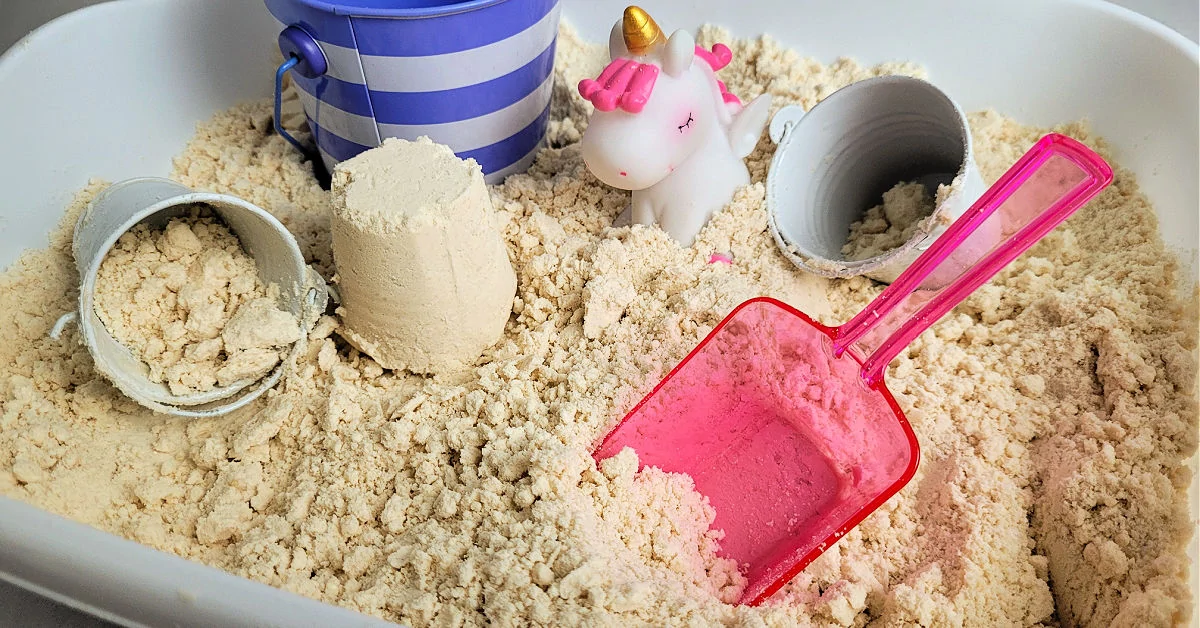
Step 5: Add Toys to Tub
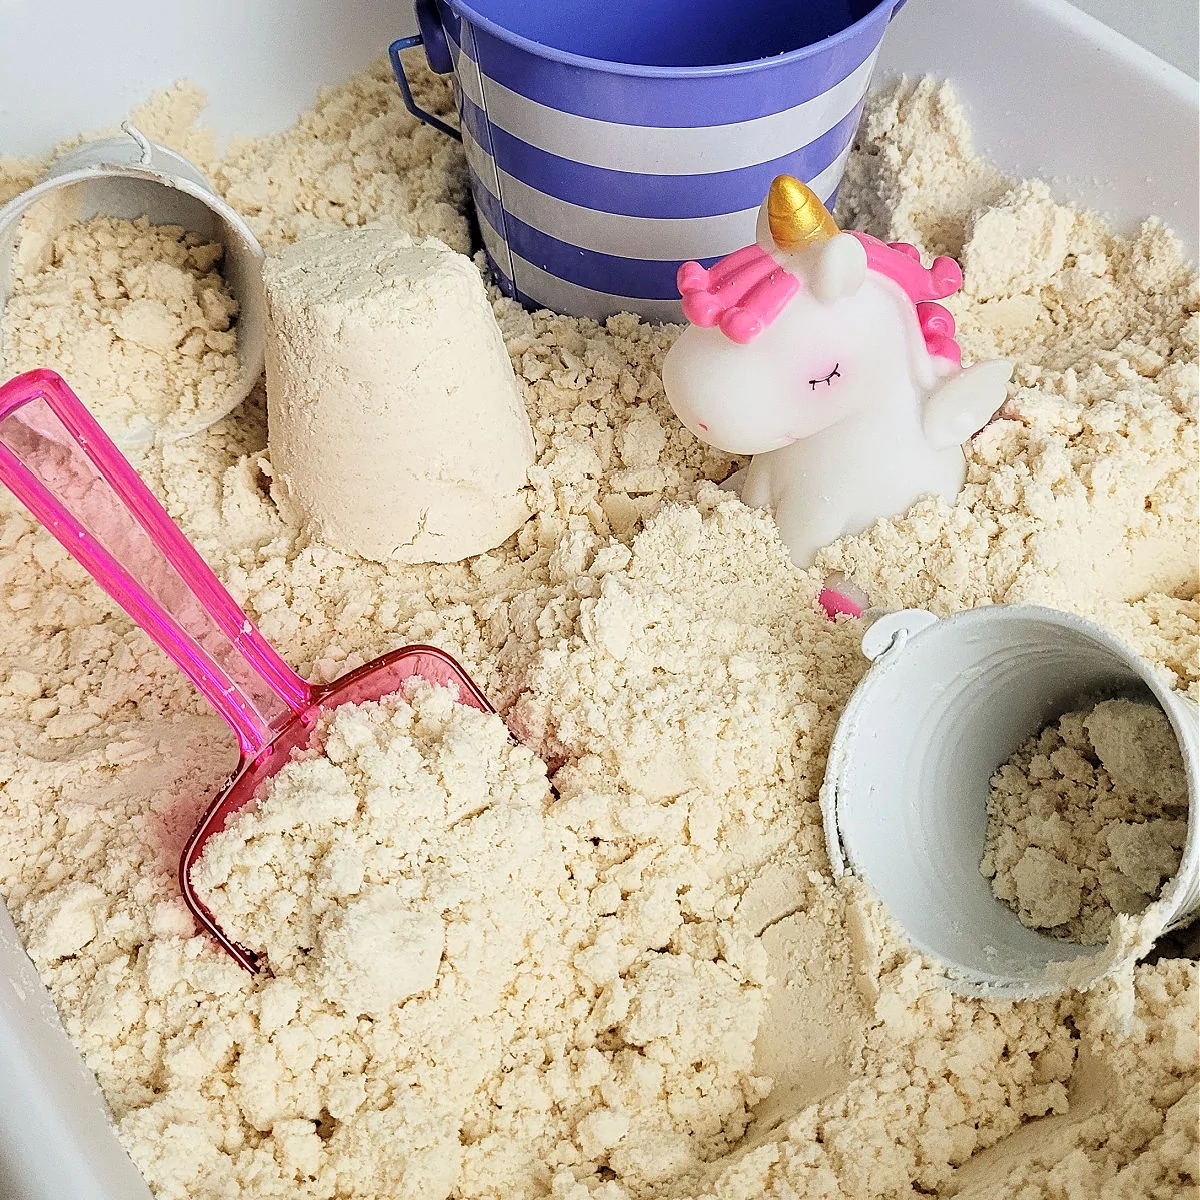
Once you’re happy with the amount of moon sand in your tub, you can create a fun sensory experience. Add toys, figurines, buckets, beach toys, measuring cups, shells, spoons, straws or other items to it. Then place it outside and let your children play freely with it.
Tips for Making and Using Moon Sand
Answers to all of your questions about making this taste safe moon sand recipe at home, including tips and substitution ideas.
Best type of oil to use
You can use any type of oil you like, although I don’t recommend solid coconut oil. If you want taste-safe moon sand, you’ll want to use an edible oil like vegetable oil, canola oil, olive oil or liquid coconut oil. Otherwise, baby oil works too (it’s what we used when we first started making moon sand)!
Tips for coloring moon sand
If you’re seeing tons of vibrant moon sand colors around the internet and wondering how it’s done, I’ve discovered that most of them are a different type of moon sand made from colored play sand, cornstarch and oil. Since these recipes use play sand, it’s not taste safe.
I’ve experimented with coloring moon sand and it’s difficult to get vibrant colors with all food-safe ingredients.
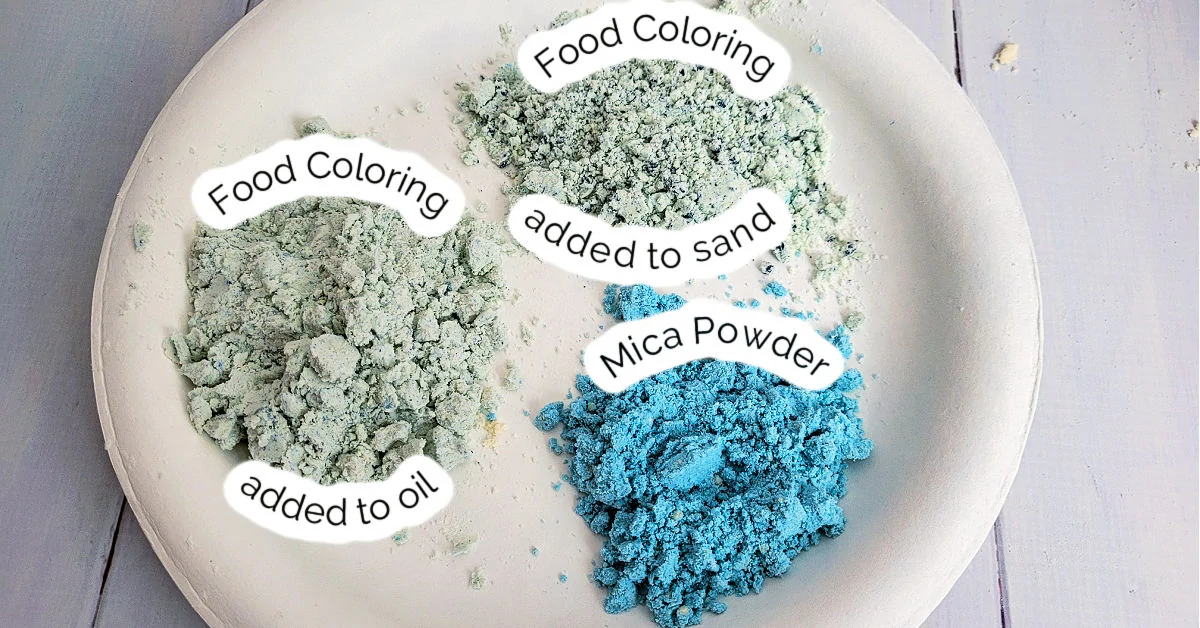
I’ve tried adding both regular and gel food coloring directly to moon sand and separately to the vegetable oil before combining it with the flour. Even using a whole bottle of regular food coloring isn’t enough to get great looking colors.
It’s because the moisture in moon sand comes from oil, which doesn’t mix well with water-based food coloring. You end up with small clumps of food coloring throughout the sand rather than an even color.
For a good taste safe option, some people have had success using Kool-Aid packets for coloring. And you may also be able to use powdered food coloring or an oil-based food coloring.
As far as coloring options that aren’t food safe, liquid soap colorant has the same issue as food coloring and does not work well. You could barely even see the color from the soap colorant when I tried it.
Mica powder gives the most vibrant, vivid colors out of anything we’ve tried, and you can add it directly to the prepared moon sand. Tempura paint powder would work as well. Just remember these ingredients aren’t taste safe, so use with caution if you have younger kids.
How to scent moon sand
Flavoring oils are the best choice for scenting moon sand for kids that are likely to try and eat it. That way, if they put it in their mouth, you know it’s something that’s already meant to be eaten.
You can use essential oils, but they aren’t recommended for ingesting so don’t use them if you want it to be taste safe. Be sure to add the essential oils to the vegetable oil so they’re properly diluted and only use kid-friendly oils.
Gluten-free moon sand option
If your little one has a gluten sensitivity or allergy, you can use gluten-free flour or corn starch in place of regular flour. You may have to play with the oil to flour ratio a bit to get a good consistency since every gluten-free flour has slightly different ingredients.
I recommend starting with the same 8:1 ratio of flour to water. Then you can adjust by adding more flour or oil, as needed, until you get the desired texture.
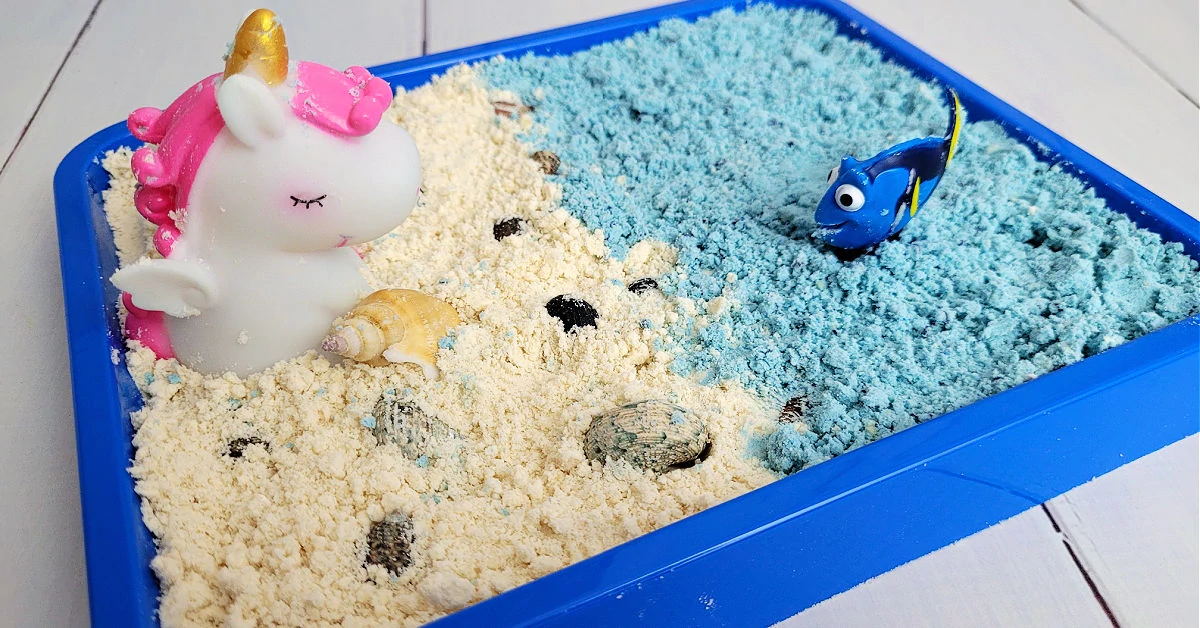
Sensory bin ideas
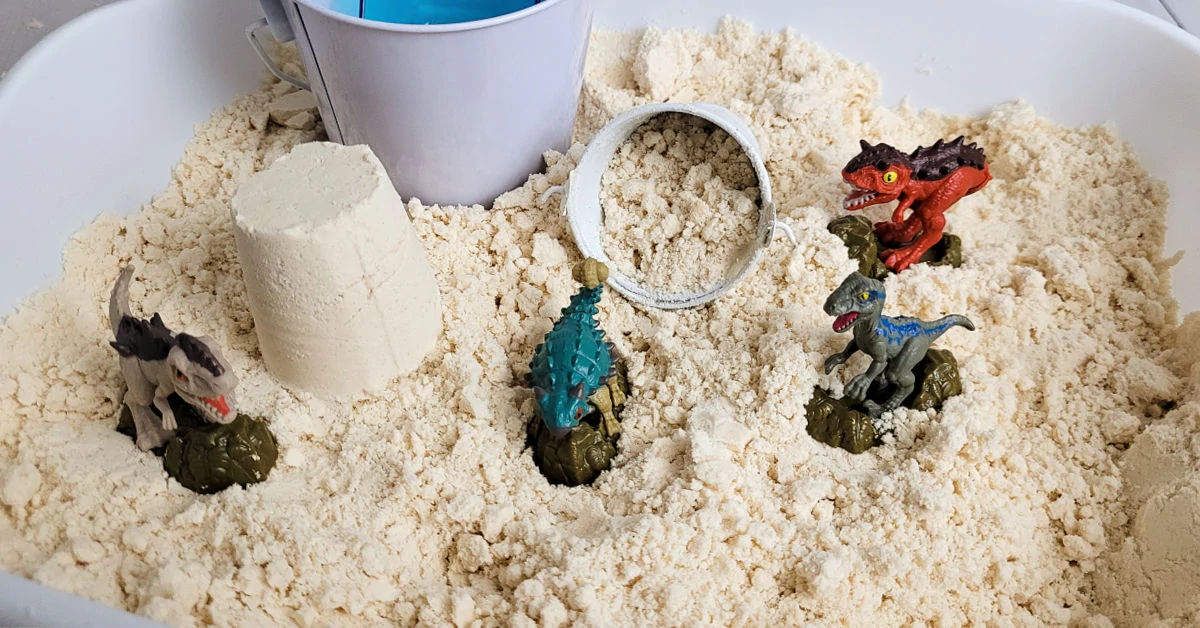
Moon sand makes a great addition to sensory bins if you have kids that need extra stimulation. This one is beach and ocean themed, but there are so many options for fun sensory play.
Some other great ideas for sensory play include:
- For a space theme, spread it out on a shallow tray with different shapes like stars and planets so it feels like they’re playing on the surface of the moon.
- To work on gross motor skills, put the sand in a tub with cookie cutters, measuring cups, different molds, spoons and other items.
- Make a zoo scene and add animal figurines that your child may see at the zoo.
- Dinosaur lovers will adore a prehistoric theme filled with different dinosaurs and plants.
Make enough to fill a sand table
I love sand tables because they’re great for open-ended play. If you want to fill your sand table with moon sand instead of regular play sand, you’ll need to know how much your table holds before making a huge batch.
I’ve found that most sand tables measure the sand capacity in weight rather than volume. For reference, one pound of sand is usually equal to 1 ⅓ cups. So, if your table holds 20 pounds of sand, for example, you’ll need 27 ⅔ cups of moon sand to fill it.
Since each batch in this recipe makes about 9 cups, if you triple this recipe it will just about fill a table of this size.
Moon sand storage tips
Moon sand should be stored in an airtight container to keep it from drying out. As long as it’s stored properly, it will last for a long time. Ziplock bags work as do inexpensive plastic containers from the dollar store.
However, compared to other sensory materials we make, it tends to last longer, even if you leave it out uncovered since it’s oil based rather than water based. So if you accidentally forget to put it away one day, it may still be usable.
More sensory activities for kids
- Cloud Dough, which has a silky smooth play dough type texture
- Fake Snow, which even feels cold to the touch
- Pink Glitter Slime, which can be customized
Moon Sand Recipe
Supplies
- 8 cups all-purpose flour
- 1 cup vegetable oil - or baby oil
Tools
- Sheet pan
- Measuring cups
- Mixing bowl
- Dough blender
- Air-tight container for storage
- Small toys, molds, etc.
Instructions
- Pre-heat your oven to 350°F. Bake the flour for 5 minutes, then allow it to cool.

- Put the baked flour and oil into a large mixing bowl and mix with a dough blender until well combined.
- Make sure the consistency is right. It should hold together when squeezed and break back apart easily.
- Transfer to a large container and let your kids play with it like they would with actual sand.
- Add to a sensory bin with other fun things for even more enjoyment.


how much does this recipe make? Looking to make some in my classroom of 21 students to each have about a sandwich size bag full.
You’ll get about 8 cups of the moon sand with the recipe as written. To figure out how much to make, start by deciding how many cups of moon sand you want each student to have. Then multiply that by the numbers of students you have to figure out how many cups you need to make.
How long can I keep this for?
As long as you keep it clean and in a container with a lid, it should last quite a while since it’s oil based and not water based.
I used coconut oil it came perfectly. Thanks for the recipe.
Coconut oil is great in moon sand! Thank you for sharing!
I have also added a few drops of tea tree oil for the nice scent and to make it festive for parties/events, a dash of edible glitter.
Those sounds like some great additions to your moon sand!
Can this be done with a hand mixer?
I haven’t tried a hand mixer for making moon sand. I’m not sure if the flour and oil would mix evenly or not. If you give it a try, let me know how it works for you.
Why can’t I use gluten free flour for the Moon Sand??
Thanks.
You can definitely try making moon sand with gluten free flour. The ratios will be different since wheat flour absorbs oil differently than gluten free flour, and every gluten free flour blend is made with different ingredients.
My kids LOVE this, it doesn’t taste very good though?
I hope you used cooking oil and not baby oil. 😉
Do you think that baby oil gel would work just as well as baby oil?
I haven’t tried making moon sand with a gel. You can use any kitchen oil if you don’t have baby oil.
Hi
I work in a kids room at the ymca I cant take a dough mixer in the room, would i be able to mix it by hand?
Yes, you can absolutely mix it by hand. It’s just a bit messier. 🙂
Hi! Can I add food coloring to this?
Yes, Laura, you can color the Moon Sand with food coloring.
Could I fill up a turtle sand box with this for the summer and it hold up?
That depends upon the conditions in which it’s played with and how it’s stored. It likely won’t last the whole summer.