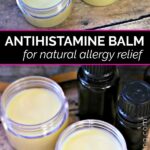
Natural Antihistamine Balm with Essential Oils for Allergies
Jump to Directions
My Natural Antihistamine Balm uses the best essential oils for allergies to bring quick relief to occasional symptoms. It’s easy to make and works great.
Spring is one of the most beautiful times of the year with all of the blossoming flowers and trees. Unfortunately, seasonal allergy sufferers may not feel the same way when they start getting signs of hay fever and allergic reactions like a scratchy throat, itchy or watery eyes, skin rash, dry mouth, sinus / nasal congestion or a runny nose.
If you’re looking for an easy way to help relieve some of these common seasonal allergy symptoms, try making your own balm with essential oils. All you need are a handful of simple ingredients to make your own natural remedy at home.
While it can’t replace prescription medications or over the counter antihistamines, it can help you get some allergy relief in a safe and effective way during allergy season. It’s a good idea to keep on hand at home, but also wonderful to keep in your purse or traveling kit in case you come into contact with common allergens while you’re out and about.
Supplies
- ¼ cup of coconut oil
- ¼ cup of sweet almond oil
- 2 tablespoons of beeswax pastilles
- 15 drops of lemon essential oil
- 15 drops of lavender essential oil
- 15 drops of peppermint essential oil
- 15 drops of frankincense essential oil
Tools
- Small balm containers with lids
- Double Boiler
- Mixing spoon
Step-by-Step: How to Make a Natural Antihistamine Balm
Follow these simple step by step instructions to learn how to make a natural antihistamine balm using essential oils.
Step 1: Make Balm Base with Oils and Wax.
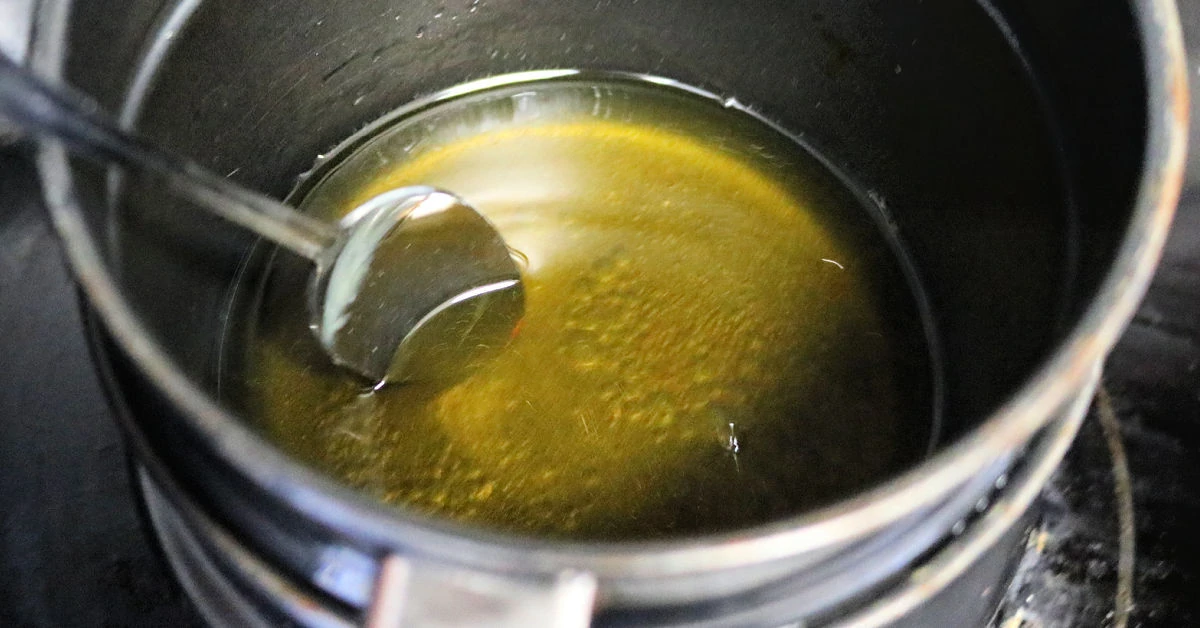
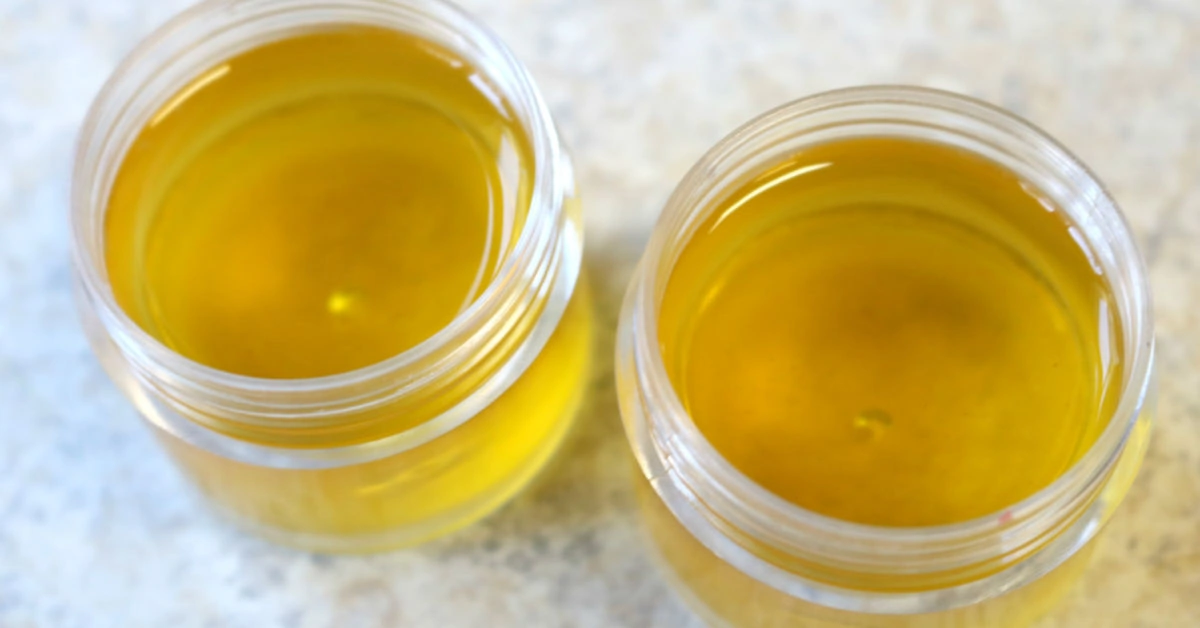
Add ¼ cup of coconut oil, ¼ cup of sweet almond oil and 2 tablespoons of beeswax to the top half of your double boiler pan. Add water to the bottom half, then turn the heat onto medium and heat until the ingredients are melted and clear. Be sure to stir frequently.
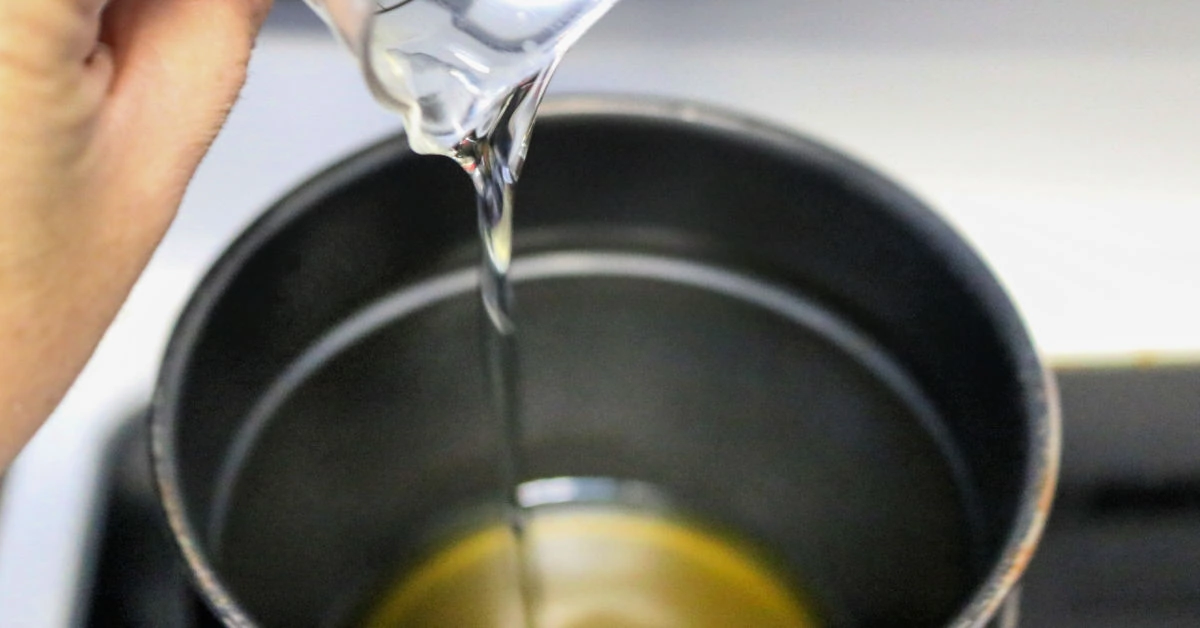
Step 2: Scent with Essential Oils.
Once they’re combined and clear, remove the pan from the heat and mix 15 drops each of the following essential oils into the balm base: Lemon, Lavender, Peppermint and Frankincense.
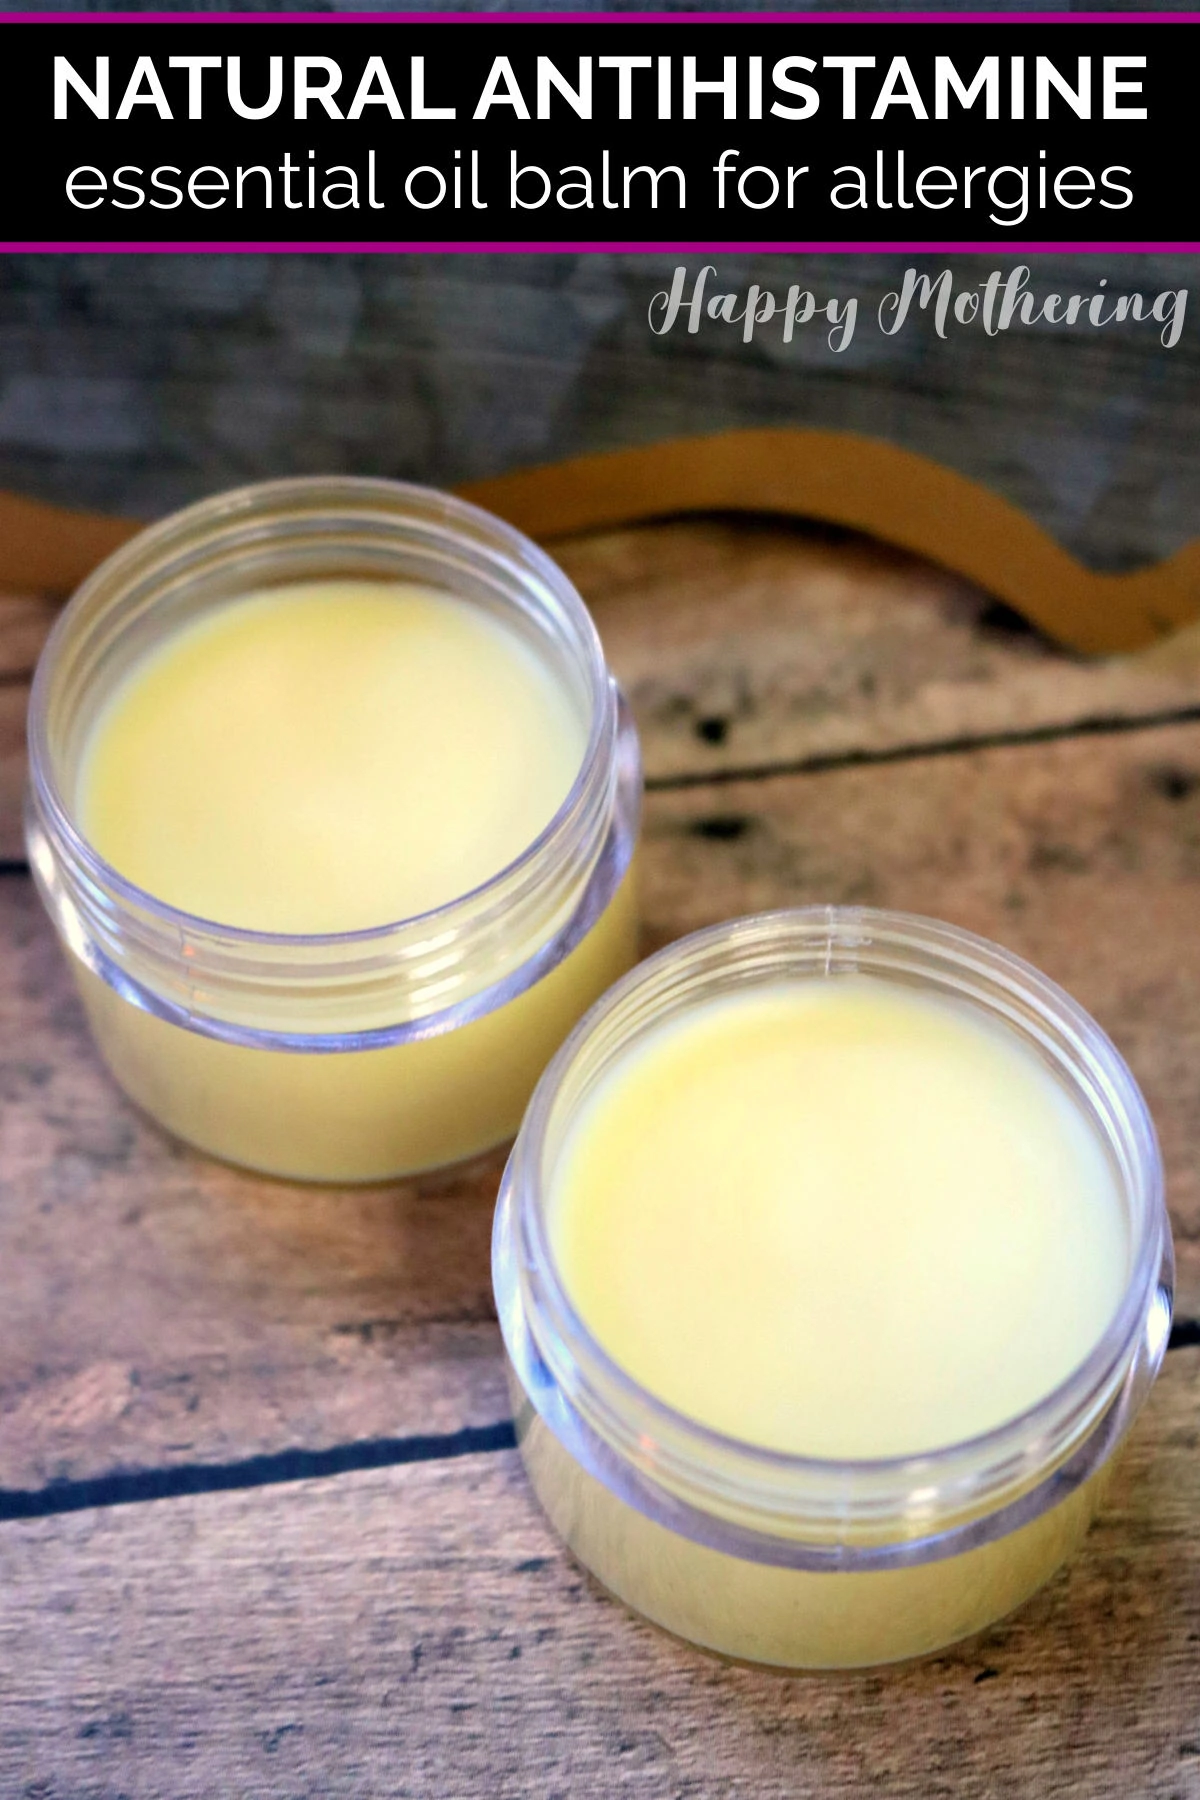
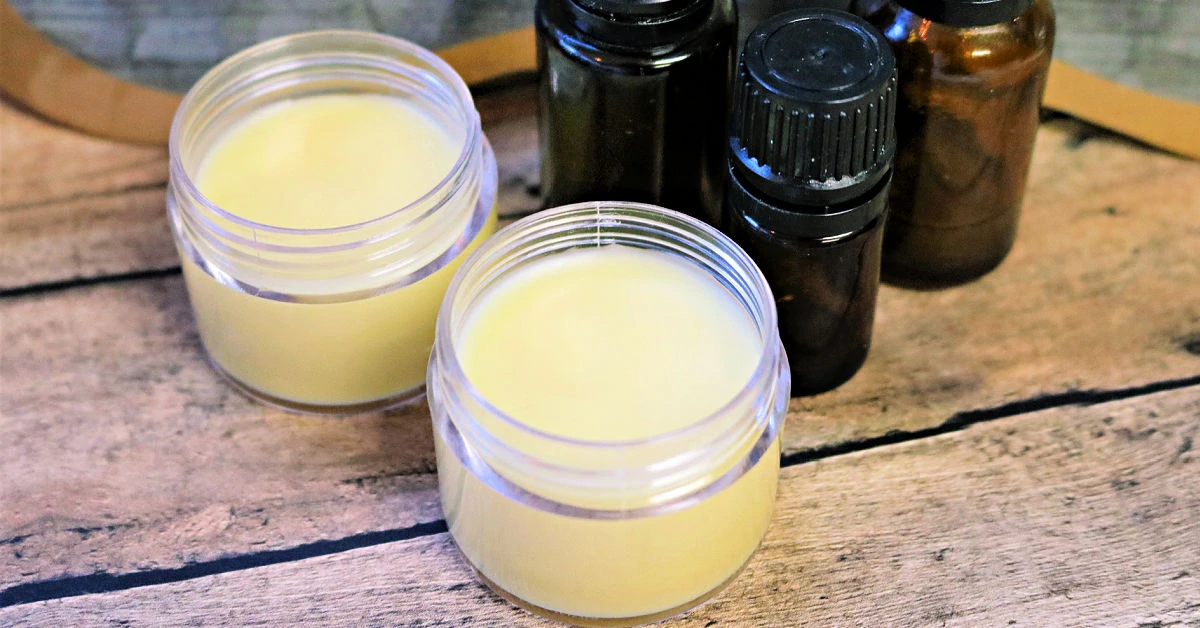
Step 3: Pour Into Containers.
Remove the lids from your empty balm contains and pour the mixture into them. Take it slow and leave just a slight gap at the top of the container.
At this point, they need to rest at room temperature to cool off. It’s best not to move them so they don’t spill and the top will solidify smoothly.
Step 4: Cap and Use Balm.
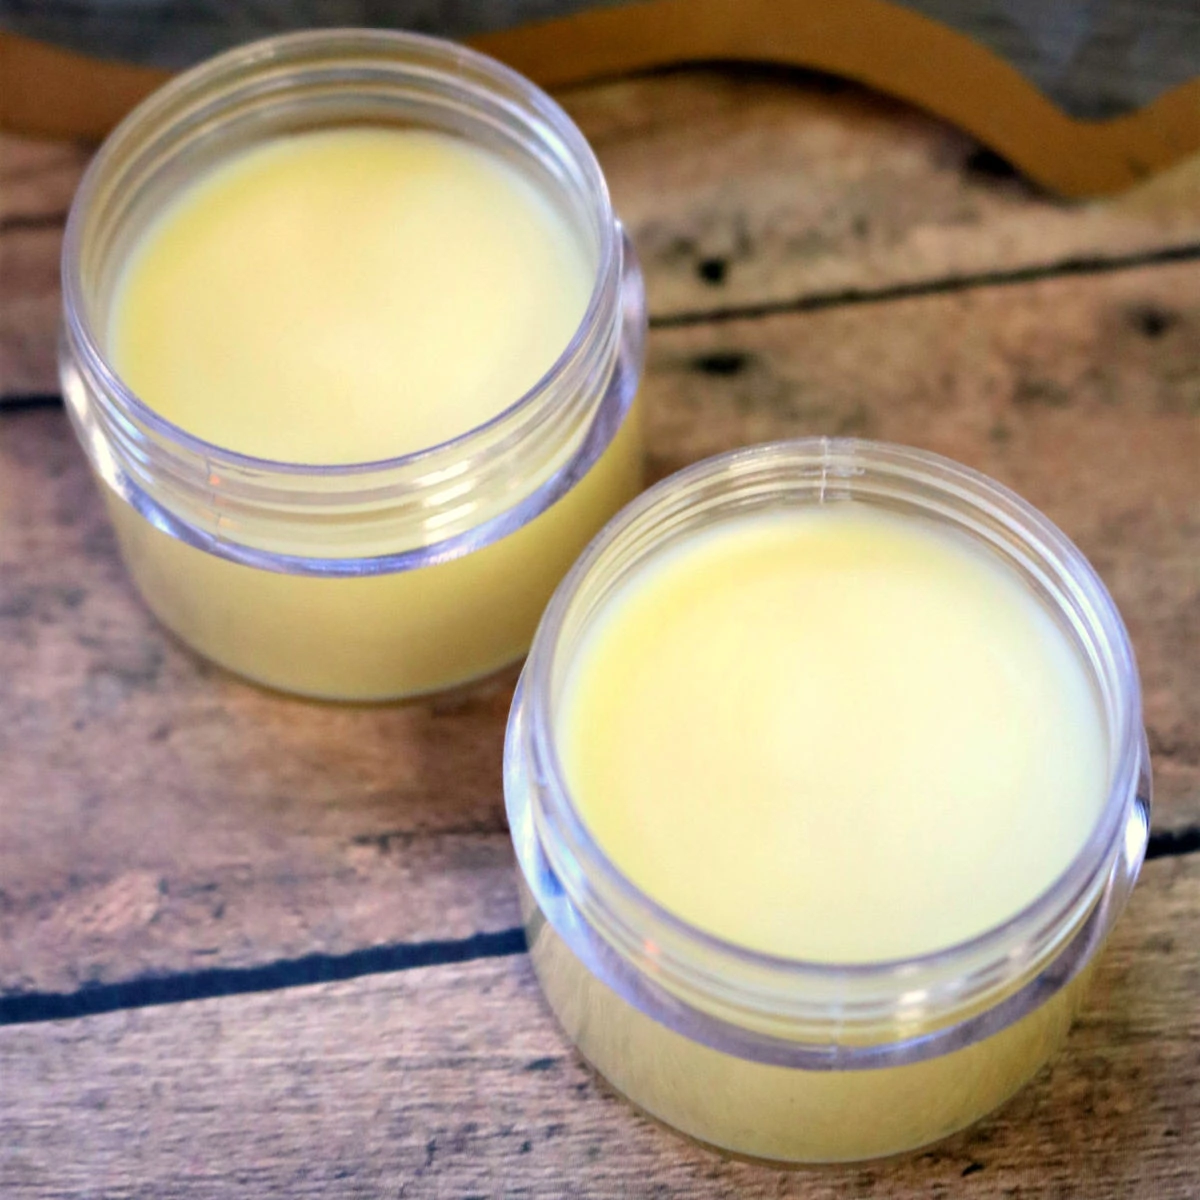
After about 30 to 45 minutes, they will likely be completely cooled, but this will depend on the container you used too. Check to see by feeling the bottom center of the container. If it is warm still, give them a while longer.
If you put the lids on too soon, moisture will form inside the lid after you close it, which could cause your brand new balm to spoil more quickly. Once they are cooled off totally, you can put your lids on them (and label them if you’d like).
Tips for Making and Using Your Natural Antihistamine
Answers to all of your questions about making and using this essential oil balm for natural allergy relief.
1. Is this balm really an antihistamine?
This balm is designed to be used to help with occasional symptoms of seasonal allergies. It does not replace prescription antihistamine medications or nasal sprays for severe allergies. Talk to your healthcare provider if you have questions.
2. How and where to use it?
Before using it on a larger area of your skin, I recommend doing a skin patch test and making sure there isn’t any skin irritation or adverse reaction before proceeding.
Run your thumb nail, if needed, to loosen the balm and then take a small pea-sized amount and rub on affected area.
If it is for clear airways, rub on chest, neck, or just under nose (but not in nasal passages). It can also be put on the bottom of the feet for anyone with sensitive skin.
To soothe itchy insect bites and stings, apply directly to areas of discomfort.
3. Why make a balm instead of using straight oils?
It’s beneficial to use a balm rather than an essential oil alone for a few reasons. First, it’s important to dilute essential oils for safety and making a balm helps accomplish that.
Would you like to save this?
Second, by adding beeswax, the effect will last much longer because the oils can’t evaporate so quickly. The beeswax helps seal them into the skin.
4. Best essential oils for allergies?
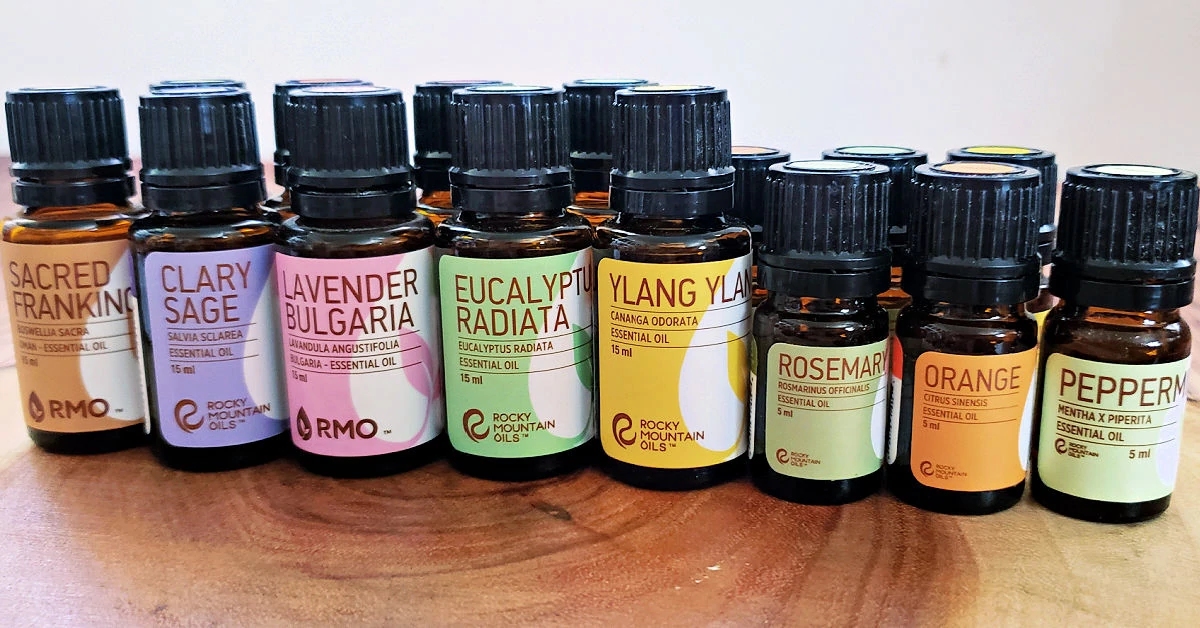
My favorite combination of essential oils for allergies is lemon oil, lavender oil, peppermint oil and frankincense oil. If you simply don’t have one of the oils in the recipe, you can omit it and still get the benefits of the other oils.
If you don’t want to (or can’t) use some of these oils and would like substitution ideas, any of these oils would make a great choice:
5. Can other carrier oils be used?
If you don’t want to use sweet almond oil and coconut oil, you can use any carrier oil in their place. Some of my other favorites are olive oil and jojoba oil.
Check out my post on diluting essential oils with carrier oils to learn more about each of their properties.
6. What’s the dilution ratio of this recipe?
This recipe has a 2% essential oil dilution ratio. Cut the drops in half for a 1% dilution ratio. Learn more about diluting essential oils for safety.
7. What to do if balm is too firm or too soft?
The firmness of the balm will vary based on the quality and water content of your beeswax. If you substitute a liquid oil for coconut, that will also affect it.
If the balm stays too firm for your liking, you can re-melt in a double boiler and add more oil. Use less beeswax in your next batch.
If it’s too soft, you can also gently melt it and add more beeswax. Be careful not to overheat so you don’t destroy the essential oils.
Most homemade balms will last for 3-6 months. Their shelf life is dependent upon the expiration date of the coconut and sweet almond oils as well as their exposure to sunlight and water.
8. What’s the best essential oil brand?
I’ve used about a dozen different essential oil brands over the years, and my current favorite is Rocky Mountain Oils. They have super high quality essential oils that have long-lasting scents to them and you don’t need a membership to order (but they do have an excellent loyalty program).
9. Best place to buy beeswax?
It’s important to know that not all beeswax is created equally. You want to make sure you’re using a high quality, pure beeswax when you’re using it on your skin.
Both beeswax pastilles and wax grated from a bar work for this recipe. I prefer to buy beeswax from Mountain Rose Herbs because I know it’s high quality and doesn’t have any “extra” ingredients added.
I use it in all of my DIY beauty products as well as my DIY beeswax candles.
10. Is this recipe safe for young children?
It isn’t recommended that peppermint oil be used with kids under the age of 6 and eucalyptus oil shouldn’t be used with children under 10-years old.
If you have questions about the safety of using any other essential oil with kids, Rocky Mountain Oils has a really great guide that includes information on specific oils and dilutions.
11. How to store antihistamine balm?
You can use pretty much any container, just choose glass if you can since there are essential oils in this recipe. I often get my containers from Mountain Rose Herbs while I’m picking up some other supplies. They usually have everything I need.
It’s best to store your containers of balm in a cool, dry place. If there’s too much heat, it will melt. You can store some in the fridge during the warmer months of the year for a cooling sensation that feels so nice.
12. Where to buy natural antihistamine balm instead?
If you don’t have all of the supplies on hand to make this natural remedy for allergies, you can also purchase an antihistamine balm. I love to shop for products like this on Etsy so I can support other work from home moms.
13. More essential oil balm recipes.
If you like this balm, you’ll also enjoy my other salve recipes
14. Other natural remedies for allergies?
One of the best ways to reduce allergens in your home is to get a high quality HEPA filter. If you keep the air clean, your breathing will naturally be clearer.
Besides the use of essential oils, there are lots of other common natural home remedies to relieve allergy symptoms. Real Green Mom has a great post about many of these natural solutions.
Natural Antihistamine Balm Recipe
Supplies
- ¼ cup coconut oil
- ¼ cup sweet almond oil
- 2 tablespoons beeswax pastilles
- 15 drops lemon essential oil
- 15 drops lavender essential oil
- 15 drops peppermint essential oil
- 15 drops frankincense essential oil
Tools
- Small containers with lids (to hold about 5 ounces of balm)
- Double Boiler
- Mixing spoon
Instructions
- Add coconut oil, sweet almond oil and beeswax to the top of your double boiler. Heat over medium heat, stirring frequently until melted and clear.
- Once melted, turn off the heat and add the essential oils and mix well to combine.
- Pour the liquid mixture into your containers. Go slow and leave a small gap at the top of the container.
- Allow the containers to cool completely, about 30-45 minutes if you used small containers. Once completely cool, put the lids on them. Do not put them on too soon or you’ll have condensation.


Ii really wanted to make this for my granddaughter, but she is allergic to coconut. Could I substitute shea butter for the coconut oi?
Shea butter and coconut oil are not equivalents. You can use any other carrier oil in its place. Here are some ideas: https://www.happy-mothering.com/ultimate-carrier-oil-guide/
Just gave this a go, smells wonderful and is relaxing. Frankincense has become my go-to for calming tension. I am hoping my son will give it a whirl by rubbing some on before bed.
If I have a lavender sensitivity would you just add a little more of the other oils?
Yes, you can do that or leave it out. You can also replace it with something like Frankincense or Chamomile.
My daughter & I have lavender issues. I’ve substituted chamomile (either German & Roman varieties) with great results.
Do you have to dilute more to use for kids?
Peppermint essential oil typically isn’t recommended for use in children under the age of 3. For kids ages 3-6, it needs to be diluted to at least 0.5% (2 drops of oil per 4 teaspoons of carrier oil).
If you left out the beeswax, could you put this into a roller bottle?
Hi Flo, I would recommend using a liquid oil like fractionated coconut oil or sweet almond oil with the essential oils if you want to make a roller bottle. Standard coconut oil (that hardens) is not a good choice for rollers. I hope that helps!
I need to make this for allergy season.
I hope it’s helpful for you!
How do you use it? Where do you put it?
You can apply it to your temples, under your nose or even to your wrists to smell regularly.
I need to make this. I need to have this on hand.
Fall pollen is coming up soon. I better get on making this.
May I use fractionated coconut oil in lieu of sweet almond oil?
Yes, you can use your favorite carrier oil as a substitute.
Thank you so much.
Definitely need to make this to have on hand.
Can you eliminate the Frankincense?
Yes, although it may change the effectiveness. 🙂
Can this be used on dog’s? I have a 5 pound Maltipoo who is allergic to something and scratches herself raw. Been to the doctor’s many times so looking for a topical solution.
In general, it’s not recommended to use essential oils on pets. Here is some info from the ASPCA: https://www.aspca.org/news/essentials-essential-oils-around-pets