DIY Snowflake Wine Cork Ornament
Jump to Directions
Wine cork Christmas ornaments make a great addition to holiday decorations. In this easy tutorial, you’ll learn how to make an easy DIY Snowflake Wine Cork Christmas Tree Ornament.
We tend to accumulate a lot of wine corks when we host holiday get-togethers. Rather than toss them, I came up with a clever way of reusing them to make fun ornaments.
If you have a handful of wine corks and a few simple craft supplies, you have the makings of a simple yet beautiful wine cork snowflake ornament (with no extra cost). It’s perfect for adorning your tree and they make great gifts for any wine lover.
This easy tutorial will walk you through the steps of making your own ornaments from leftover wine corks. It’s a great craft to make during the winter months or any time of year.
Supplies and Tools
- 4 wine corks
- Ribbon
- White craft paint
- Sharp serrated knife
- Cutting Board
- Paintbrush
- Hot glue gun and hot glue sticks
How to Make a Snowflake Wine Cork Christmas Ornament
Follow these simple step by step instructions to learn how to make a beautiful snowflake ornament from wine corks.
Step 1: Cut Wine Corks
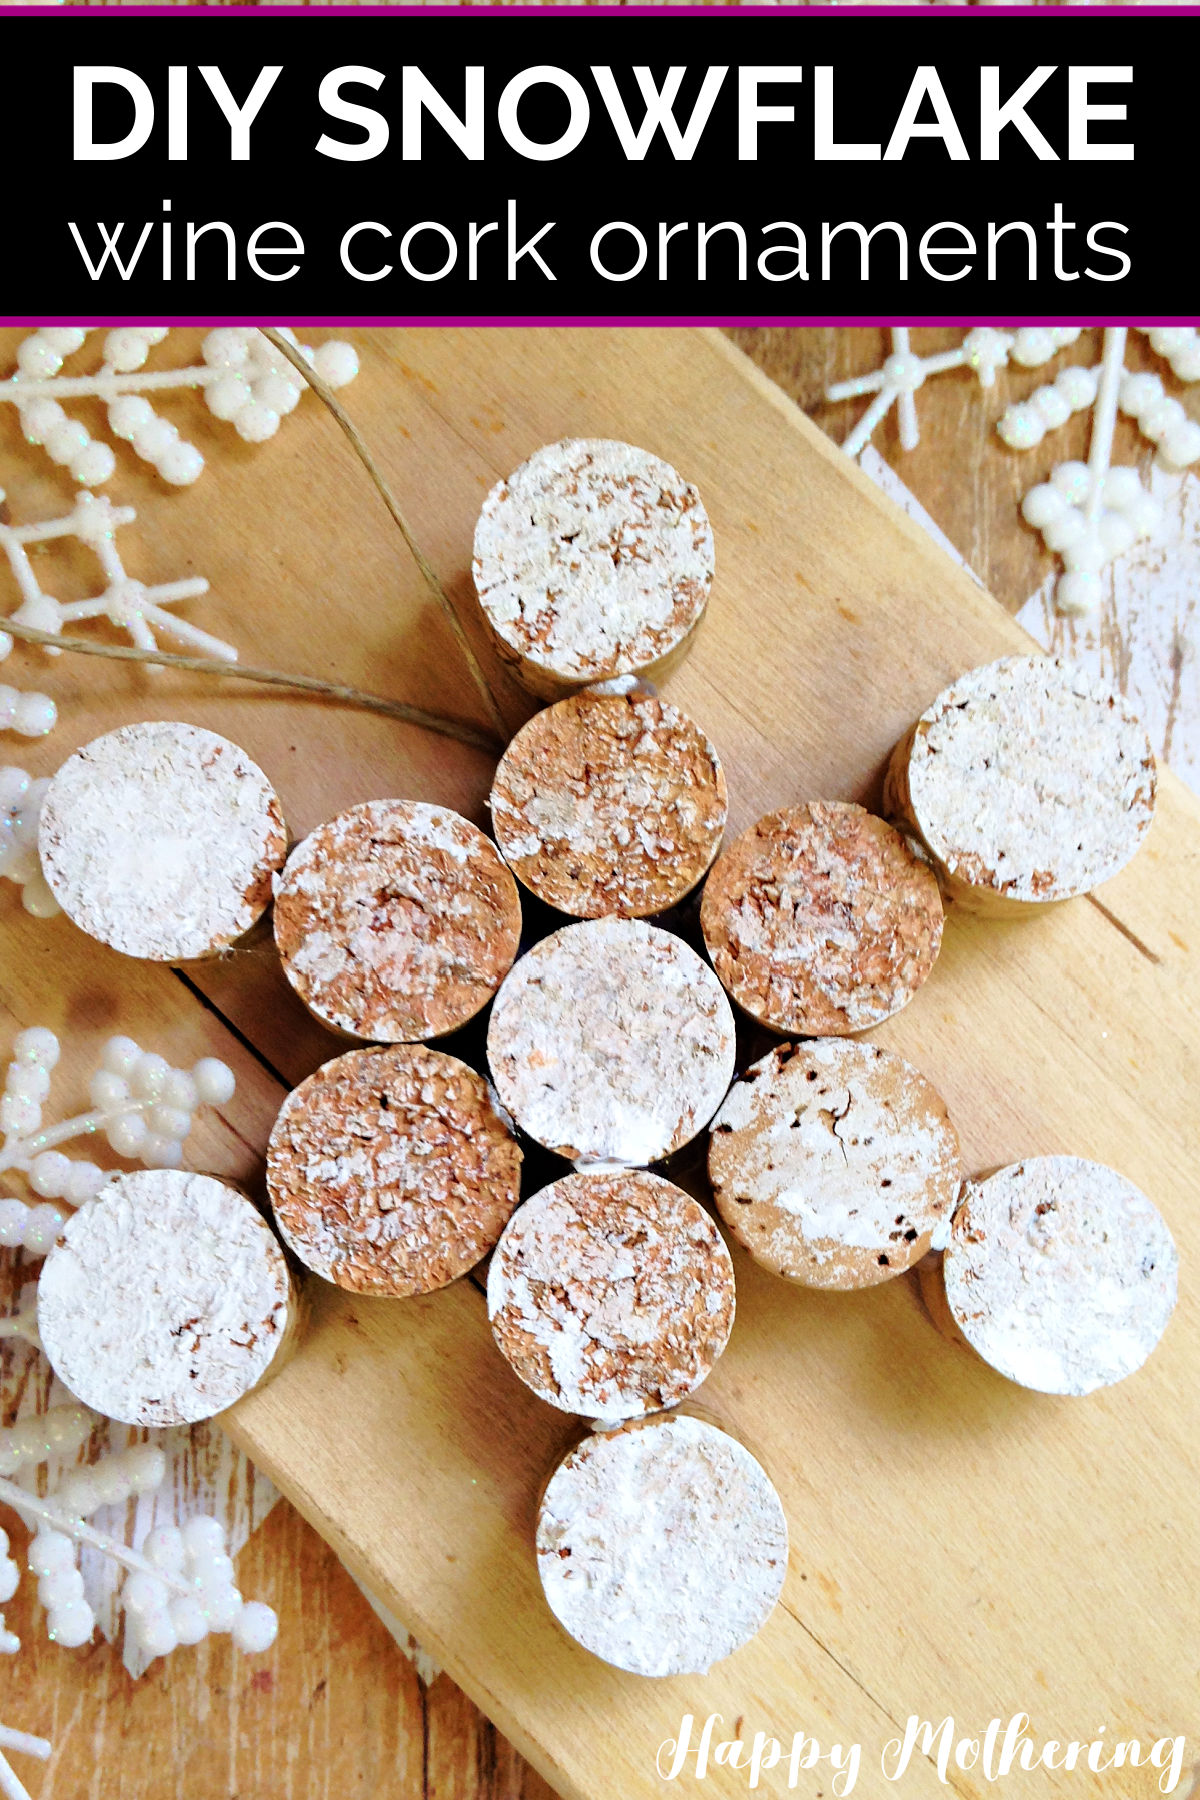
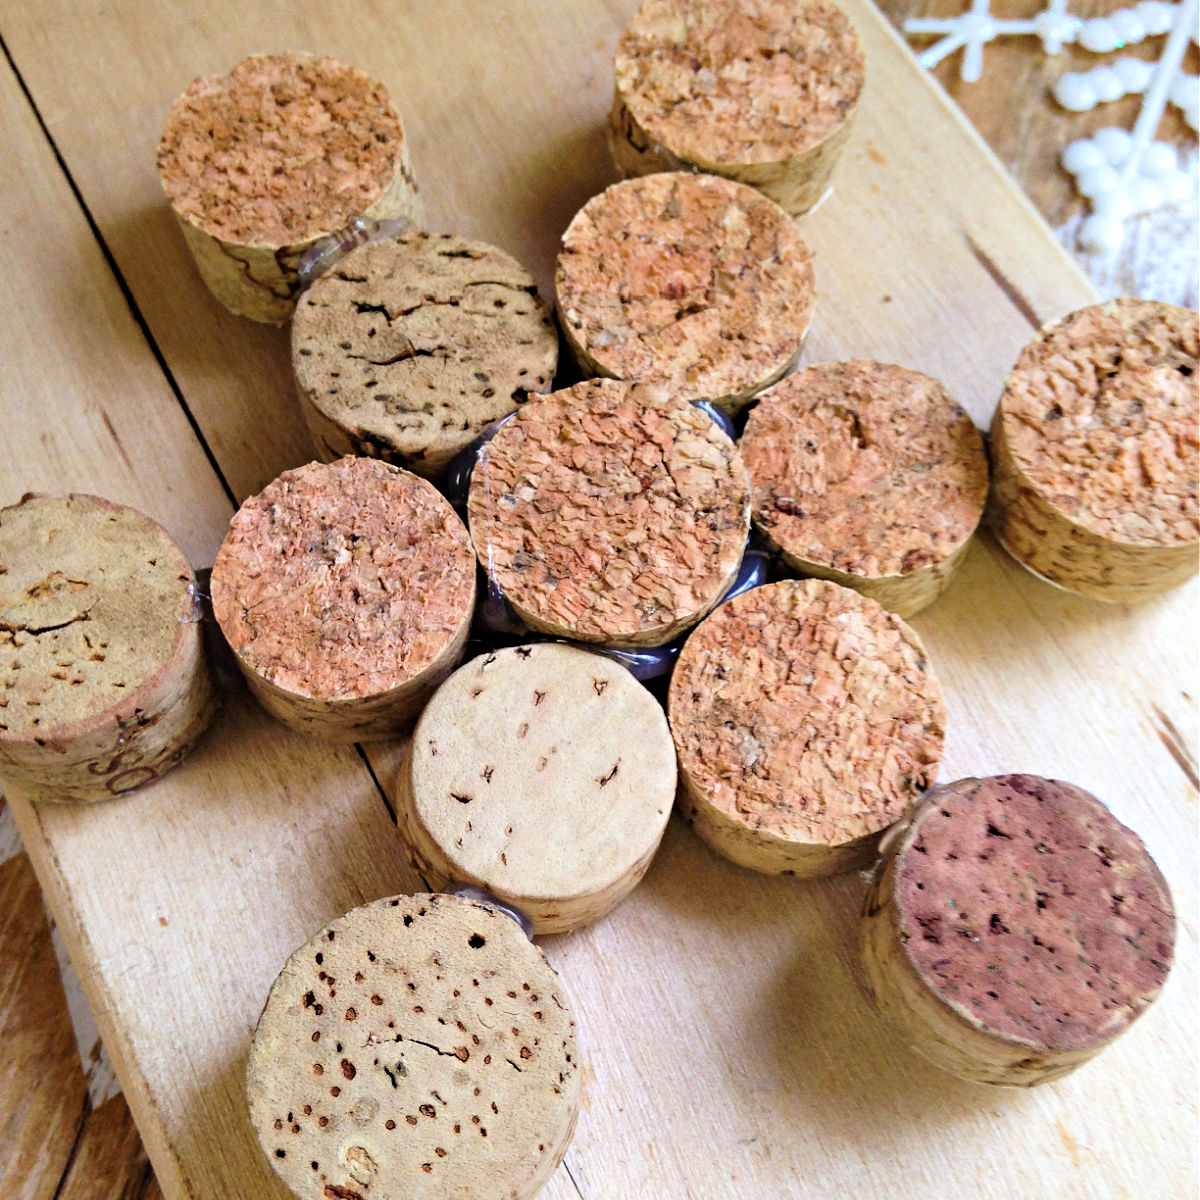
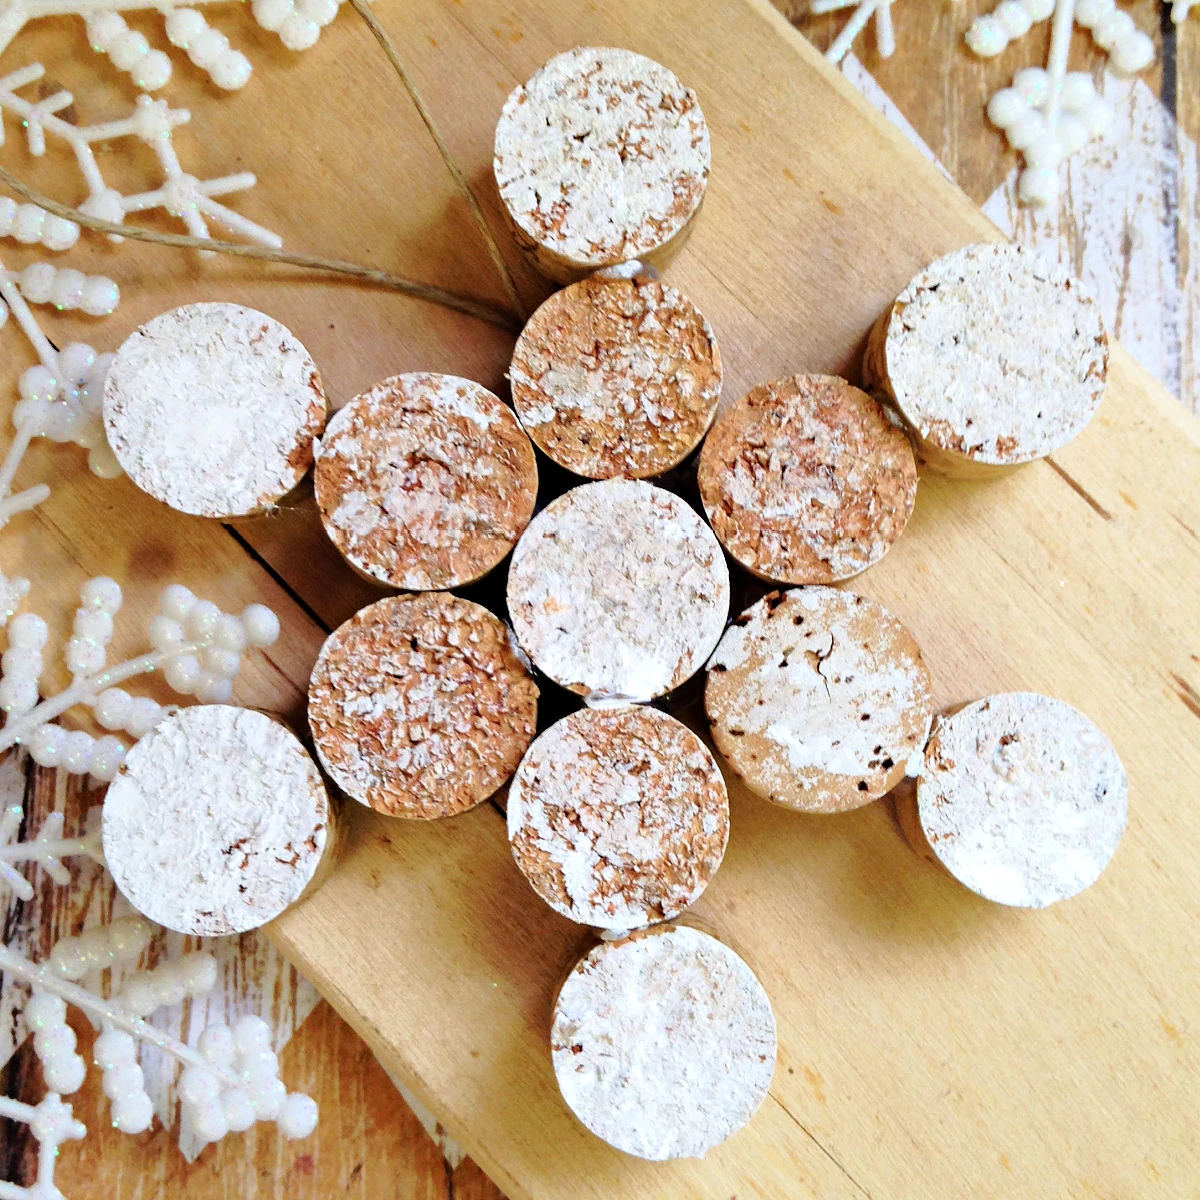
Begin by cutting your wine cork into four slices. Using a serrated knife will make this job easier. Carefully saw the cork until you have 4 pieces. Repeat the process until you’ve cut up four corks or have 13 round discs.

Step 2: Create Snowflake Shape
You can now prepare to assemble your discs into the snowflake shape. I like to put the smooth ends of the corks on the back side of the ornament so each cork slice has a similar appearance when it faces out.
Begin by creating a daisy shape. Place one slice in the center and build 6 more around it. Just add glue to where the discs meet and press together until dry and secure.
Next, you want to build off of the daisy shape. Glue another slice to each of the ones you just adhered. You will notice the snowflake shape coming together. Continue to press the discs together until secure.
Step 3: Paint Snowflake and Attach Ribbon
Add a little white paint to the cork rounds, skipping every other one so the snowflake has both a white and natural color to it. It also lends itself to a distressed look.
Would you like to save this?
To finish up, all you need to do is add your ribbon for hanging. Simply cut a length of ribbon and glue it to the back of the ornament. Your wine cork snowflake ornament is now ready to be displayed on your tree!
Tips for Making Snowflake Wine Cork Ornaments
Answers to all of your questions about making a snowflake Christmas ornament from leftover wine corks, including tips and other ideas.
Snowflake style variations
- Use a combination of blue and white paint to give it a Frozen feel
- Use a layer of glitter paint to make them sparkle under the Christmas lights
- Spray the finished snowflake with a clear coat to make them shine
- Keep gluing more rows of wine cork slices around the edges to make giant snowflake Christmas decorations for your home or office
Natural vs synthetic corks
I personally prefer natural corks over synthetic as they have a more vintage look to them. Synthetic corks are really smooth, and you can use them, but they have a different look than natural materials.
Where to buy new wine corks
If you’re not a wine drinker and don’t have old wine corks on hand, there’s no need to waste a bottle of wine… you can also buy new wine corks on Amazon.
Buy instead of DIY
If you’d rather just buy a snowflake wine cork ornament, you can find them on Etsy.
More DIY Christmas tree ornaments
If you liked this fun craft, try making some of these other DIY Christmas ornament crafts:
DIY Snowflake Wine Cork Ornament
Supplies
- 4 wine corks
- Ribbon
- White craft paint
Tools
- Sharp serrated knife
- Cutting Board
- Paintbrush
- Hot glue gun and hot glue sticks
Instructions
- Cut each wine cork into four pieces with a serrated knife. Repeat the process until you cut up four corks or have 13 small circles.
- Next, make a daisy shape by placing one circle in the center with 6 circles around it. Make sure to face the ends of the corks towards the backside of the ornament. Add glue to where they meet and press together until dry and secure. Next, glue another piece to each of the circles around the outside ring to create a snowflake shape.
- Paint every other cork piece white so the snowflake has a white and natural color to it. The last thing you need to do is glue a length of ribbon to the back of the DIY Christmas ornament. Your wine cork snowflake ornament is now ready to be hung on your Christmas tree!