How to Grow Green Onions from Scraps
Jump to Directions

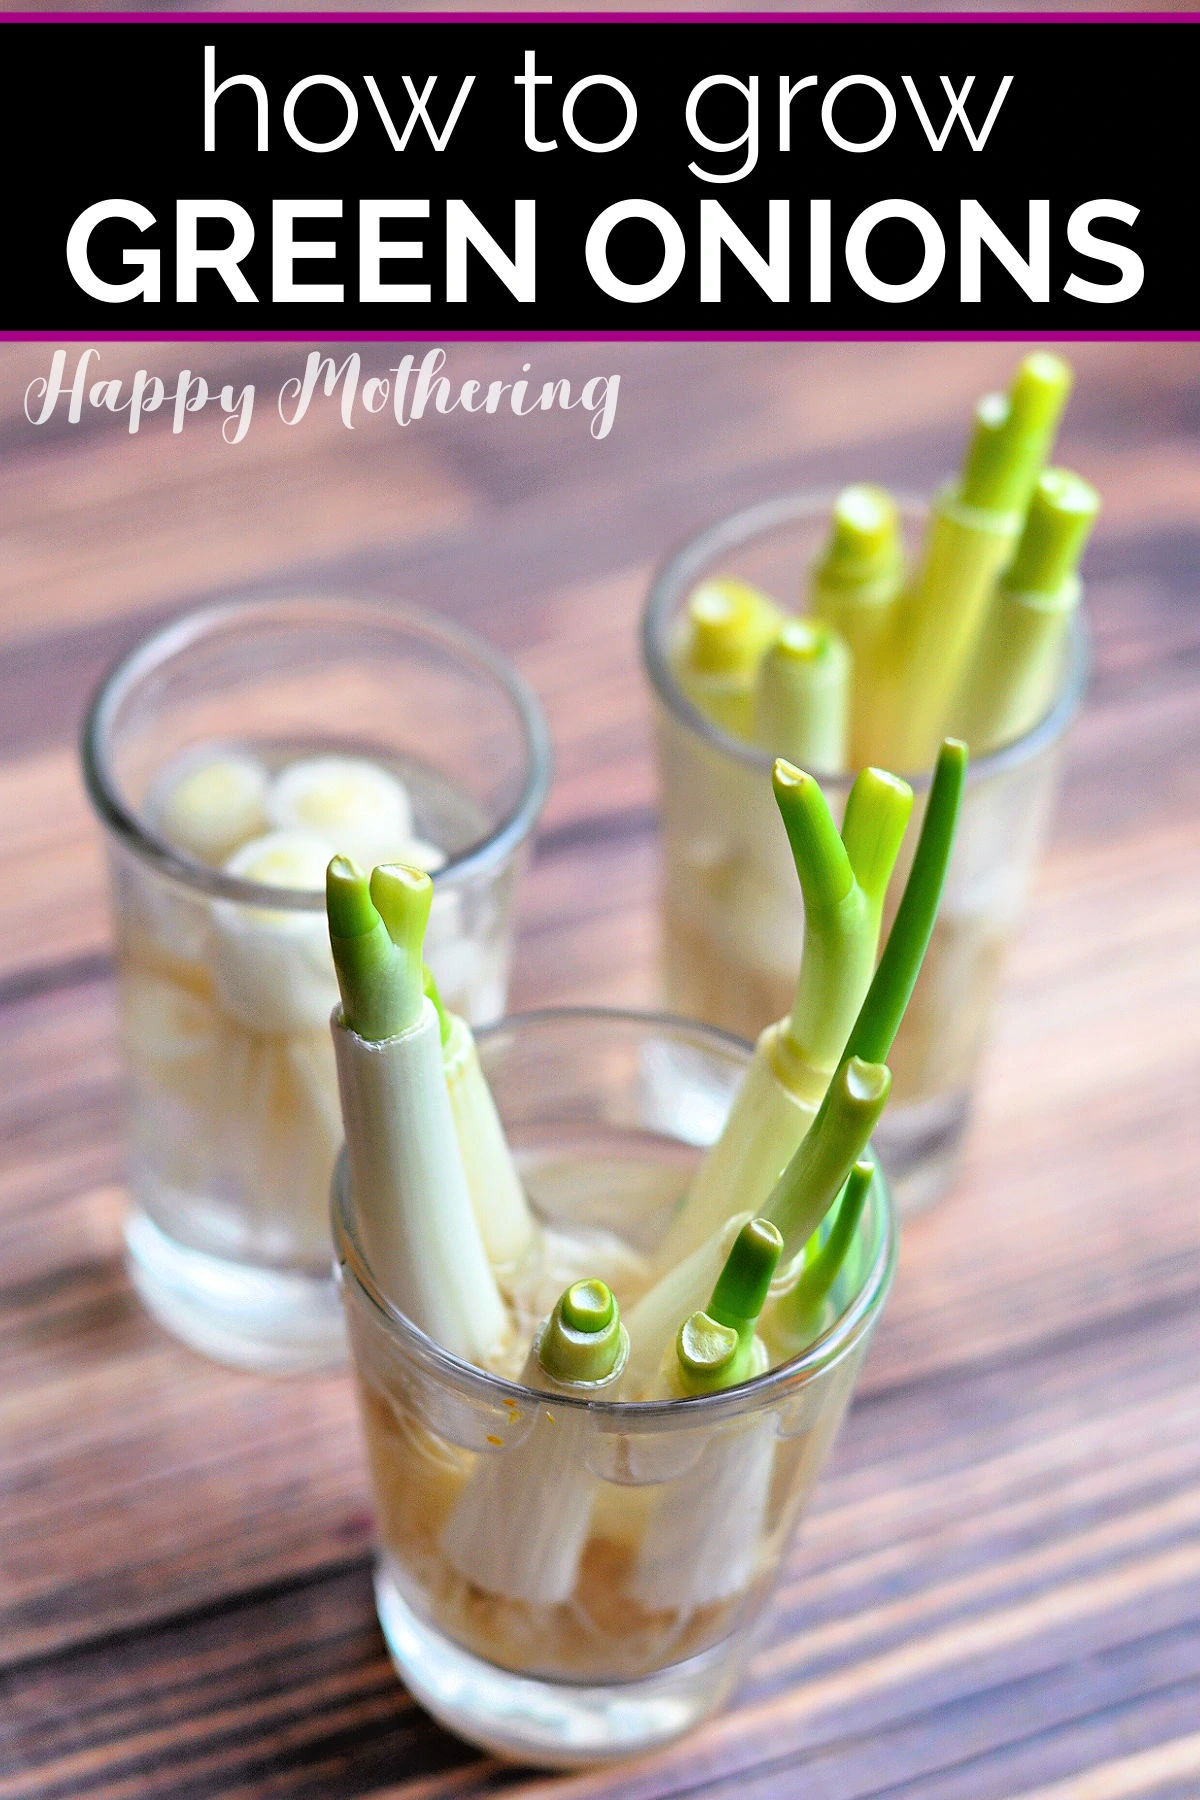
Have you been wondering how to grow green onions from kitchen scraps? It’s surprisingl simple, and it makes a great indoor gardening lesson for kids too!
One of the many things my daughters have been interested in is re-growing foods. Several years ago, we did some experimentation to figure out the best way to plant sprouted onions in our garden – that is a lot of fun!
We’ve done all sorts of foods, but the one I find to be most rewarding is re-growing green onions (aka scallions or bunching onions). It’s a process that happens very fast, making it ideal for impatient young children. They can see the results very quickly!
It’s quite a simple process as well, so I’ll quickly walk you through what I find to be the best method. Give this fun gardening experiment a try with your kids and you’ll soon have a steady supply of green onions to cook with.
Supplies and Tools
- 1 bunch of green onions
- Shot glasses
- Water
- Cutting Board
- Knife
Step-by-Step: How to Grow Green Onions in Water
Follow these simple step by step instructions to learn the easiest way to regrow green onions from scraps in your kitchen.
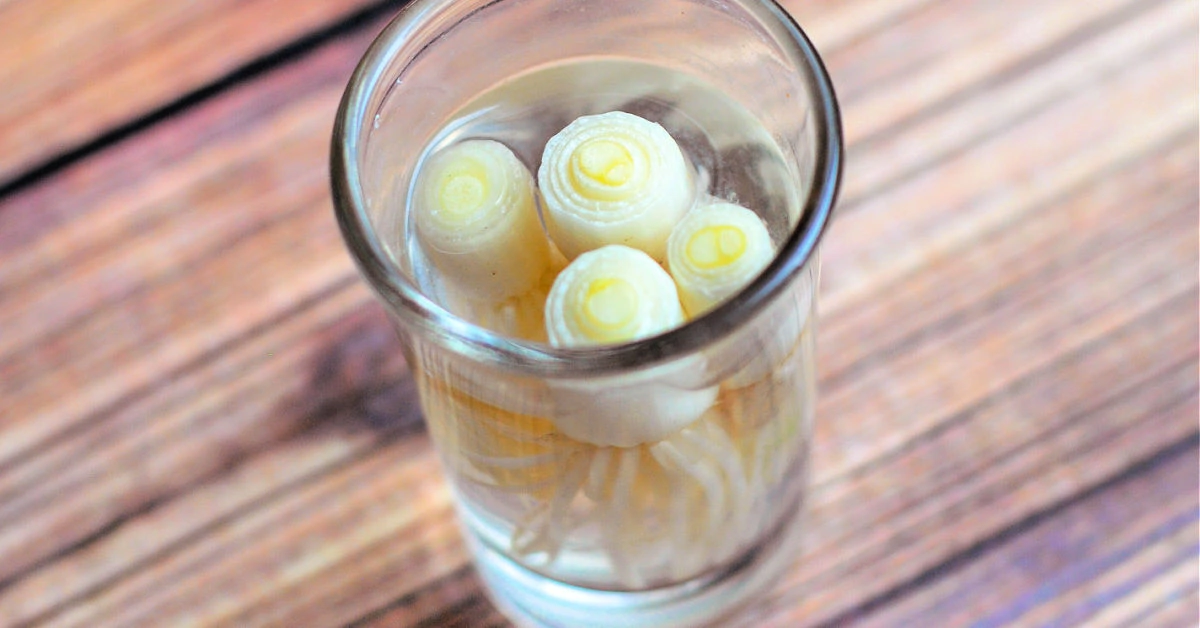
Step 1: Place Onion Roots in Water.
Next time you buy green onions at the grocery store, cut them well above the root. Place the white roots into a shot glass of filtered water (root side down). You can use another dish or clean jar of water, but I find that the shape of shot glasses works particularly well with green onions.
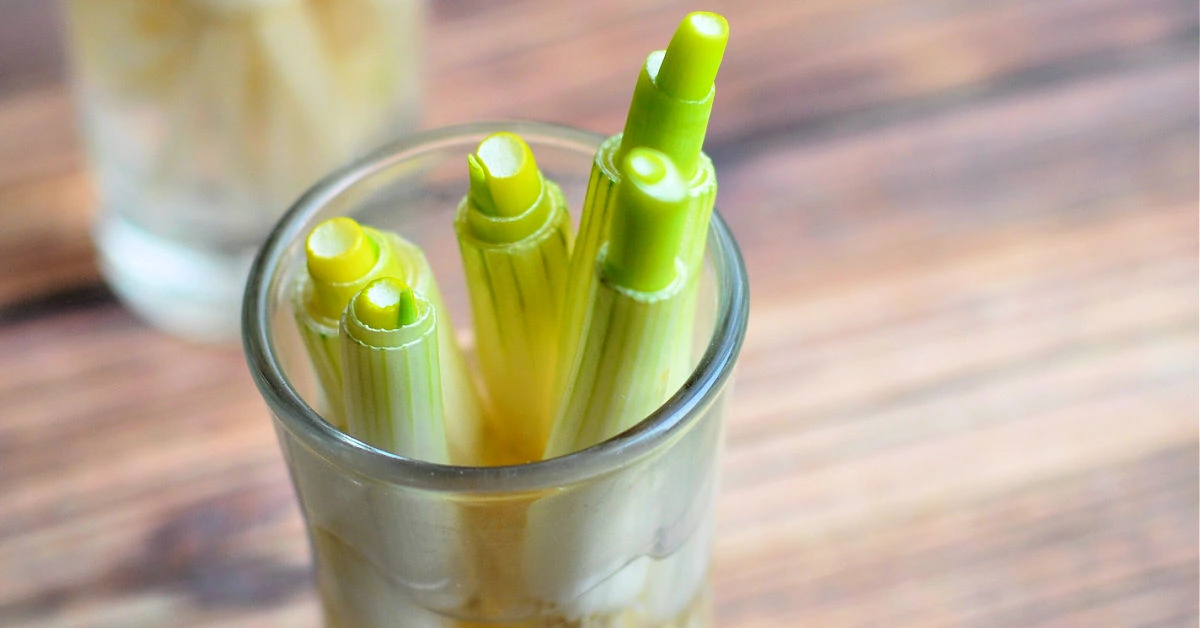
Step 2: Watch for New Growth.
In just a few days, you’ll notice that they are starting to grow. See all of that new green growth?
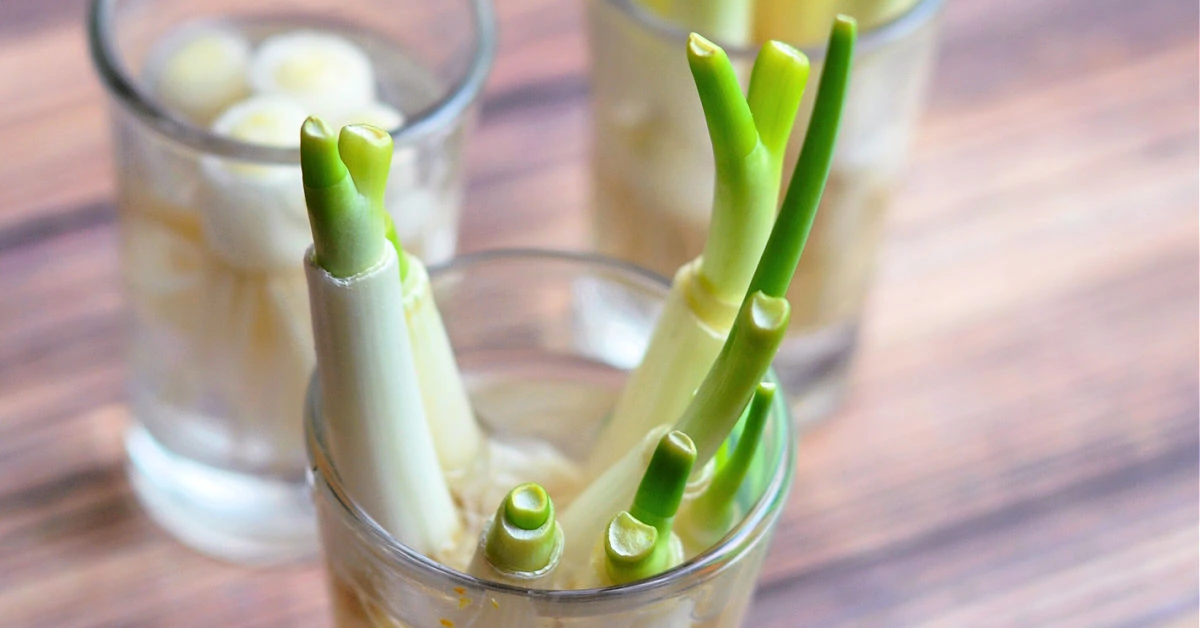
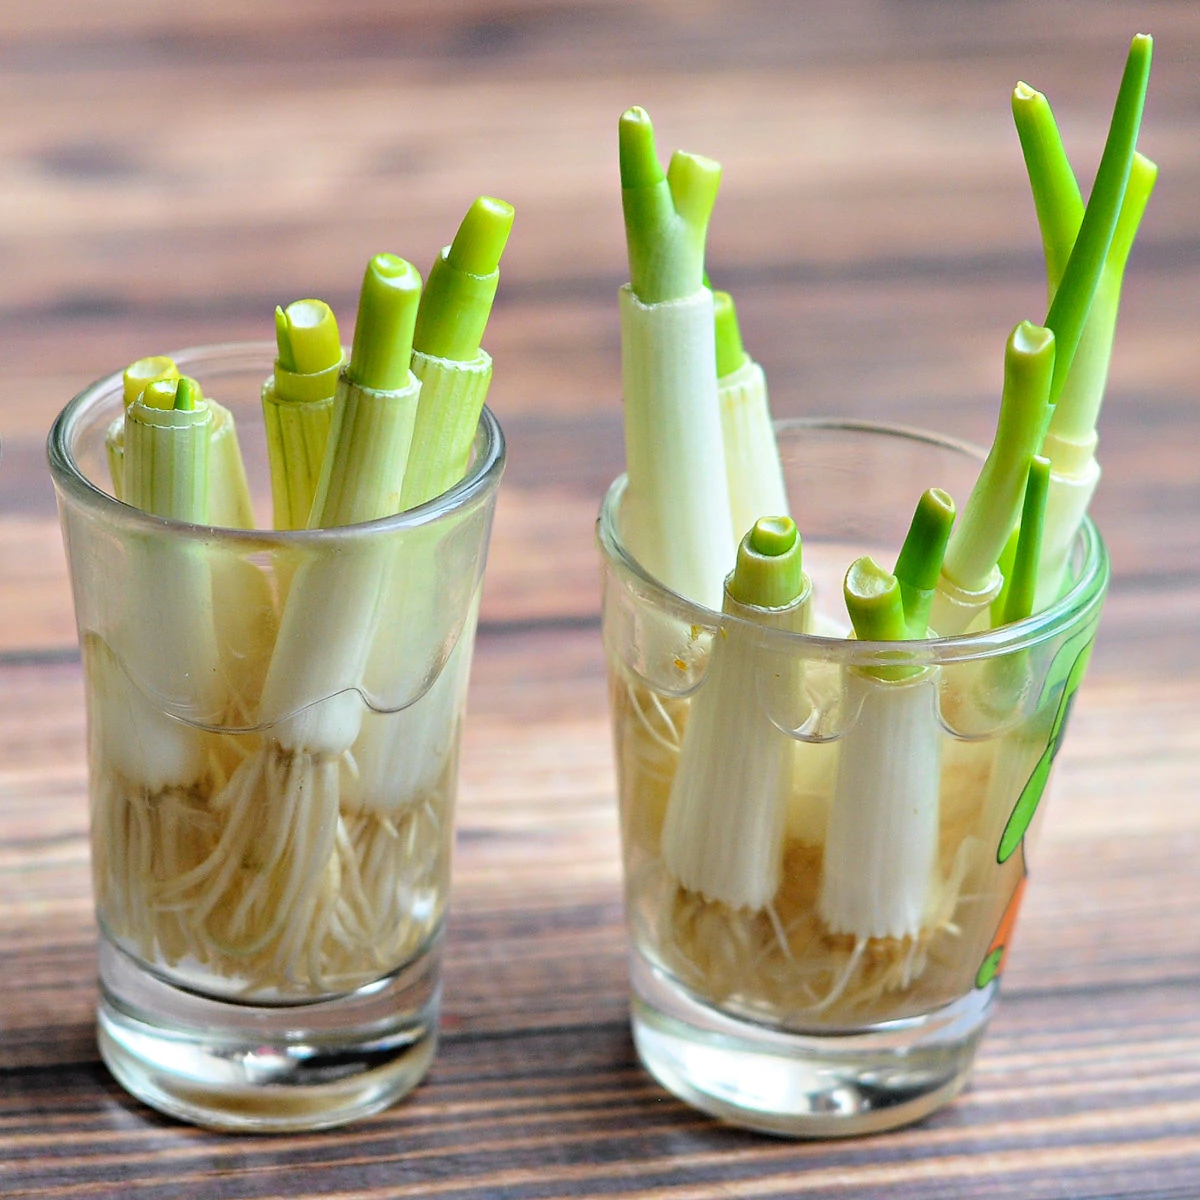
Step 3: Trim New Leaves and Grow More.
If you check on them the next day and the days after, you’ll notice the green shoots have grown even more! The green parts will just keep growing from there. When the long green tops get to a sufficient length, simply trim them down again so you can enjoy the green onions – and keep them growing.
Step 4: Enjoy Your Fresh Green Onions.
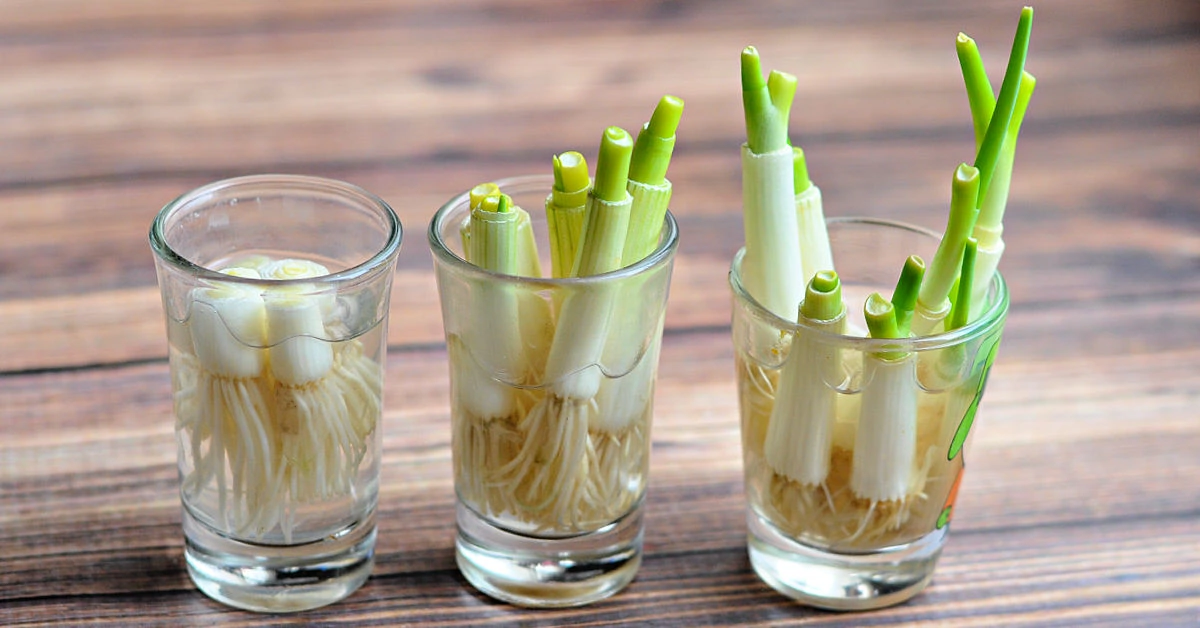
I’ll often have multiple glasses filled with green onion scraps that are at different places in their growth cycle. It’s fun to see their progress side by side!
Tips for Growing Green Onions from Scraps
Answers to questions about growing your own young green onions in water.
1. How often to change the water?
I typically change the water daily, but you should change it at least every few days for best results. If you don’t, you’ll end up with root rot.
The warmer the temperature in your house, the quicker the water will need to be changed. If you notice the water get cloudy – that’s your clue to immediately switch to fresh water or you’ll lose your new plants to rot.
You can use tap water, but I typically use water filtered in my Berkey so that I know it’s free of contaminants.
2. How long does this work for?
It really depends on how well you care for the plants. With proper care, they will usually last for around 4-5 rounds of full growth.
Would you like to save this?
After a while, the onions just won’t grow as well, but you can simply repeat this process again with new roots. It’s fun every time!
3. Best dish to regrow them in?
I find that the shape of shot glasses works particularly well with green onions. However, you can use anything with a small opening, like small jars, cups and even bowls.
Green onions have a shallow root system, so you don’t need anything too tall either. If you want to do this project with a group, you can even line disposable paper cups with plastic bags and grow them in there.
4. Does it matter what time of year it is?
When we think about gardening, we normally think about what growing season it is. The peak season for growing green onions in the garden is late spring through late summer.
The best thing about re-growing kitchen scraps into new plants is that it can be done year-round. I like to set my glasses on the sunny windowsill in my kitchen because it doesn’t get full sun there (too much direct sun can cause stuff to grow in the water), but it still has great lighting.
If it’s during wintertime when there isn’t a ton of great natural light, even in the most sunny spot of your house, you can always get a cheap grow light to put over your indoor herb garden.
5. Should fertilizer be added?
I don’t typically add a fertilizer to the water that I’m growing scallions in since they don’t last forever. However, if you’d like to experiment with getting your onions to grow bigger, faster, you can try adding a single drop of liquid fertilizer to the water each time you change it.
6. What types of green onions does this work with?
While there are several varieties of green onions, I have only tested this method with the traditional green onions you find at the grocery store.
I haven’t tried re-growing spring onions in water, but I have planted regular onions in the ground after re-sprouting them in water.
After re-growing green onions for the first time, you’ll probably want to experiment with other types of onions and veggies!
7. What other food scraps can you regrow?
While my favorite veggie to re-grow is sprouted onions, we’ve also tried regrowing scraps from romaine lettuce, kale, celery, carrots, sweet potatoes and beets. There are so many options!
8. Document the growth with a gardening journal.
My girls absolutely love learning new things and watching things grow. So much so that I put together a kids’ gardening journal – they had the best time with it!
You can have your kids document the growing process of their green onion plants, or anything you plant in your garden. Even if you just have a small space to work with, it’s a great way for them to see firsthand where food comes from.
If they’re a bit older, you can also challenge them to learn the scientific names of the plants they’re observing. To give you a head start, here are the two from this tutorial:
- The scientific name for green onions is Allium Fistulosum.
- The scientific name for good old bulb onions is Allium Cepa.
9. Recipes that use green onions?
One of the best things about growing green onions yourself is that you’ll always have some on hand. I love that you can use the whole plant – both the white and green parts – for different purposes.
We often use the white part in stir-fries and the green part as a garnish because it has a milder onion taste. Most often, I find myself using them in Asian recipes and Mexican food recipes.
Here are some of my favorite recipes that use green onions as an ingredient or garnish:
- Bacon Ranch Cheese Ball
- Chicken Enchiladas (green onion is my secret ingredient to amazing filling)
- Ranch Dressing
- Authentic Kimchi
- Mongolian Beef and Broccoli
- Egg Drop Soup
- Colcannon Potatoes
How to Grow Green Onions
Supplies
- 1 bunch fresh green onions
- Water
- Shot glasses
Tools
- Cutting Board
- Knife
Instructions
- Trim your green onions well above the root then place them root end down in a shot glass (or something similar) filled with enough water to cover the roots (no more than an inch).
- You’ll see the green onion root starting to shoot out new green tops after a few days. This is a good start!
- They’ll continue growing at a steady pace, so you can trim down the new leaves to use the green part of the onion, then allow them to grow more.
- Over time, you may have different green onion plants growing at different rates. The best part about that is you’ll always have fresh green onions to cut and use.


I love this idea! I’ve always hated throwing away kitchen scraps, so growing green onions from what I have left over sounds perfect. Can’t wait to try it out and see if I can keep a continuous supply going! Thanks for sharing this tip!